Step 1: The Weavely App in Webflow
Open your Webflow project and launch the Weavely app from the designer.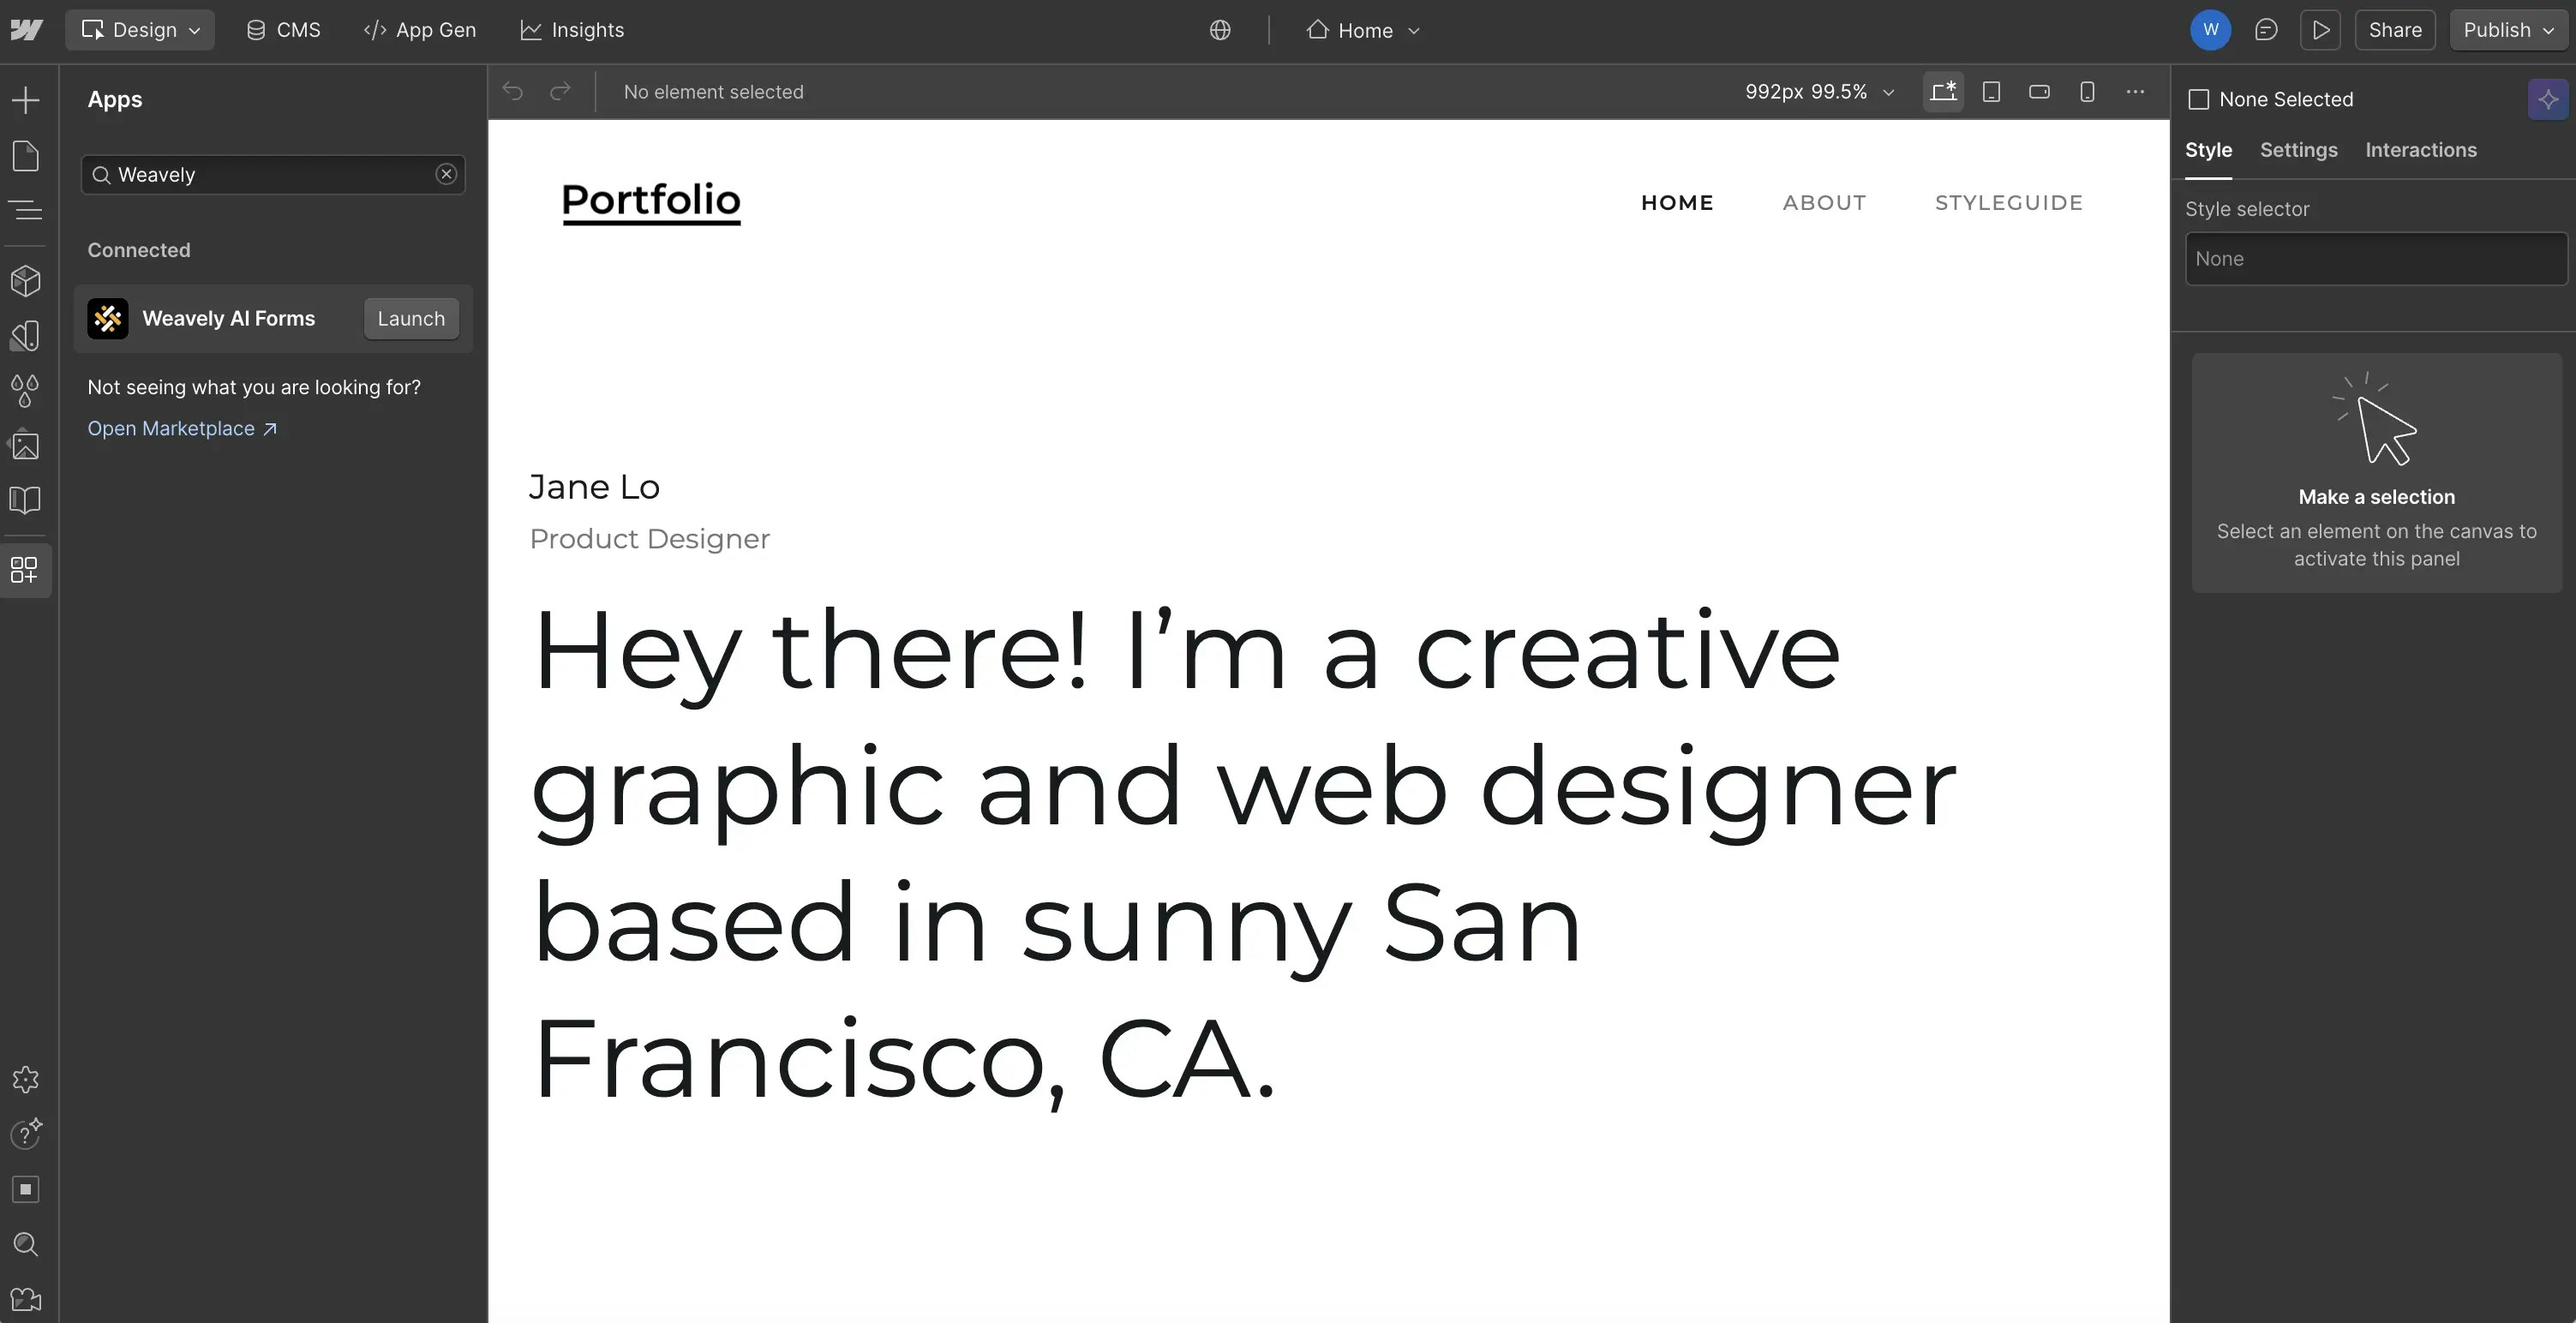

The form appears as a placeholder in the Webflow designer. The actual form will only render on your published website.
Step 2: Create your Weavely Form
To create a custom form, head over to weavely.ai and click the “Start for Free” button.Inside the editor: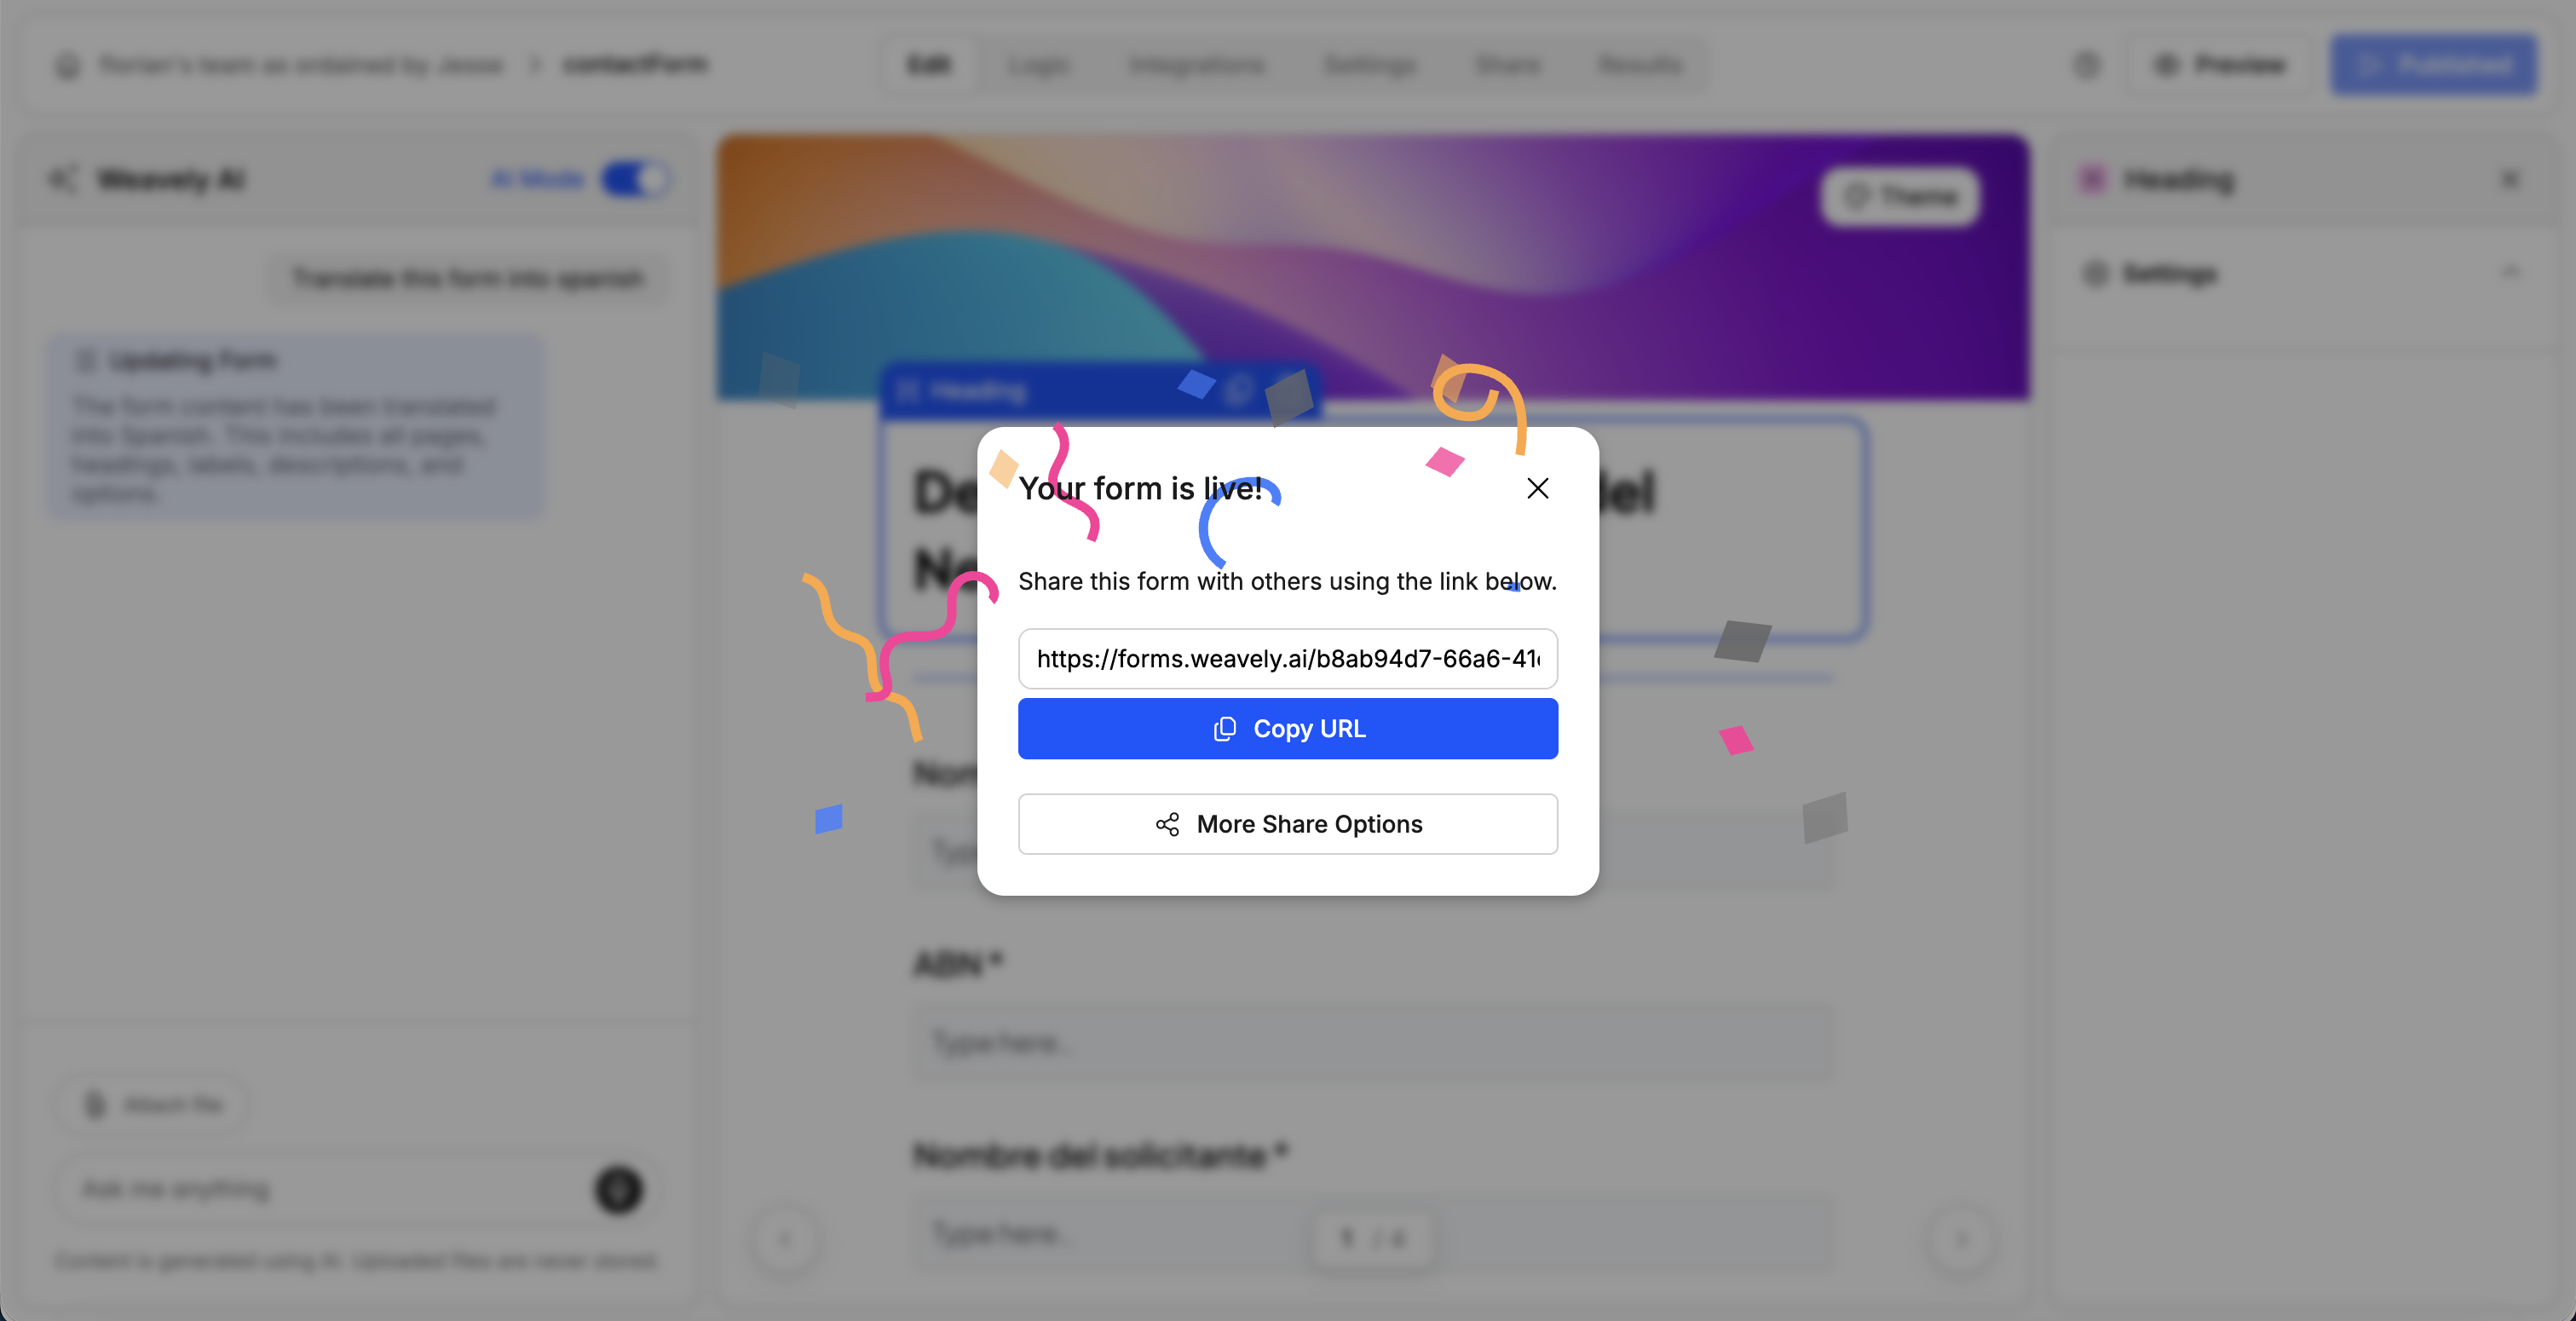
- On the left, you’ll see a chat-style interface to generate forms with AI.
-
On the right, you’ll see the form being built in real-time.
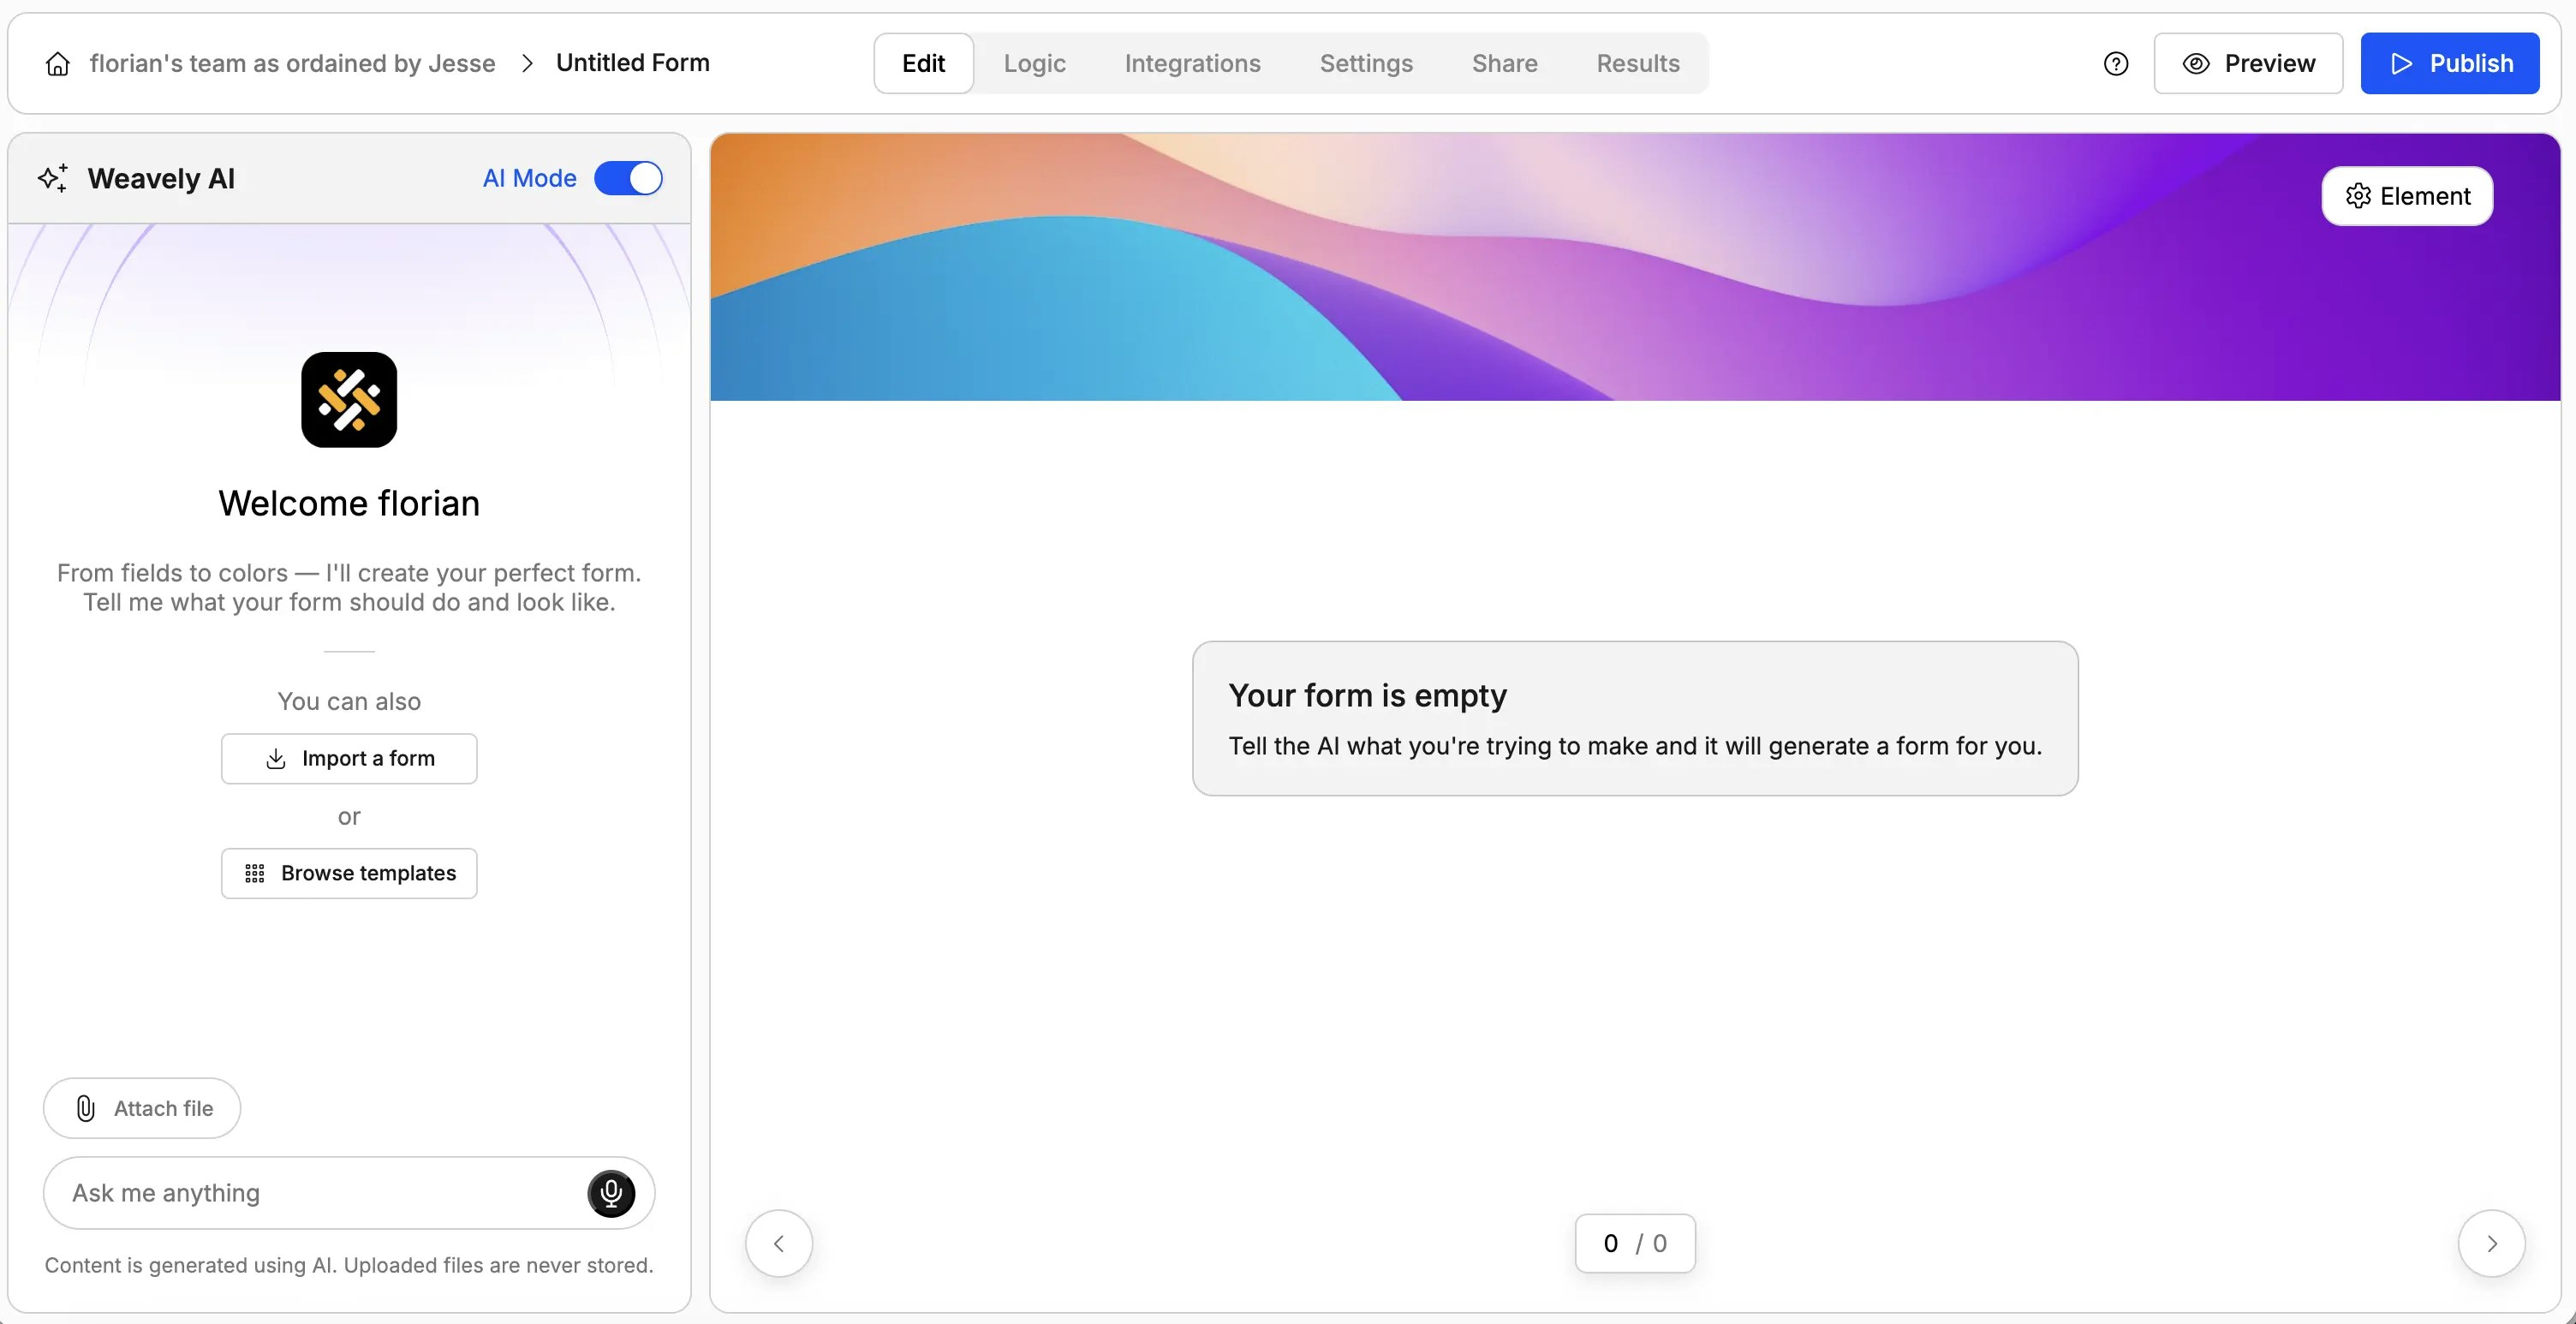
- Describe your form in plain language (e.g., “I need a contact form for my website. Keep it very basic, three questions.”). The AI will generate questions, pages, and even a visual theme.
- Ask the AI to make it multi-step (e.g., “Actually, I want this to be multi-step. Make sure we have different questions on different pages.”)
- Ask the AI to adjust the design (e.g., “I want the background to be transparent and I want the top visual to be gone.”)
- Ask the AI to add conditional logic rules (e.g., “I only want to show the message field if somebody provided an email address.”)
Step 3: Embed the Form in Webflow
Return to Webflow and paste the published form’s URL into the Weavely app.Click “Add to Design” and the form will be embedded in your selected container.
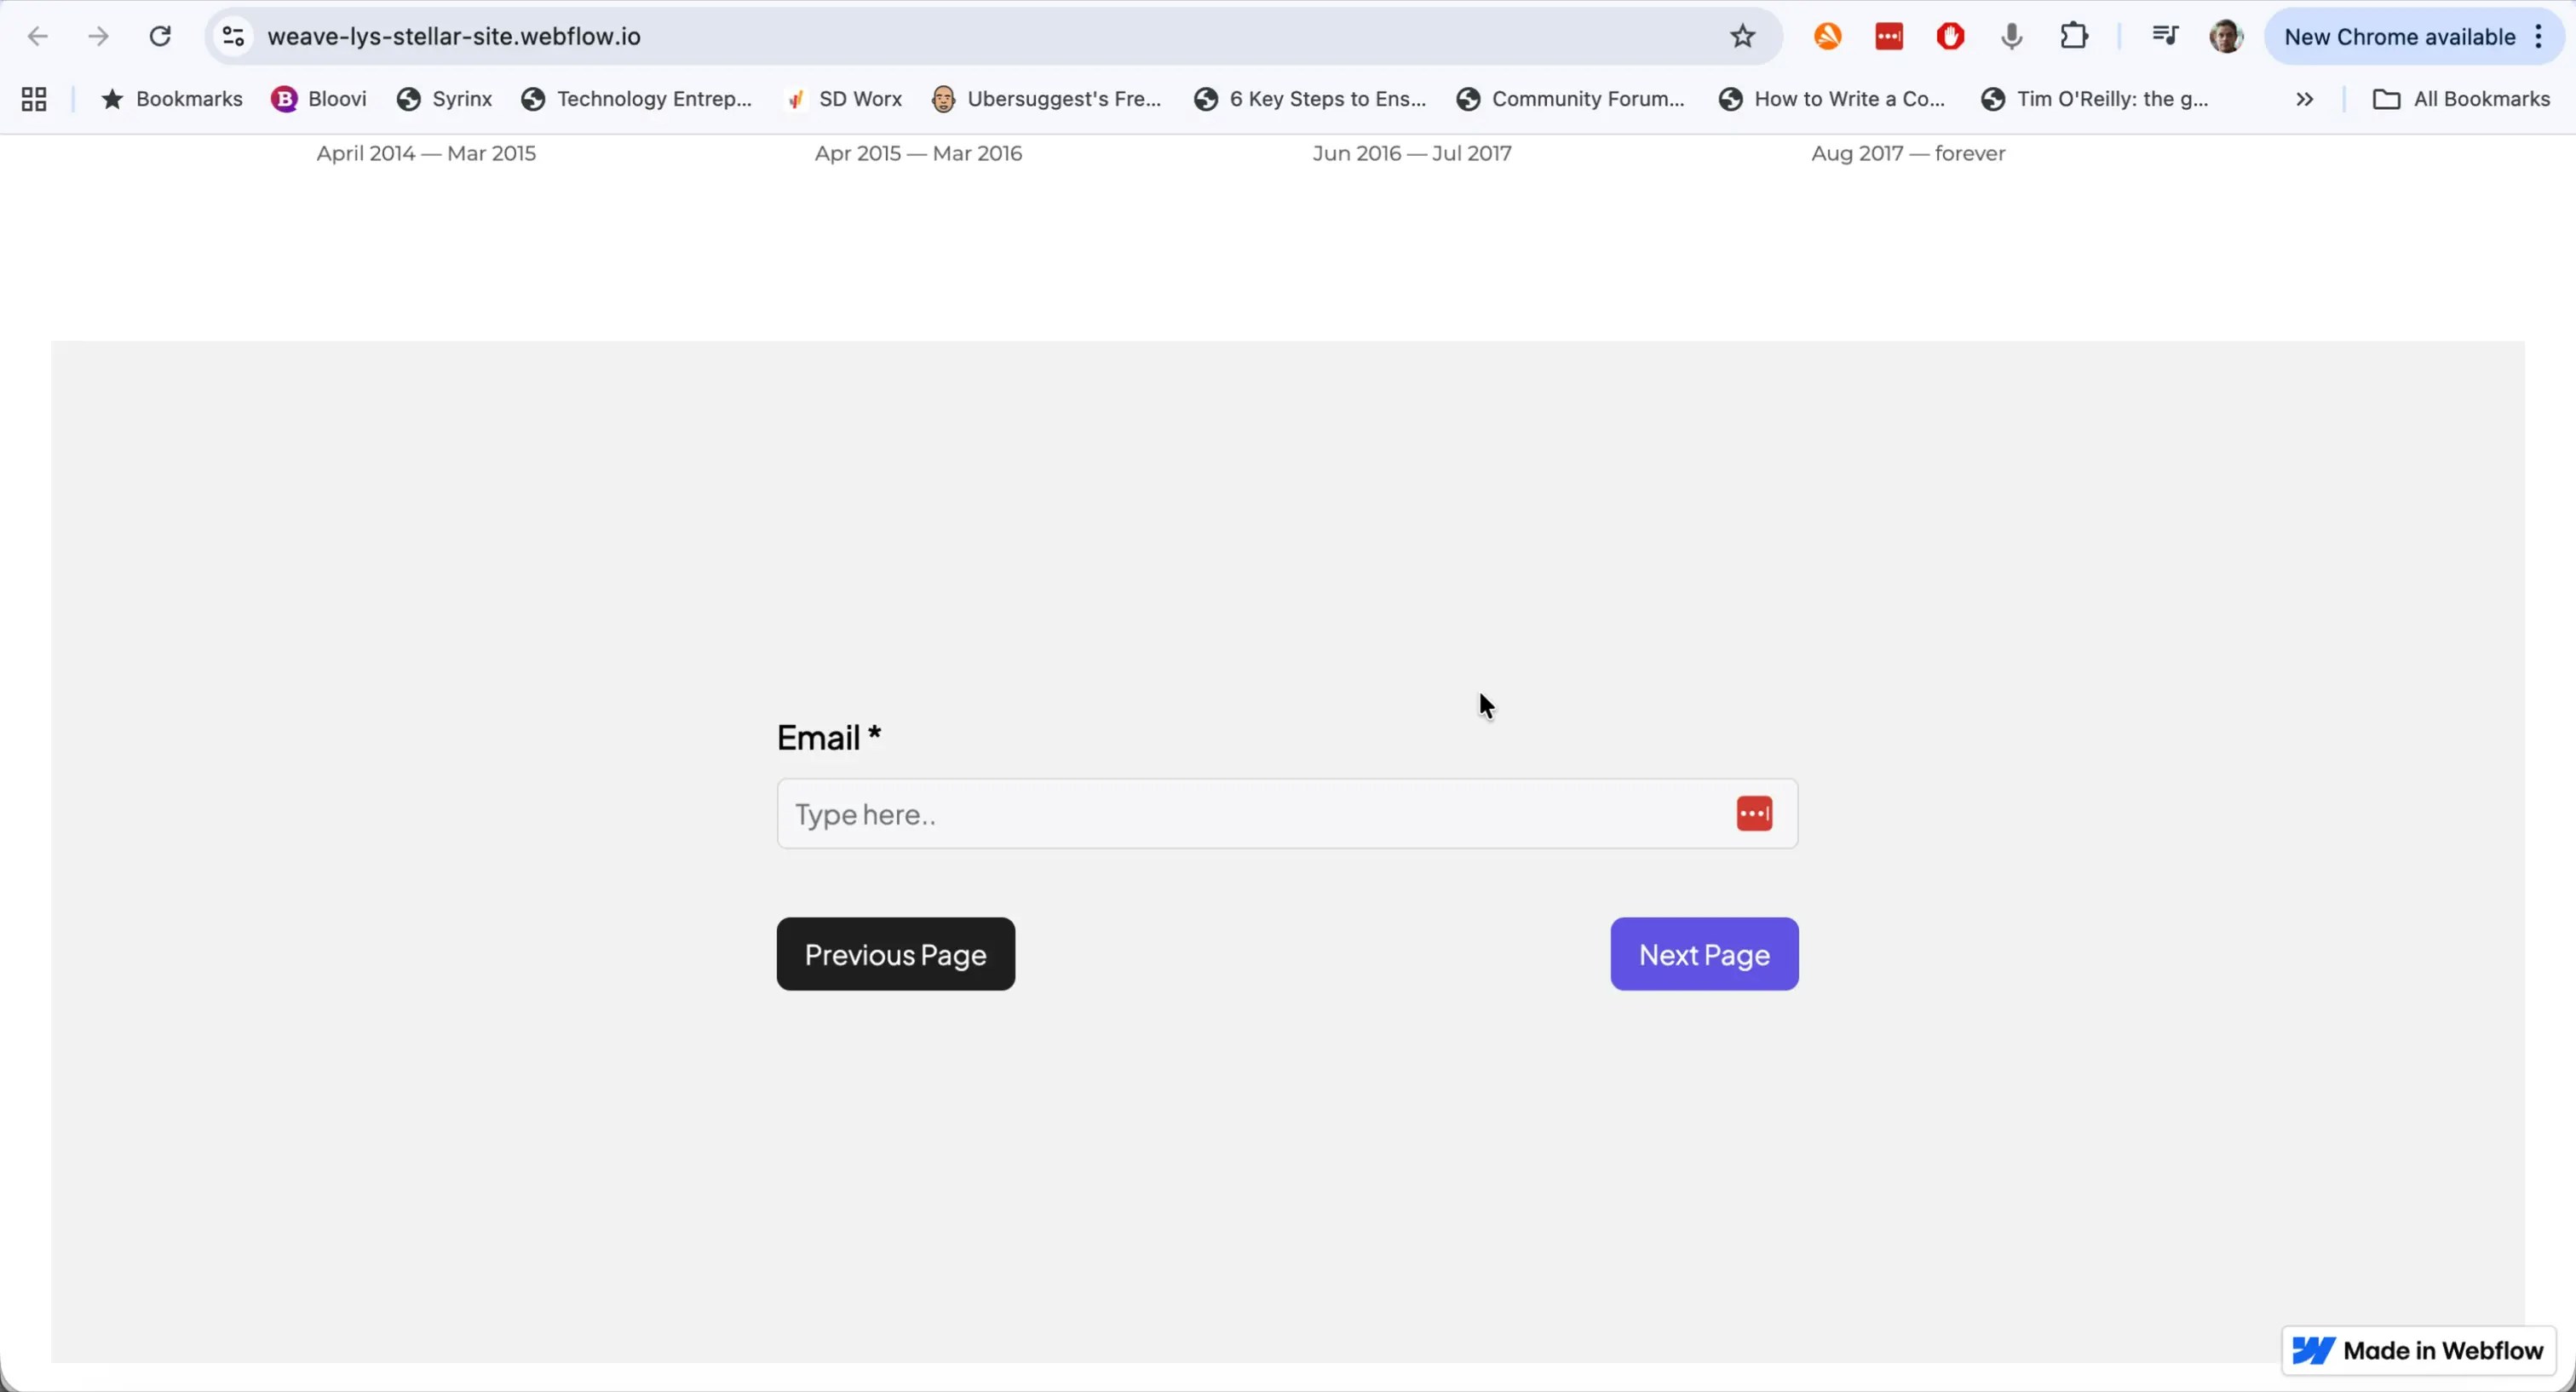
The form appears as a placeholder in the Webflow designer. The actual form will only render on your published website.
📈 What Happens After Visitors Submit?
Once embedded, Weavely handles all form logic and data collection. You can:- View responses and analytics directly inside Weavely.
- Integrate with tools like Google Sheets, Notion, Salesforce, HubSpot or get email notifications.
- Apply conditional logic, customize design, or edit questions anytime.