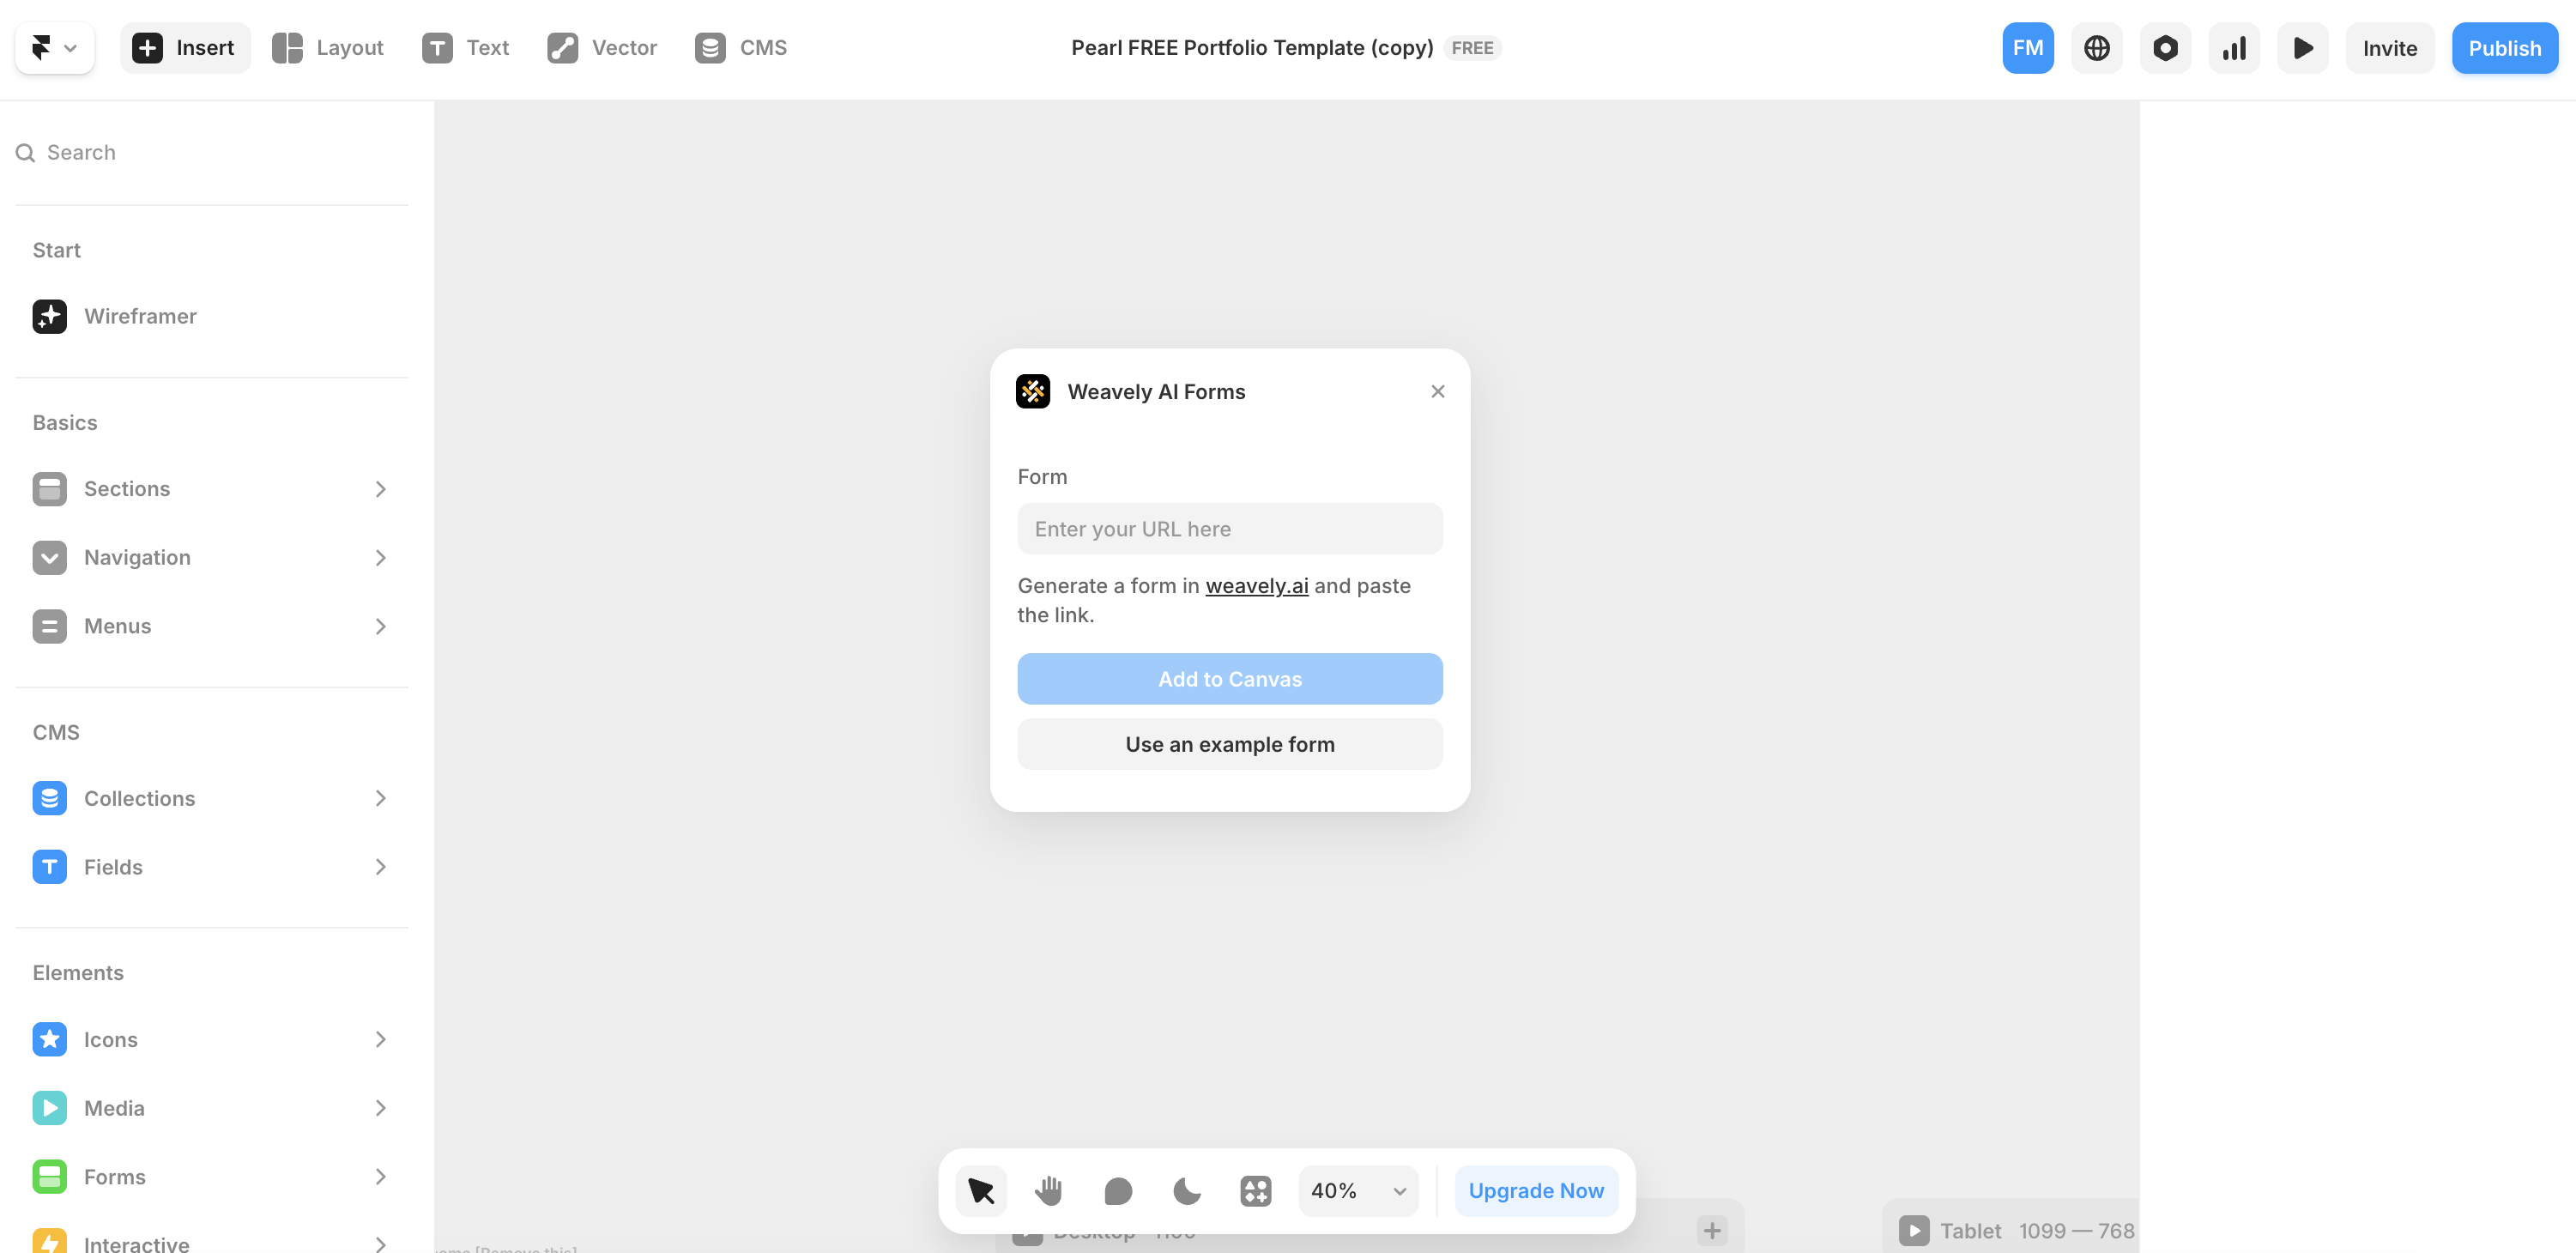
Step 1: The Weavely Plugin in Framer
Open your Framer project and search for the Weavely plugin in the plugin menu.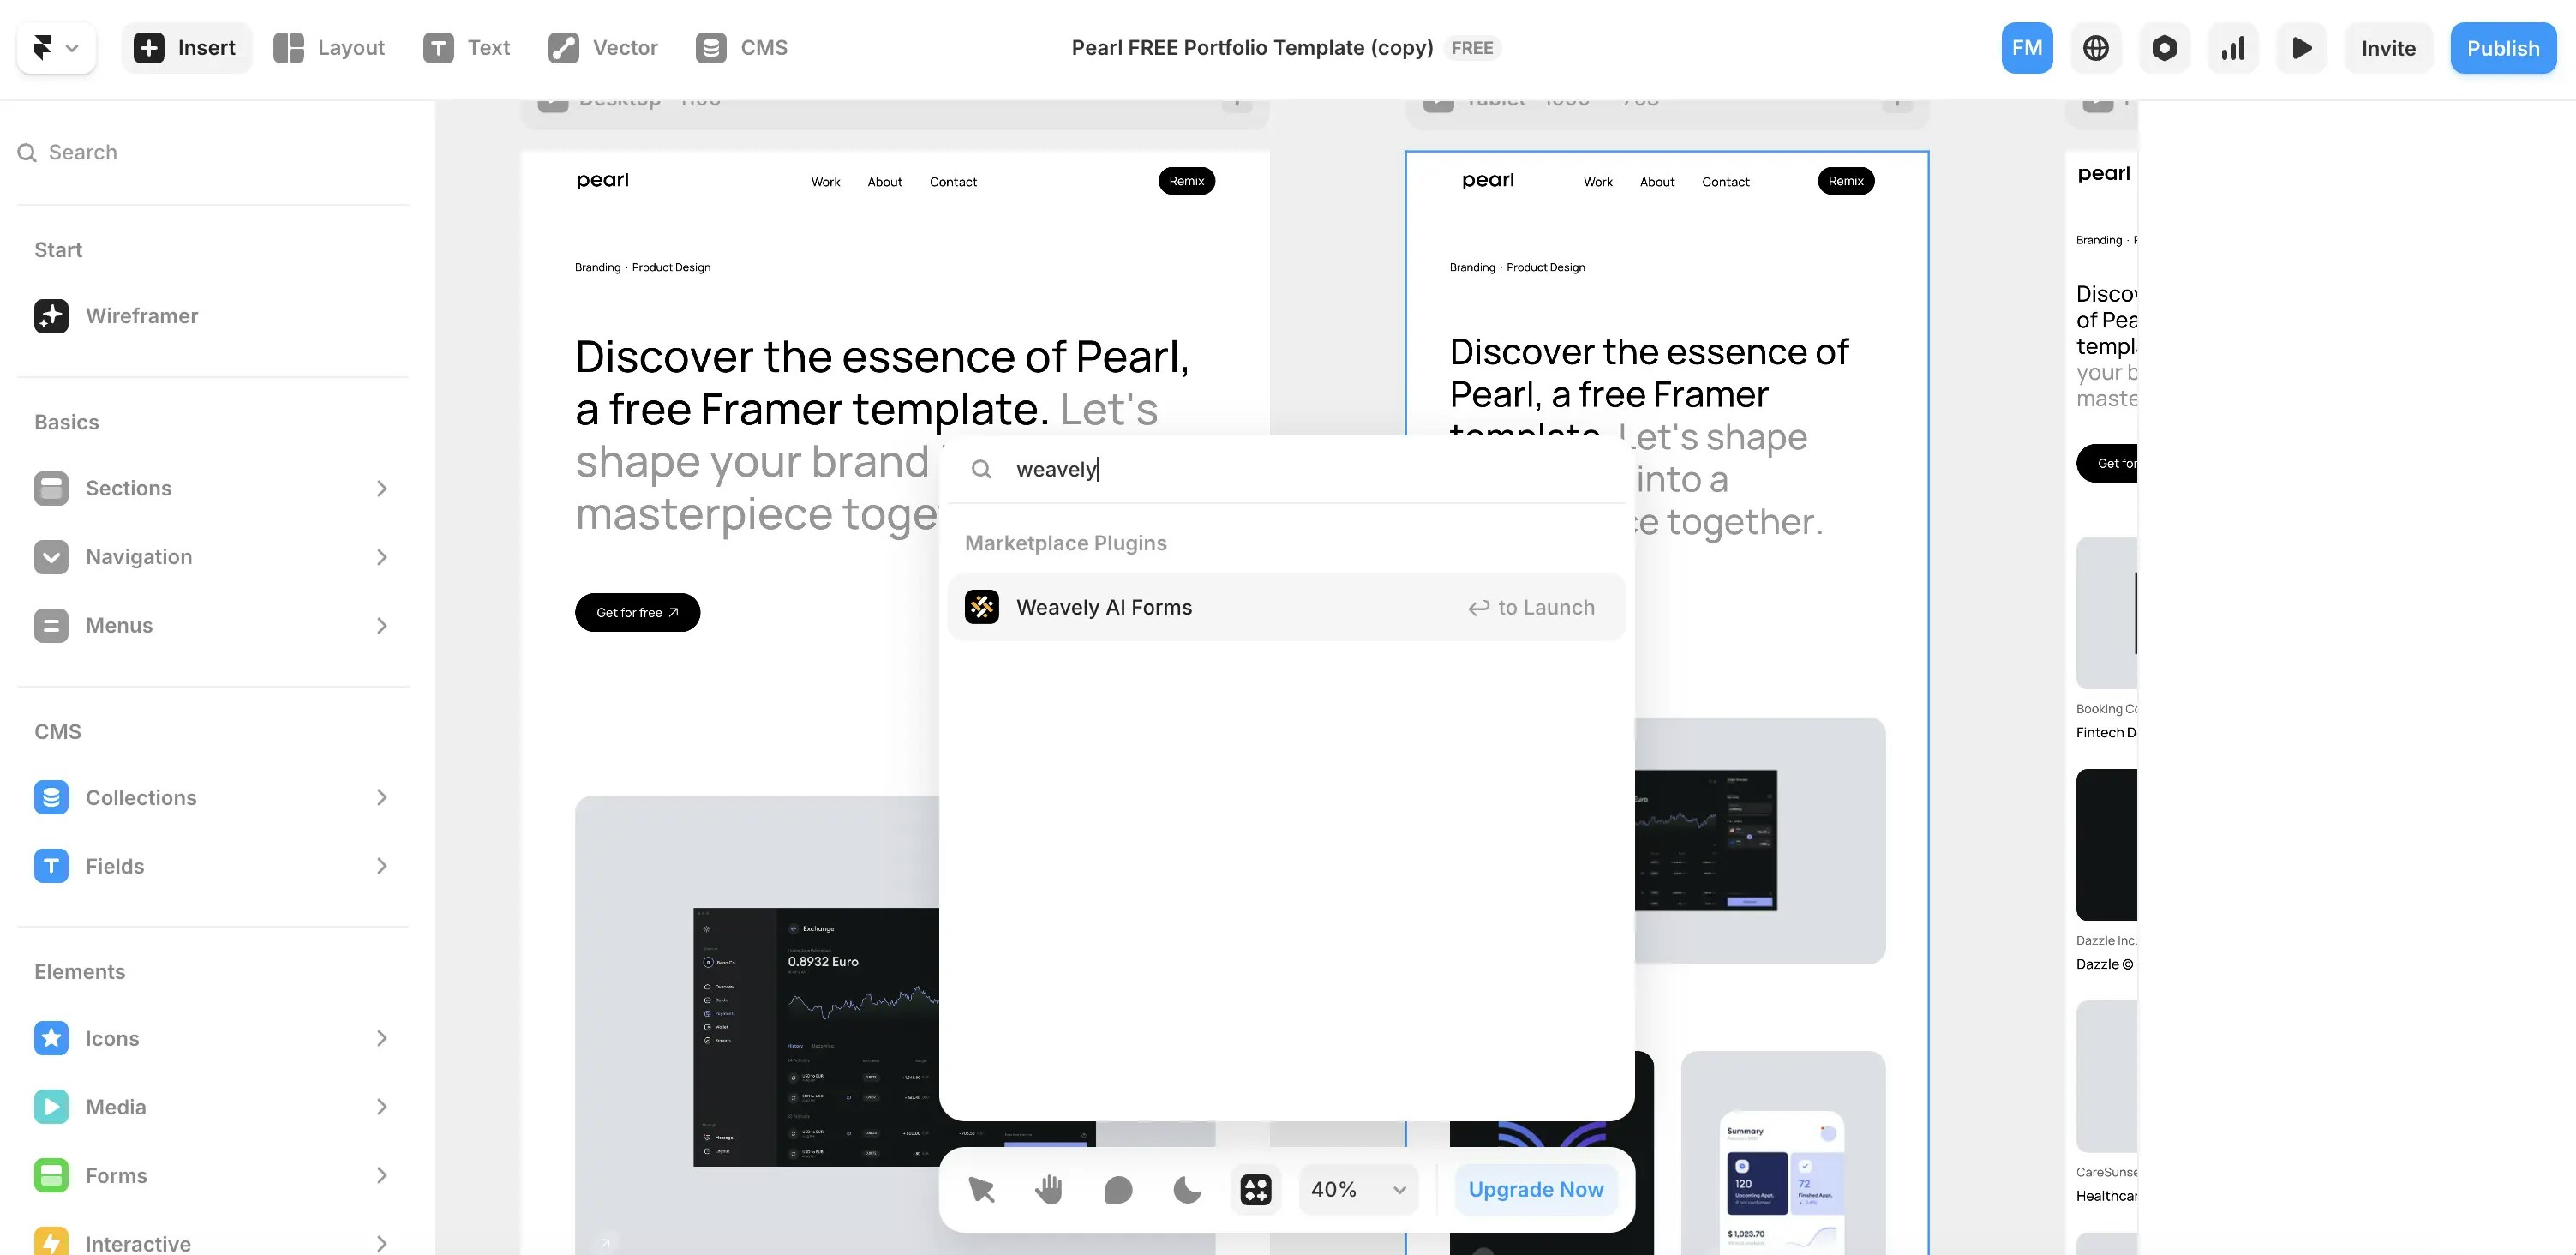
Step 2: Create your Weavely Form
To create a custom form, head over to weavely.ai and click the “Start for Free” button.Inside the editor:
- On the left, you’ll see a chat-style interface to generate forms with AI.
-
On the right, you’ll see the form being built in real-time.
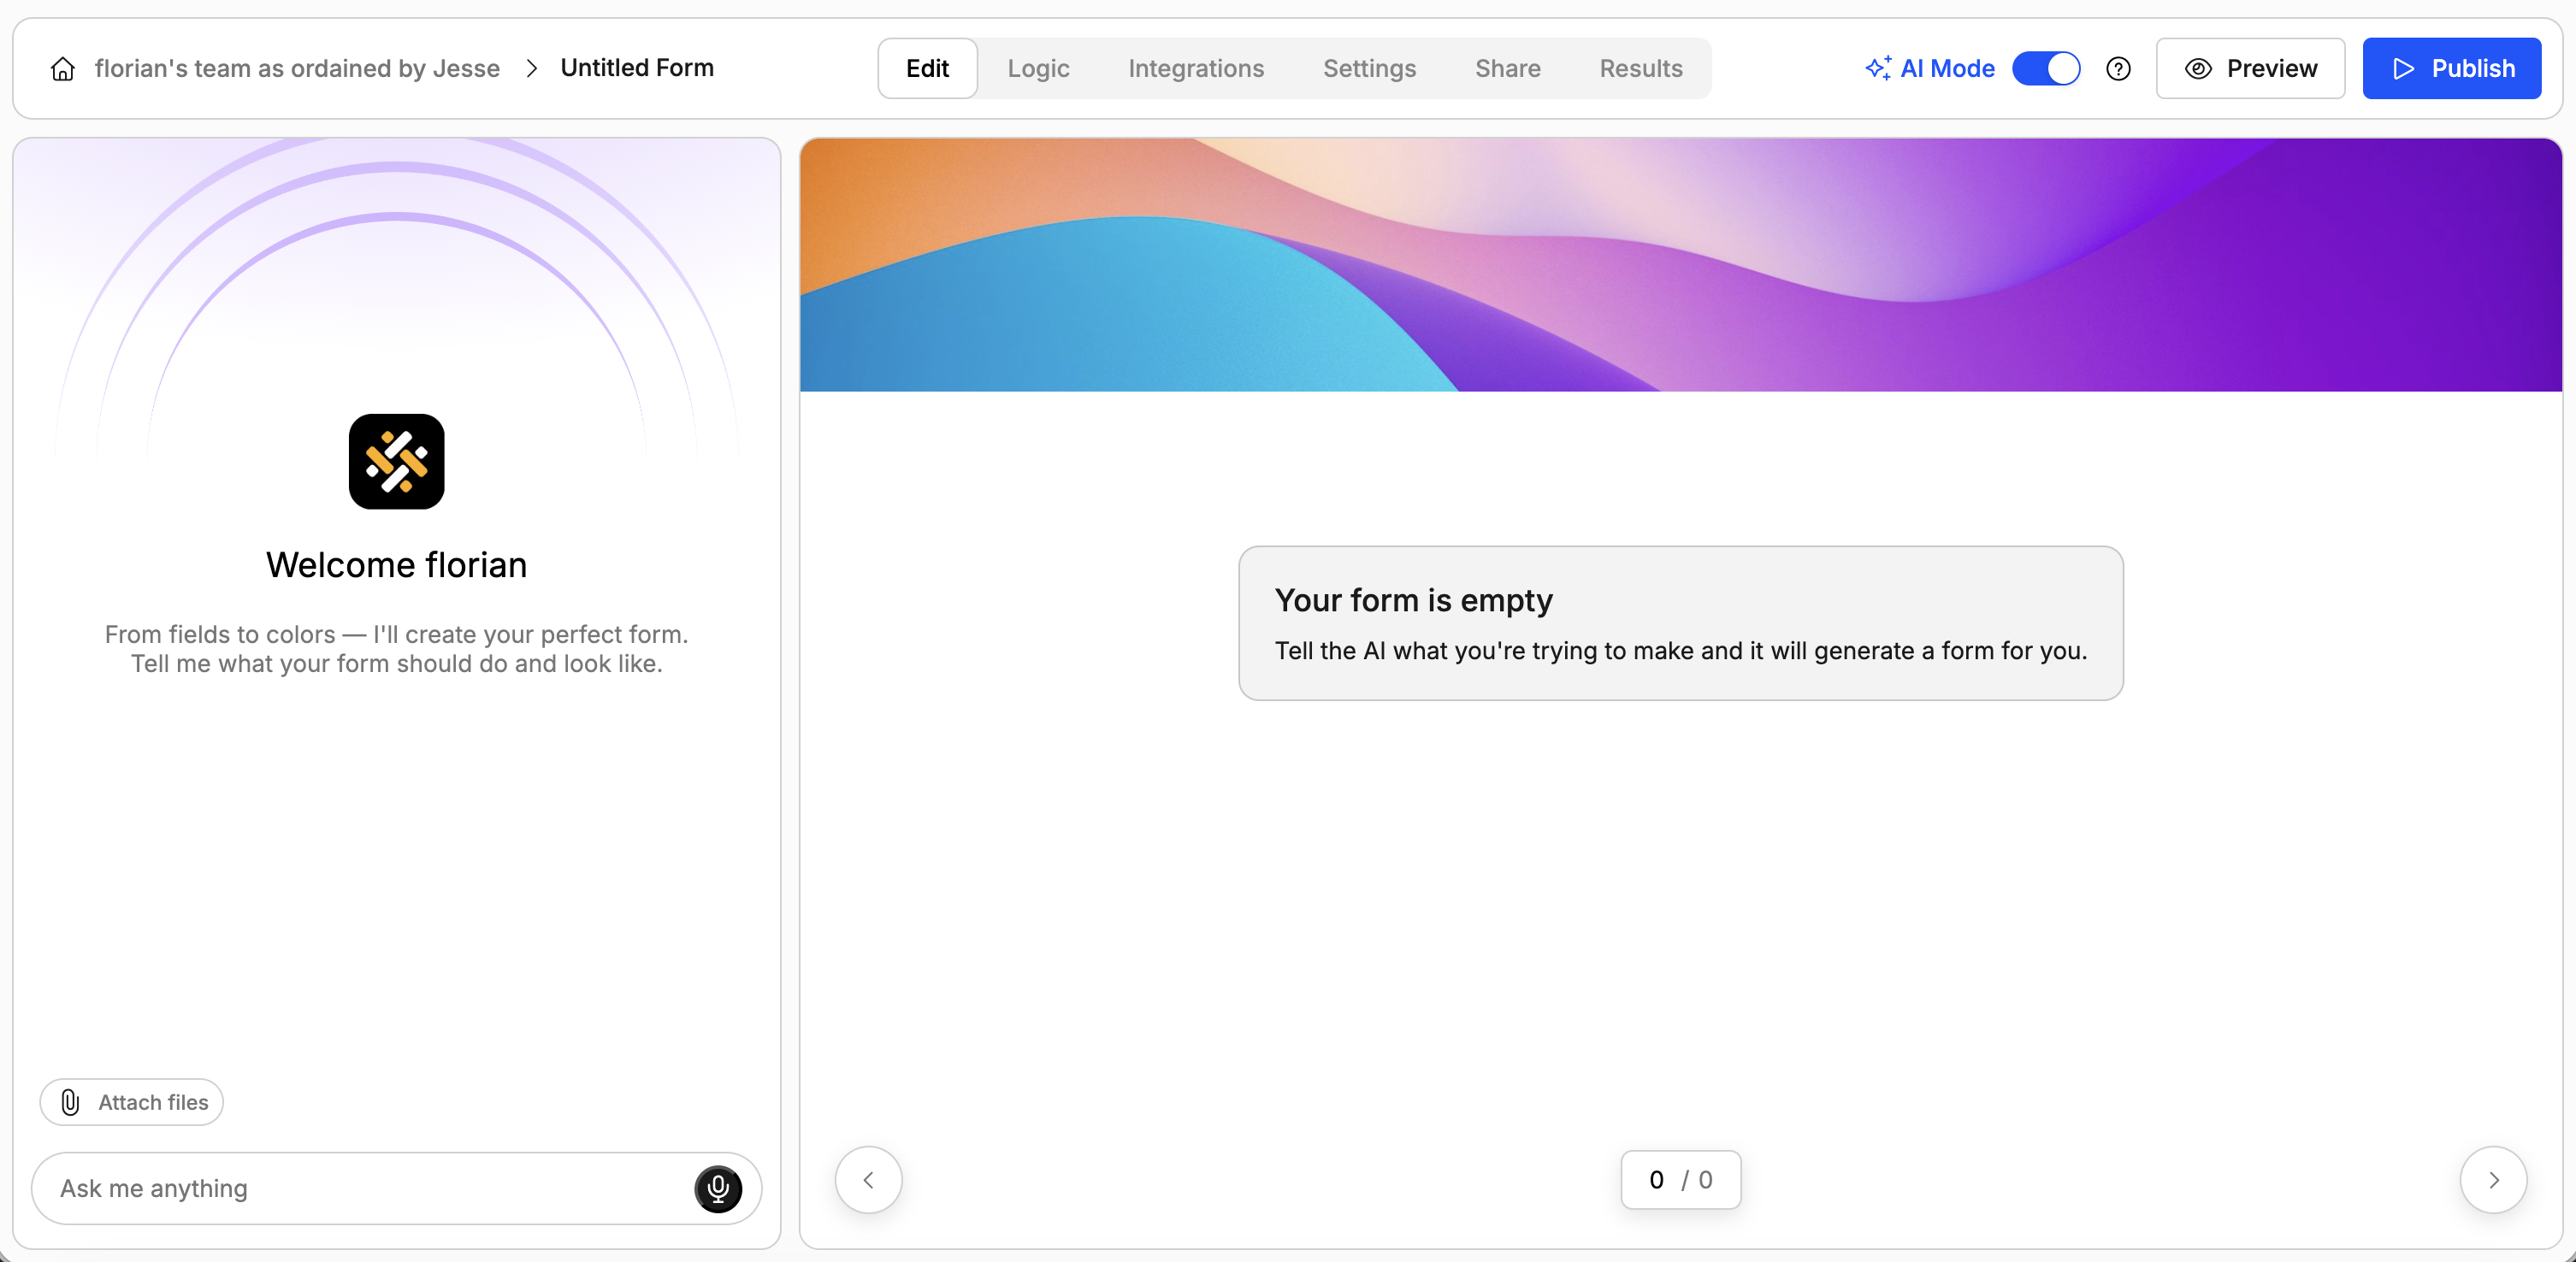
- Describe your form in plain language (e.g., “I need a contact form for my web agency. Make it somewhat funny.”). The AI will generate questions, pages, and even a visual theme.
- Ask the AI to tweak questions, reorder elements or add pages.
- Ask the AI to add conditional logic rules (e.g. show/hide questions or pages).
- Ask the AI to change the design of the form.
📈 What Happens After Visitors Submit?
Once embedded, Weavely handles all form logic and data collection. You can:- View responses and analytics directly inside Weavely.
- Integrate with tools like Google Sheets, Notion, Salesforce, HubSpot or get email notifications.
- Apply conditional logic, customize design, or edit questions anytime.