Step 1: Create a Weavely Form
To create a custom form, head over to weavely.ai and click the “Start for Free” button.Inside the editor:
- On the left, you’ll see a chat-style interface to generate forms with AI.
-
On the right, you’ll see the form being built in real-time.
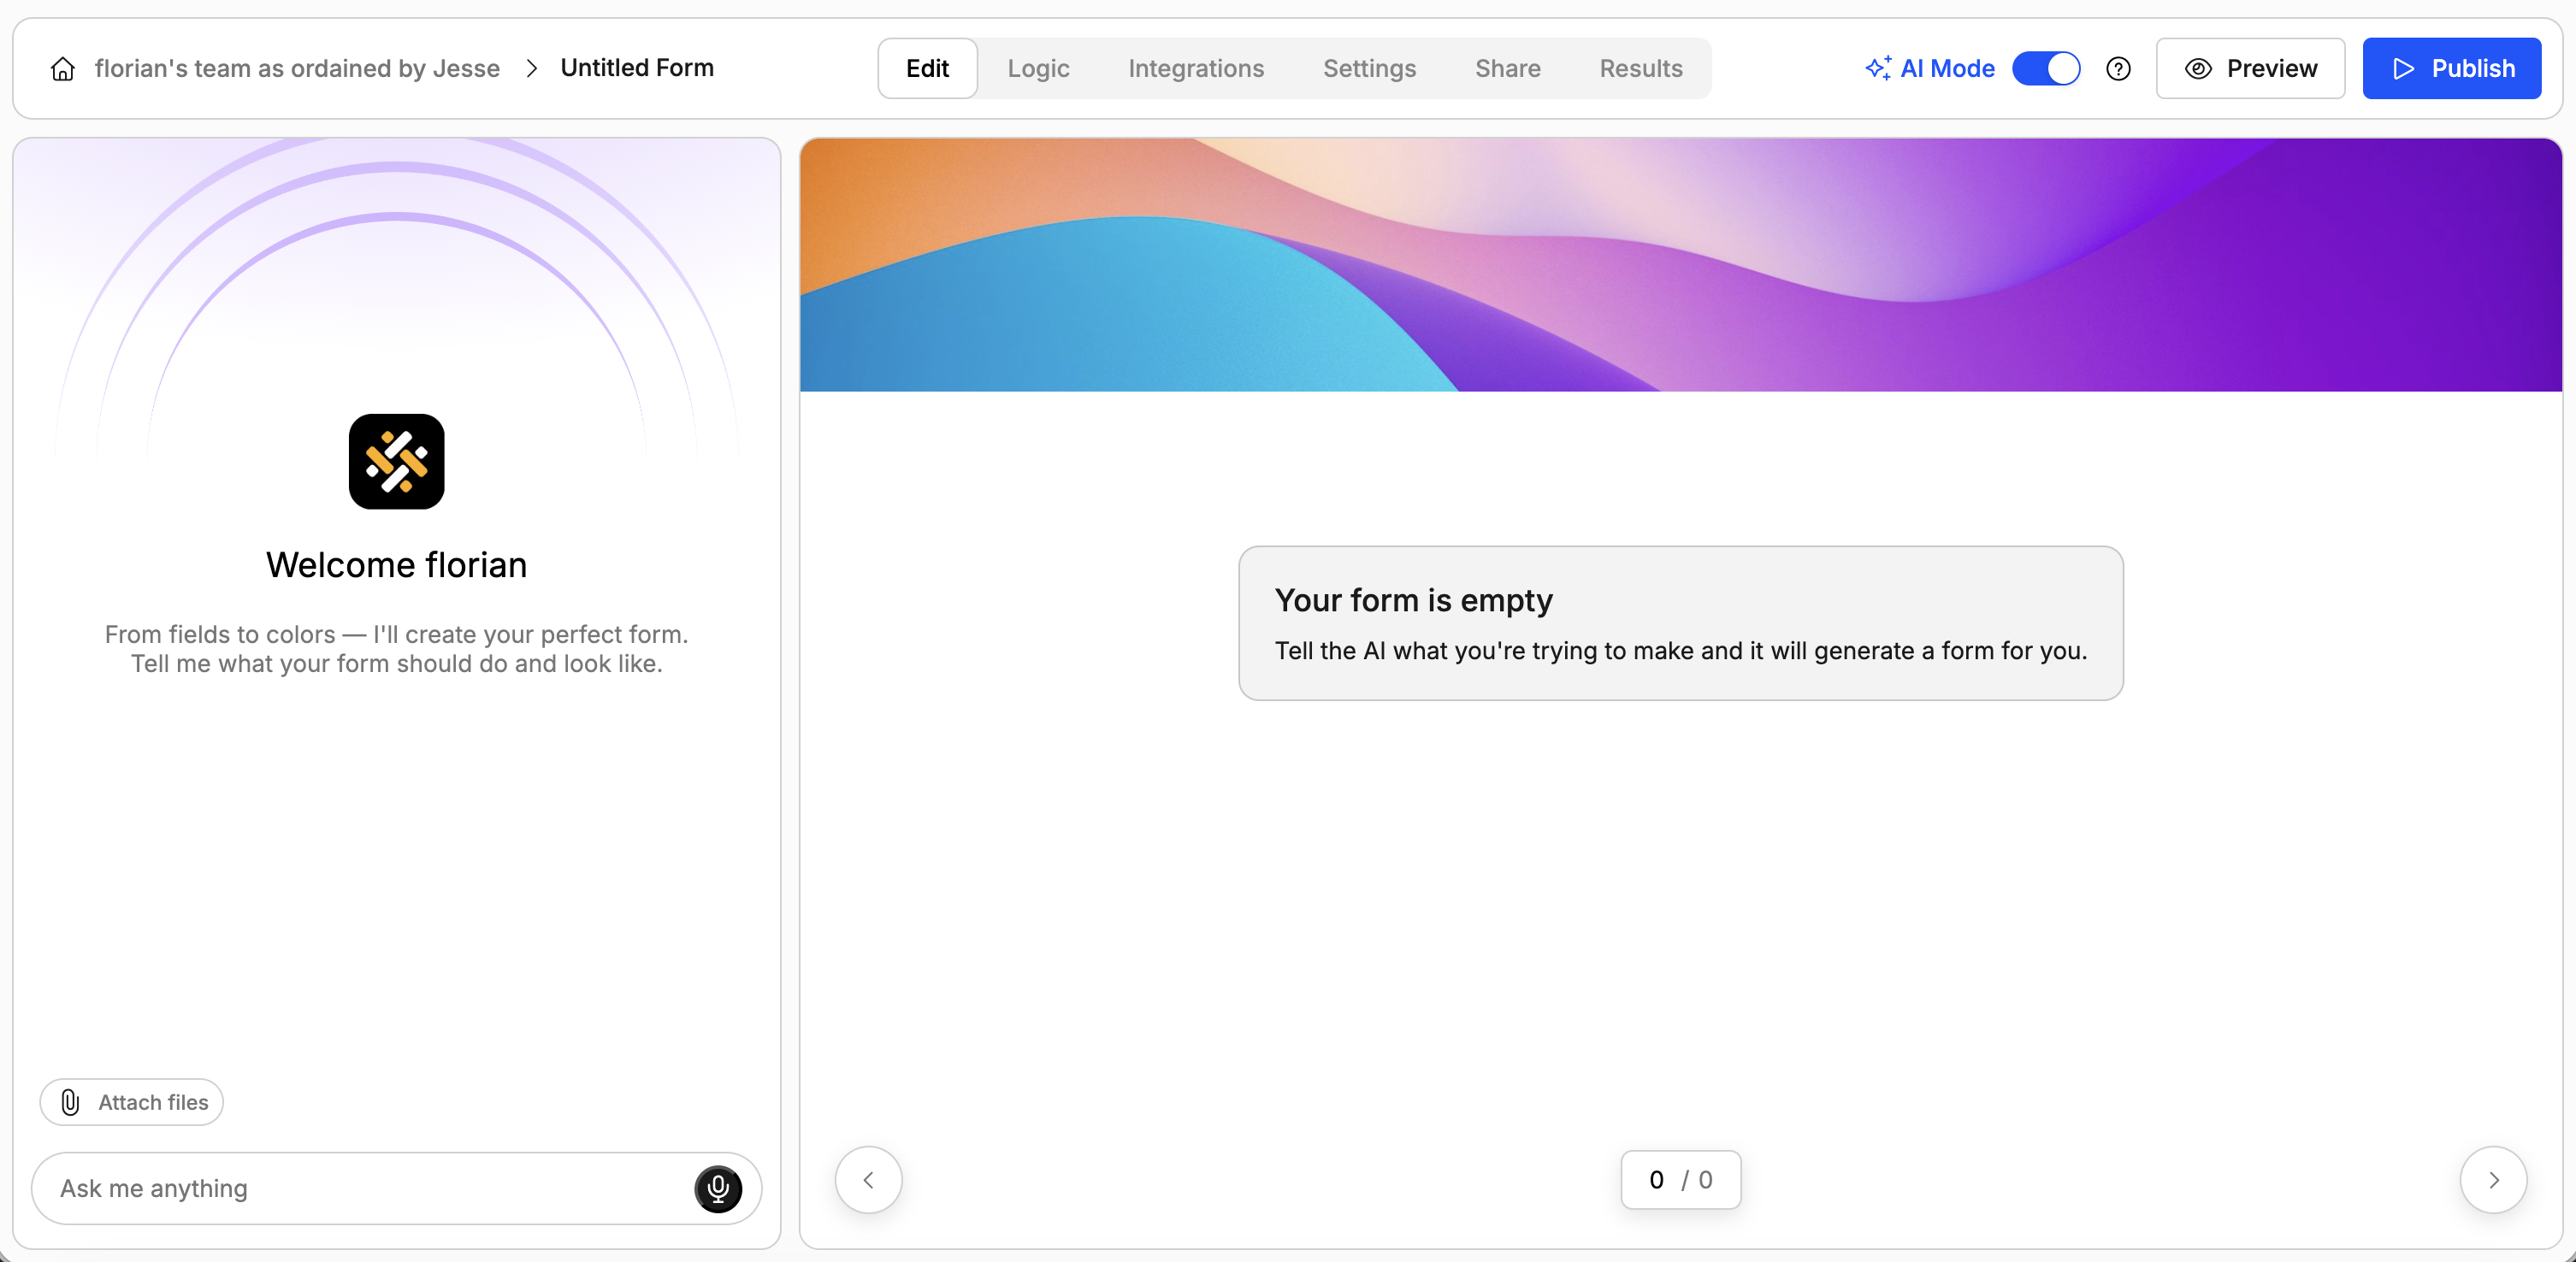
- Describe your form in plain language (e.g., “I need a contact form for my web agency. Make it somewhat funny.”). The AI will generate questions, pages, and even a visual theme.
- Ask the AI to tweak questions, reorder elements or add pages.
- Ask the AI to add conditional logic rules (e.g. show/hide questions or pages).
- Ask the AI to change the design of the form.
Step 2 (Optional): Ask AI to Add a File Upload Element
This step might be redundant, depending on how you prompted AI in the first step. In case your form doesn’t contain a file upload element after Step 1, just go ahead and ask the AI to add it. For example:
Add a file upload element so my respondents can upload their portfolio to my website.
Step 3: Publish your Form
Once you’re satisfied with your form, go ahead and press the big blue “Publish” button at the top right of the screen. Don’t forget to copy the form’s URL, you’ll need it in the next step 😉
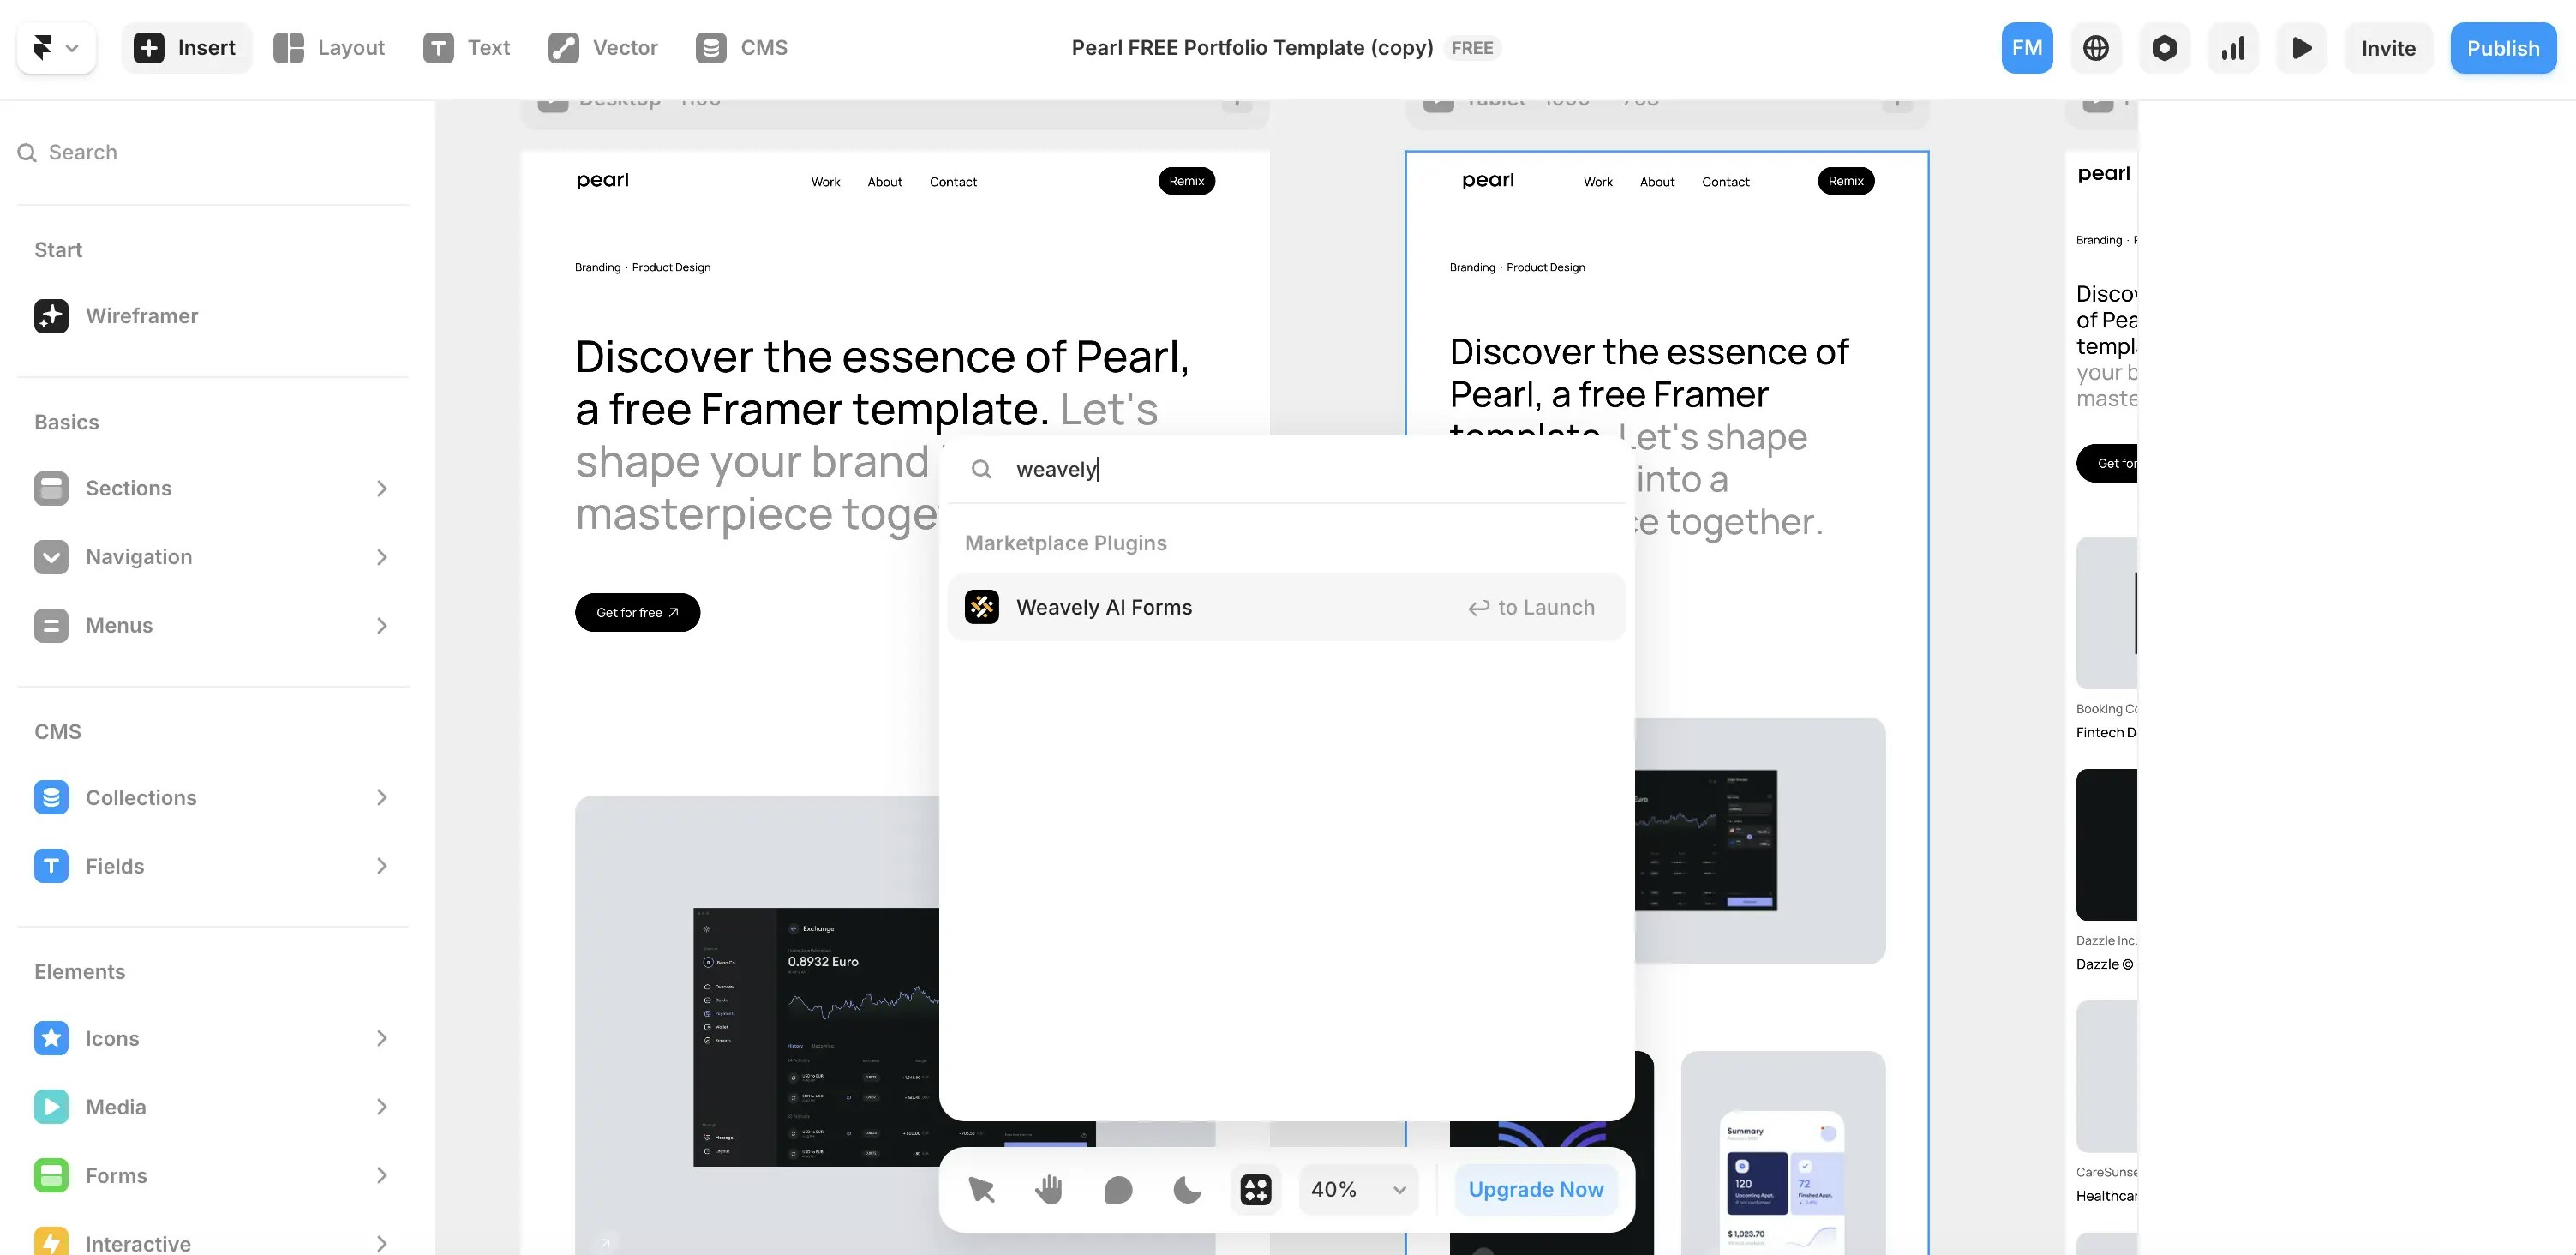
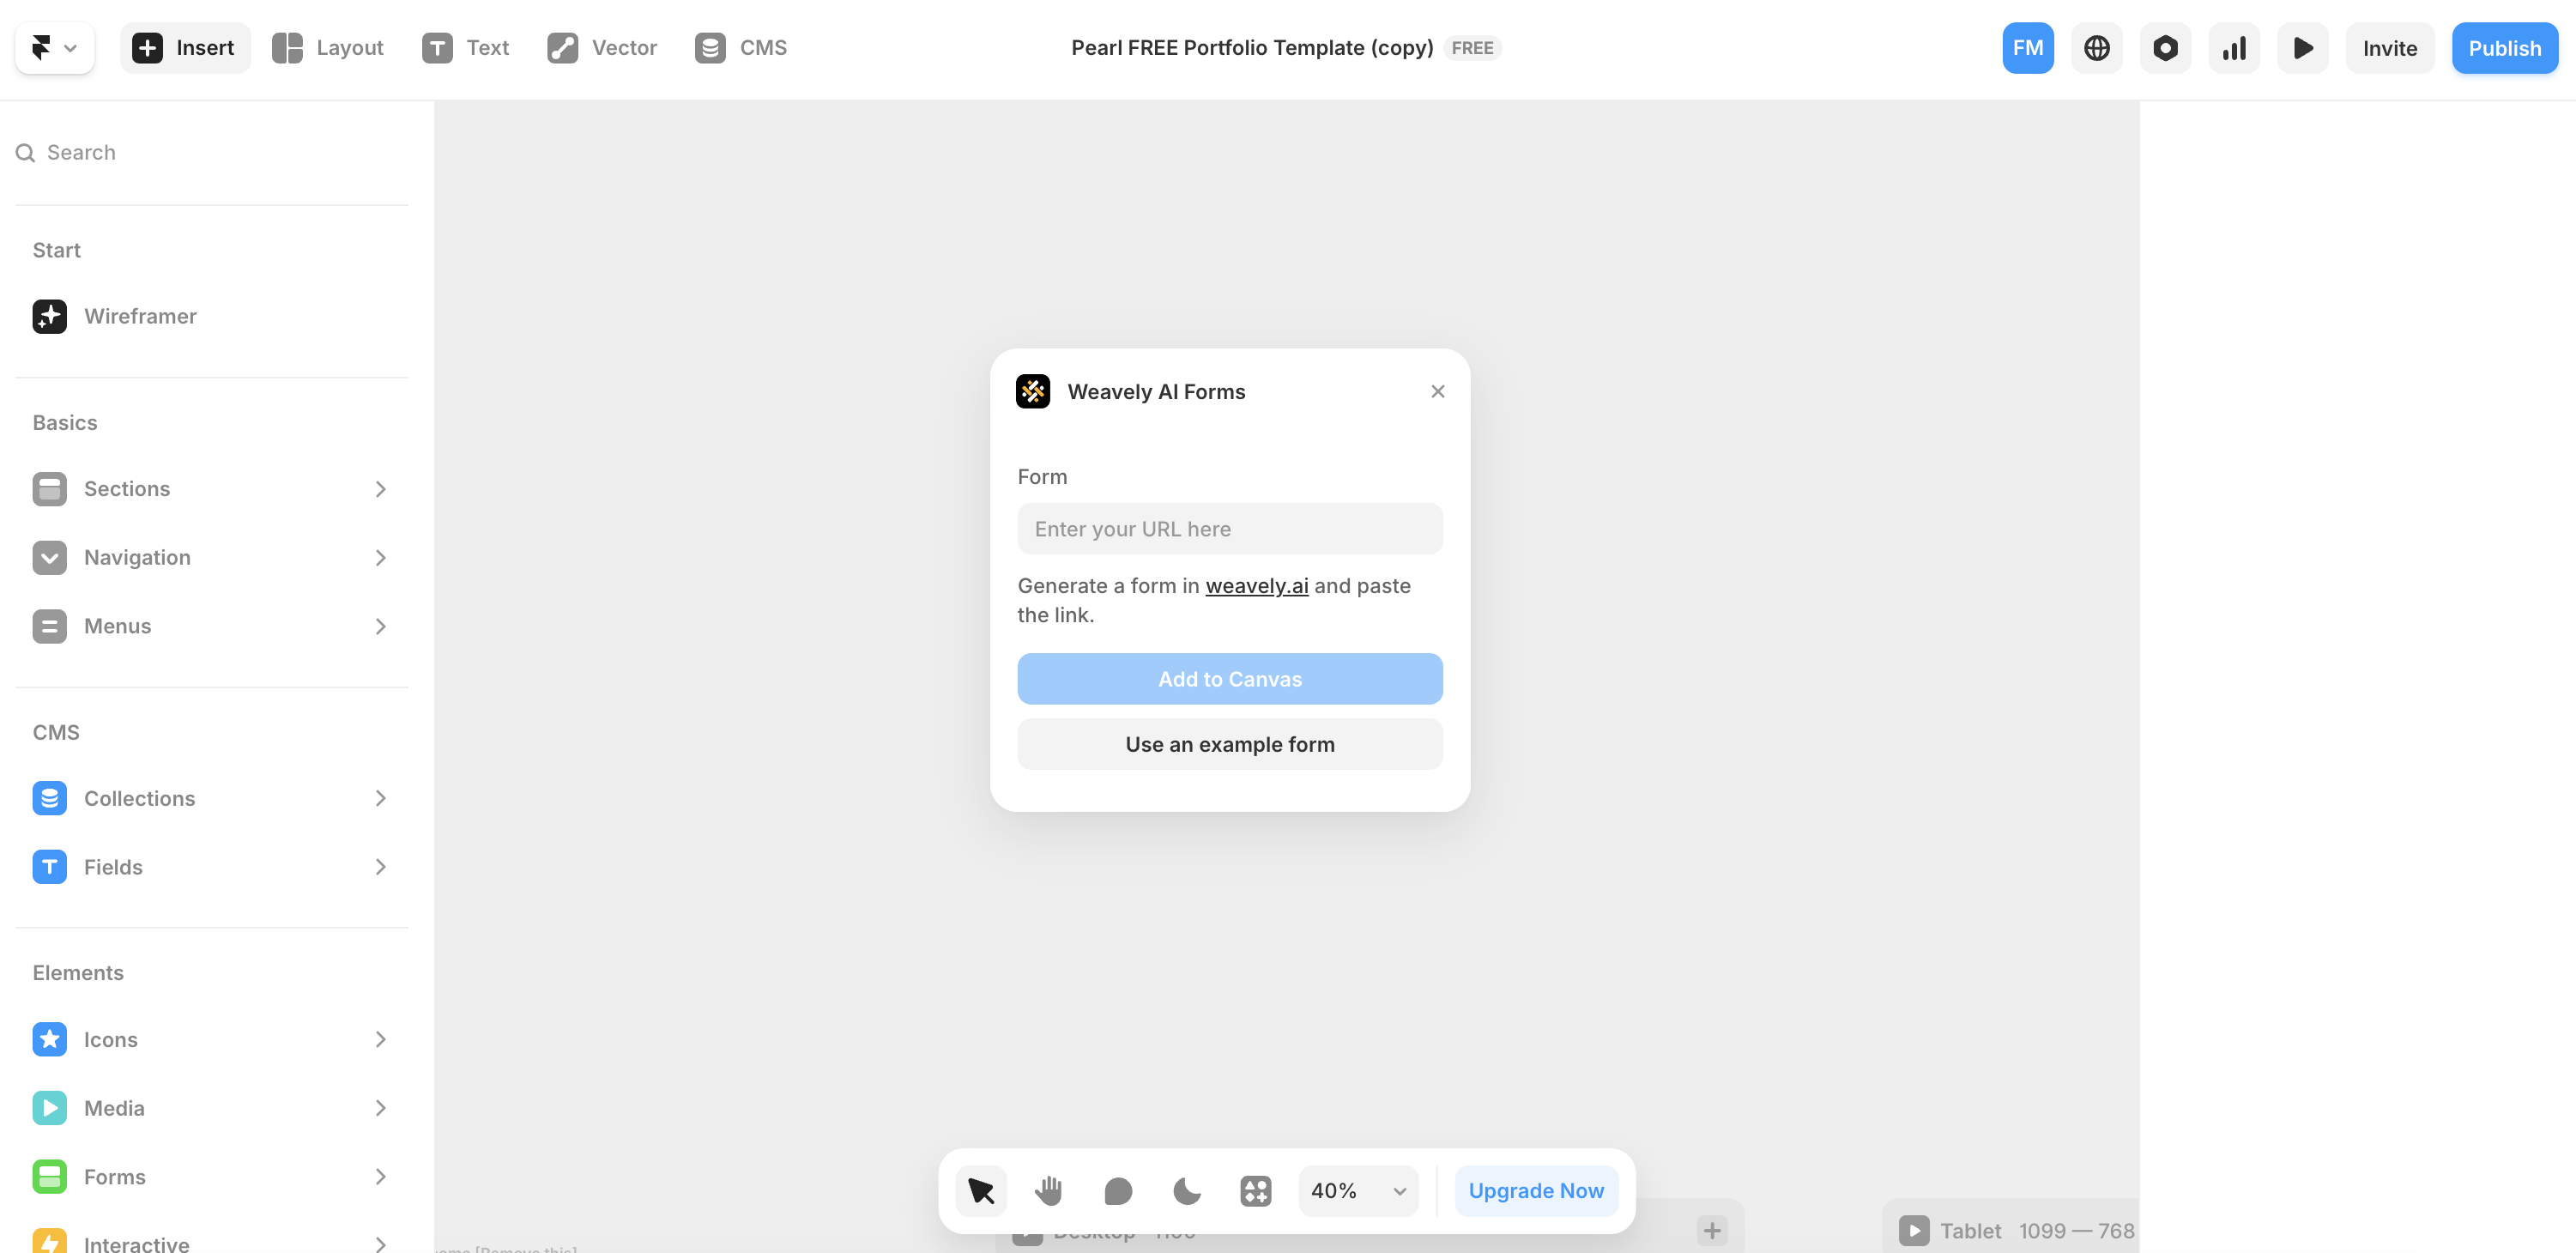
Step 4: Embed in Framer
Open your Framer project and search for the Weavely plugin in the plugin menu.