We’re constantly adding native integrations to third-party tools. However, we can’t integrate them all! If there’s a tool you want to connect your Weavely form to, chances are it’s already available on Zapier. Here’s how to use Weavely in combination with Zapier.
1
Create a Personal Token
You’ll need something called a “personal token” to connect you Weavely account to Zapier. To create this token, navigate to Settings->Personal Tokens in the dashboard. Once created you’ll be able to copy and paste this token (i.e. a string of text) to Zapier in step 3.
2
Create a Weavely Trigger in Zapier
Open the form you want to include in your Zapier workflow in the Weavely dashboard. Navigate to the Integrations tab and hit the ”+ Add” button next to Zapier. This will automatically create a Zapier trigger for you for that form. This trigger will fire everytime a new submission is received for that form.
Alternatively, you can also start this step from within Zapier. Just search for Weavely when creating the trigger and you’ll be able to select which form you want to include in your Zapier automation through a dropdown.
3
Authenticate Weavely in Zapier
In the Zapier trigger you’ll need to authenticate Weavely. You do this inside the trigger, using your personal token you created in Step 1. The gif below walks you through the steps required to authenticate.
4
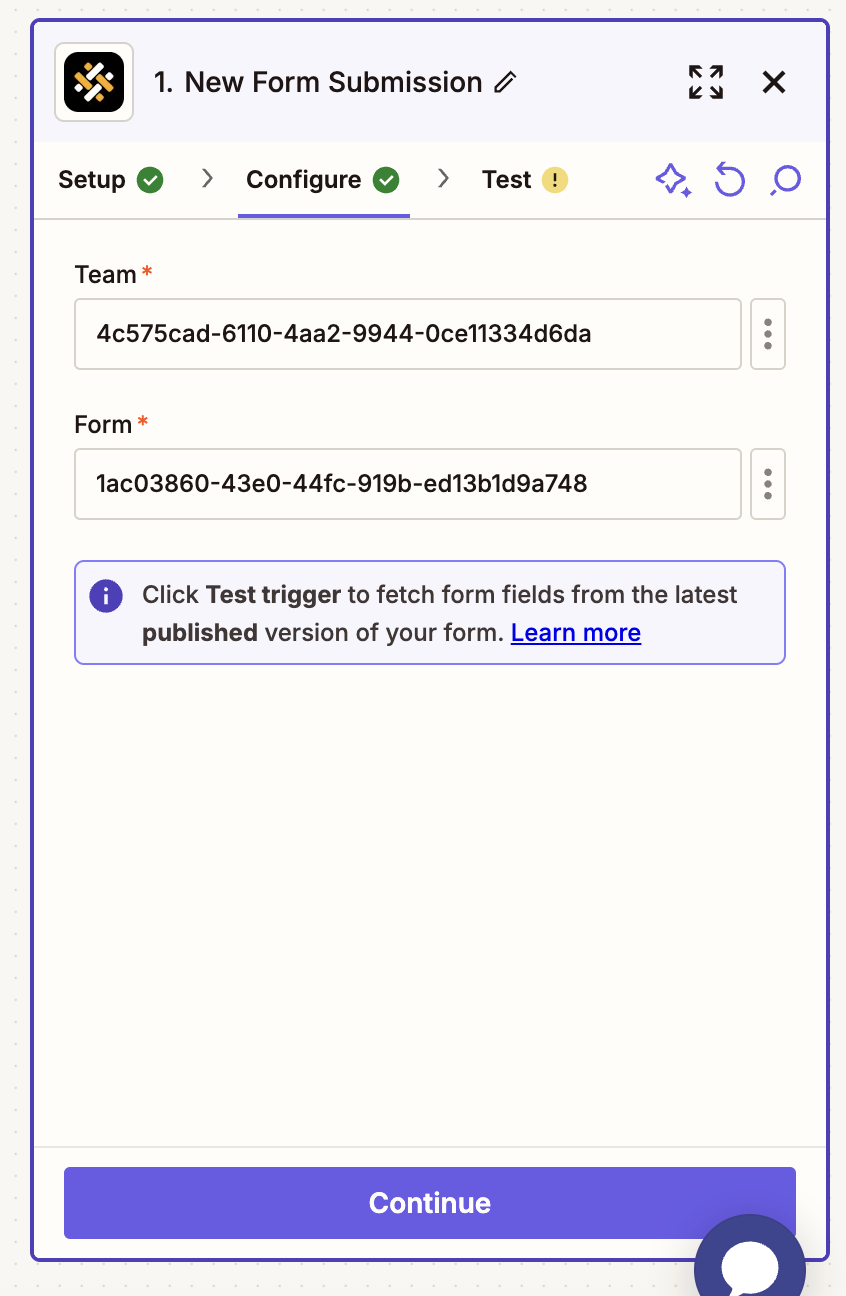
Configure your Zap and Create the Flow
If you’ve followed the steps above your Weavely trigger will come pre-configured with the right form id and team id. If you’ve started the setup from Zapier you’ll be able to select the right team and form through a dropdown.