Here’s how to connect your Weavely form to Make in just a few minutes.
Generate a Personal Token in Weavely
You’ll need something called a “personal token” to connect you Weavely account to Make. To create this token, navigate to Settings->Personal Tokens in the dashboard. Once created you’ll be able to copy and paste this token (i.e. a string of text) to Make in step 3.
Add the Make Integration to Your Form
To begin, open the Weavely form you want to automate and navigate to the Integrations tab. From there, select Make and click Add. This will open Make, where you’ll be prompted to install the Weavely connection. Simply select your organization and follow the steps to complete the setup wizard.
Set Up the Webhook in Make
Start by creating a new scenario in Make. Add the Weavely module and choose the Watch Form Submission trigger. When prompted, create a new connection by pasting your personal token from Step 1. Then, select your Weavely team and specify the form you want to monitor. Once set up, your Make scenario will automatically listen for new form submissions.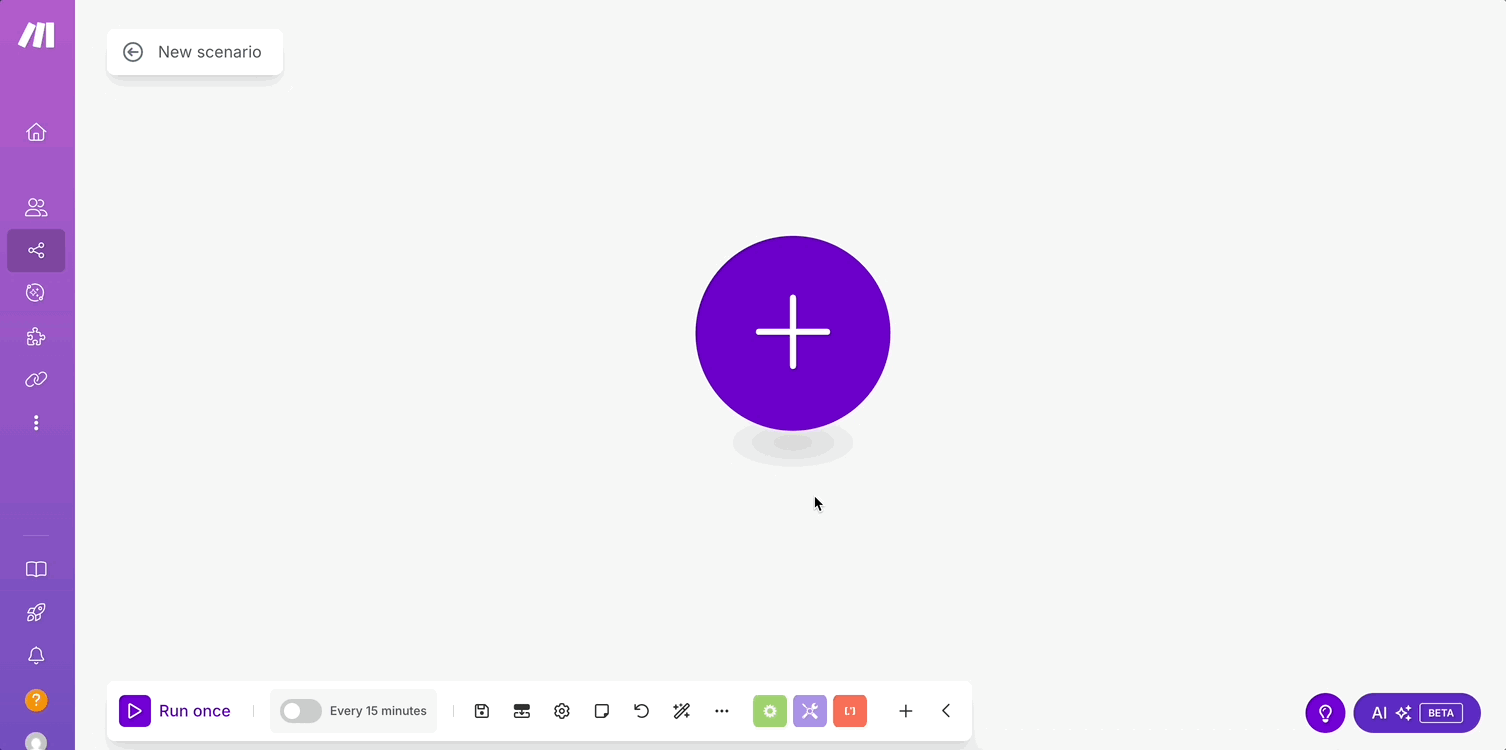
Add Actions to Your Scenario
Now that Make is listening for new form data, you can add any actions you like using one of Make’s many available integrations. For example, you might choose to send a message, create a record, or trigger an automation in a third-party tool when a form is submitted.To personalize those actions, you can reference form responses (e.g. the respondent’s name or email) using dynamic values.