Here’s how to connect Weavely and viaSocket in a few simple steps.
Generate a Personal Token in Weavely
You’ll need something called a “personal token” to connect you Weavely account to viaSocket. To create this token, navigate to Settings->Personal Tokens in the dashboard. Once created you’ll be able to copy and paste this token (i.e. a string of text) to viaSocket in step 2.
Find Weavely Triggers in viaSocket
When you create a new flow in viaSocket, search for “Weavely” to find Weavely’s triggers. For the moment this is limited to “New form submissions”. In other words, your flow will be activated everytime your Weavely form gathers a new submission.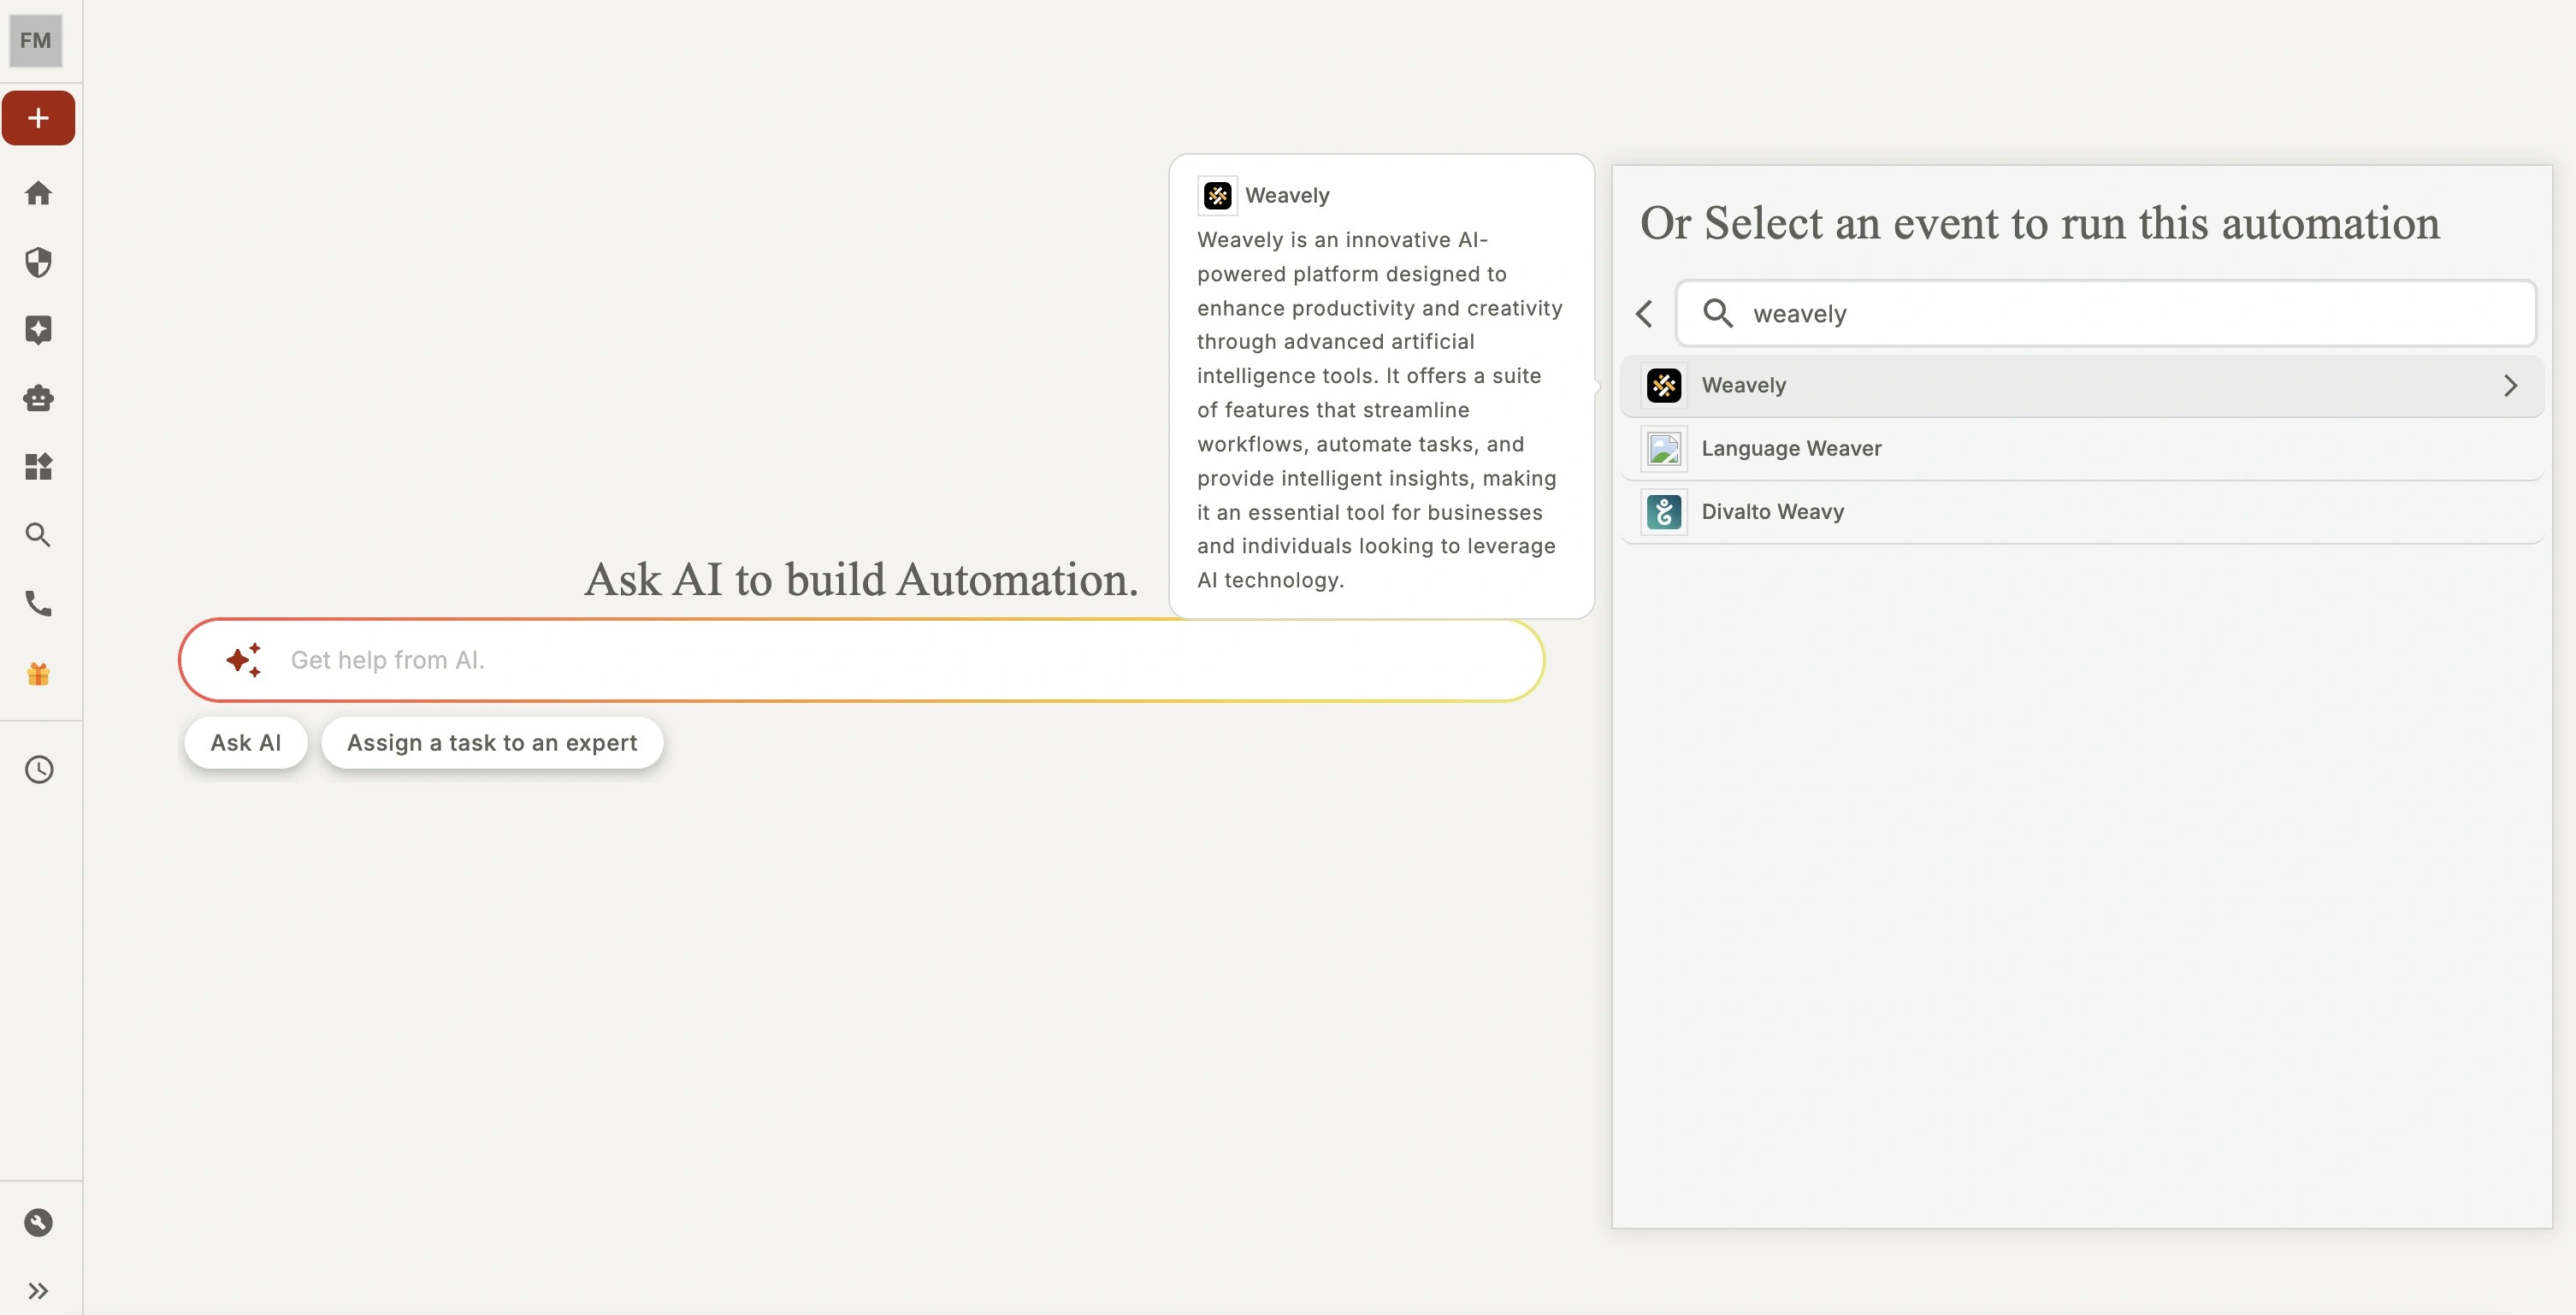
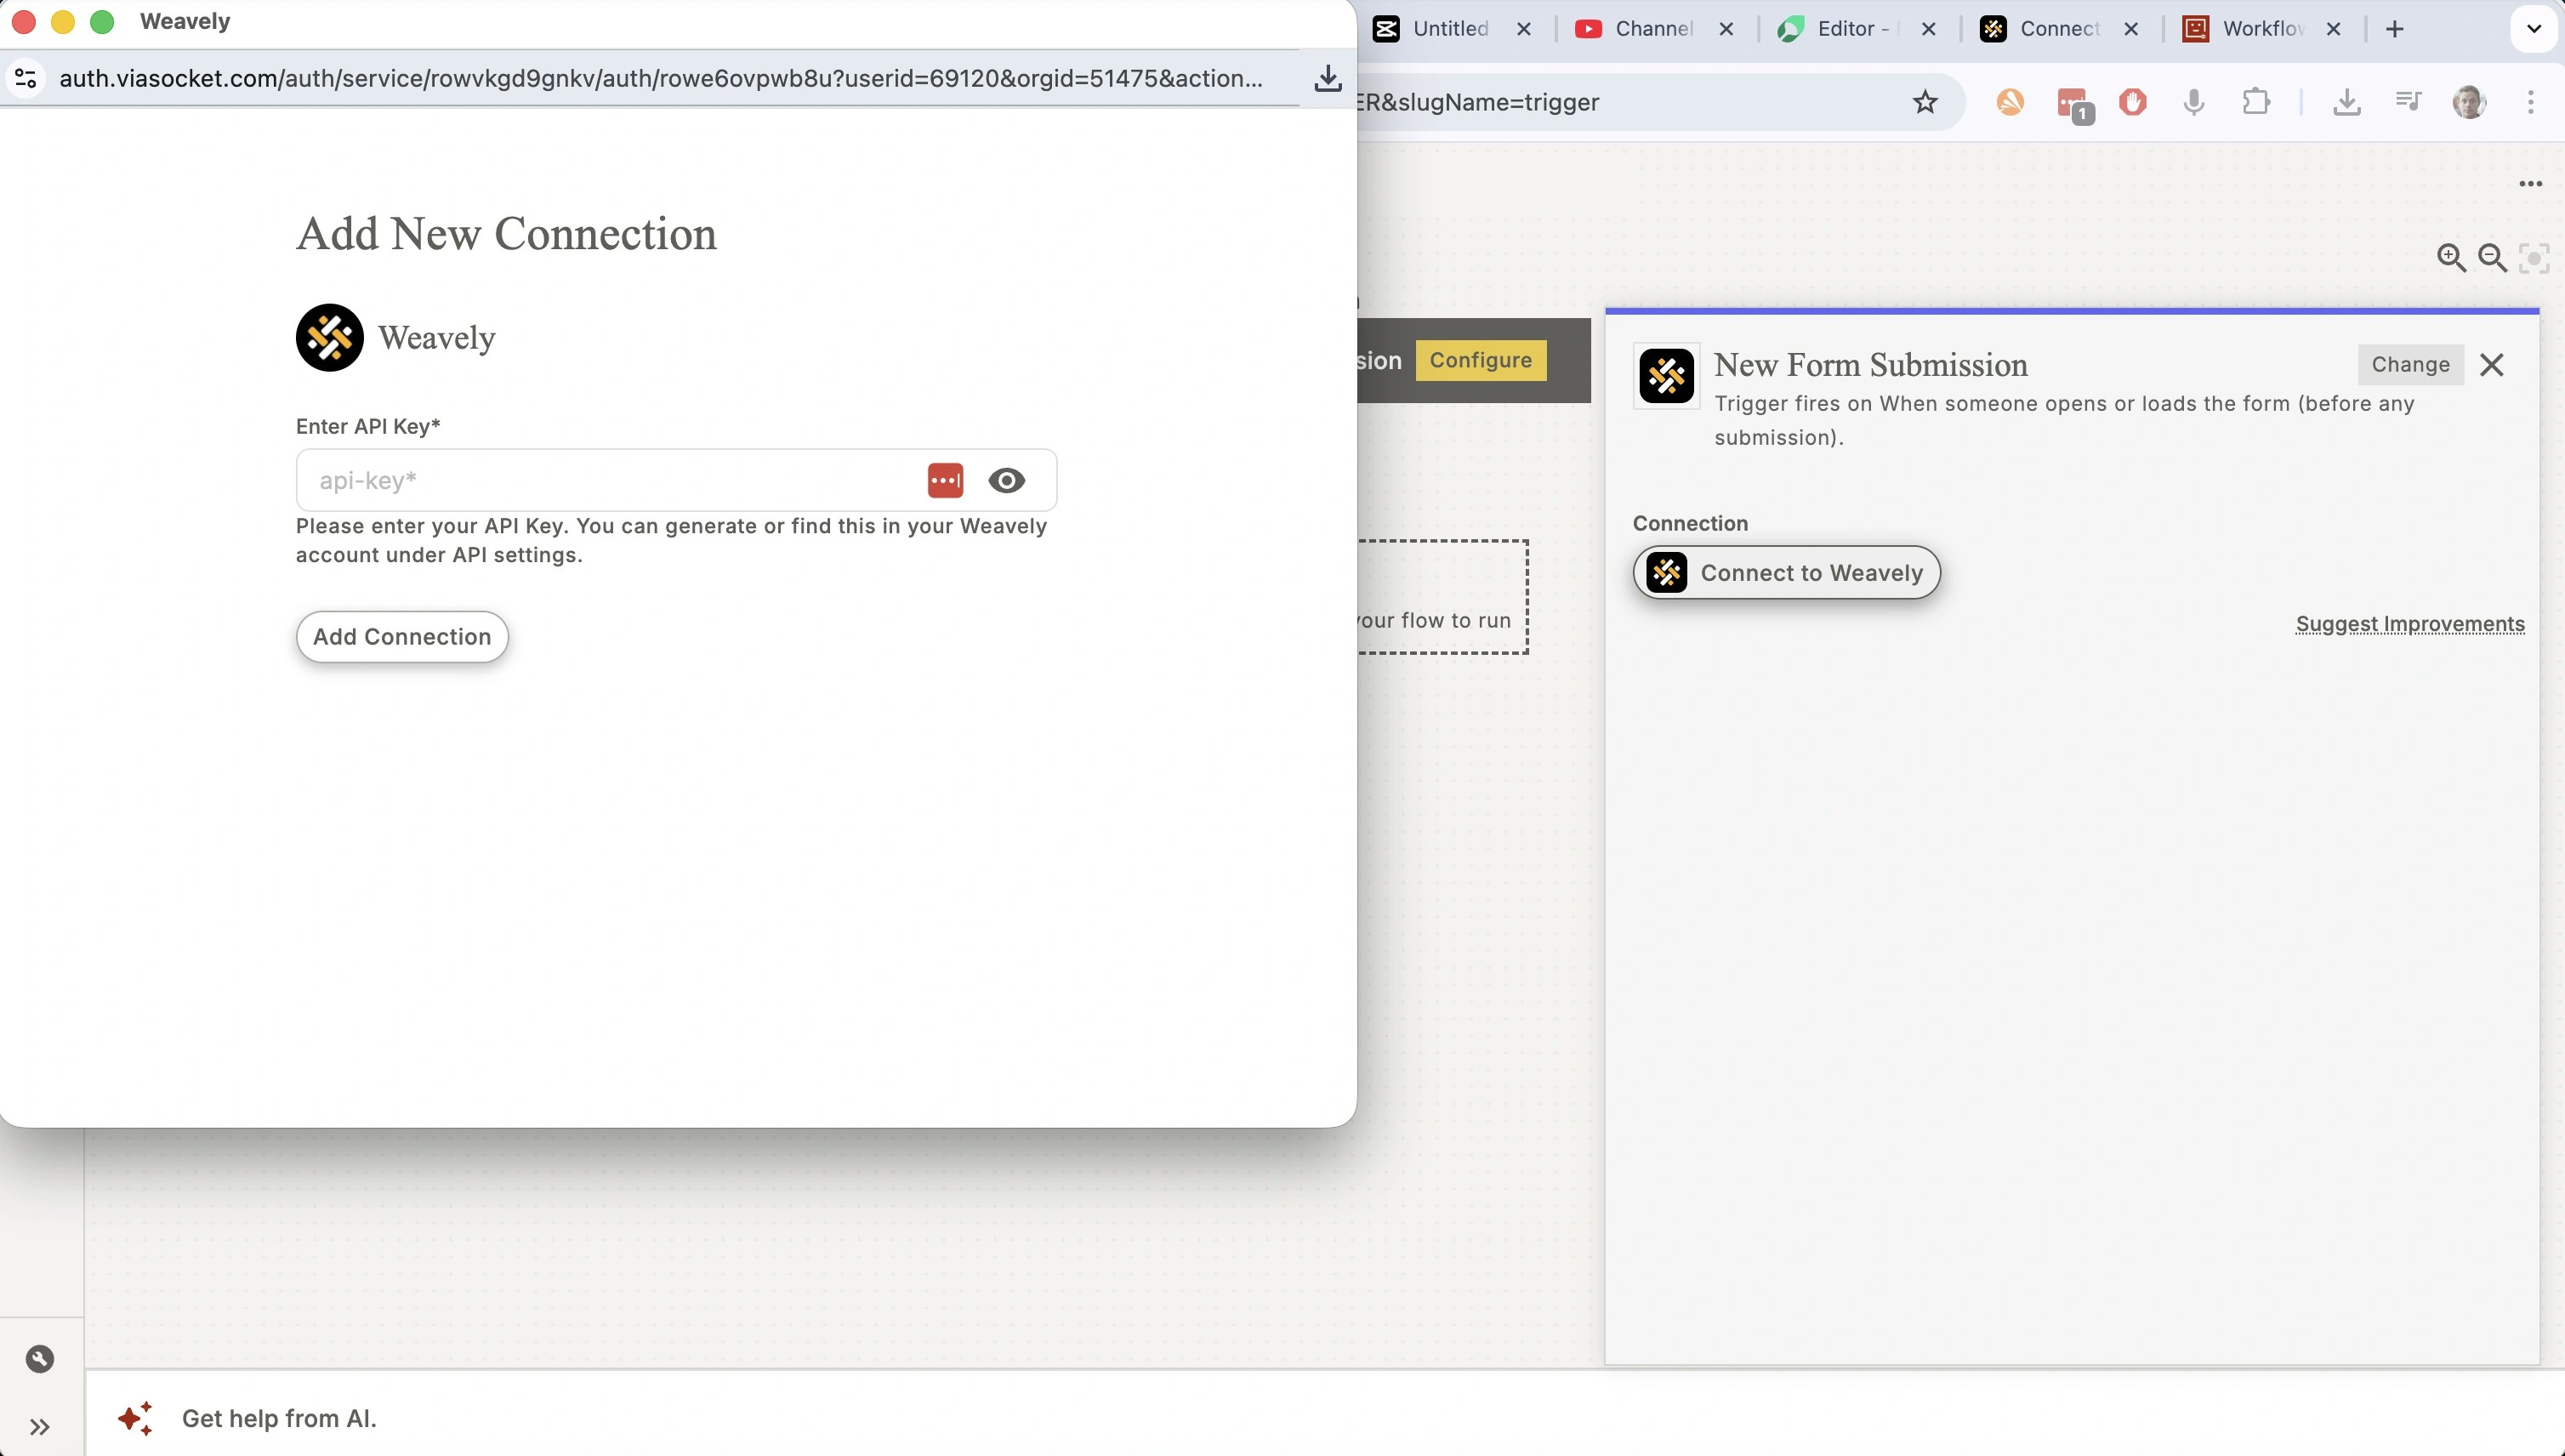
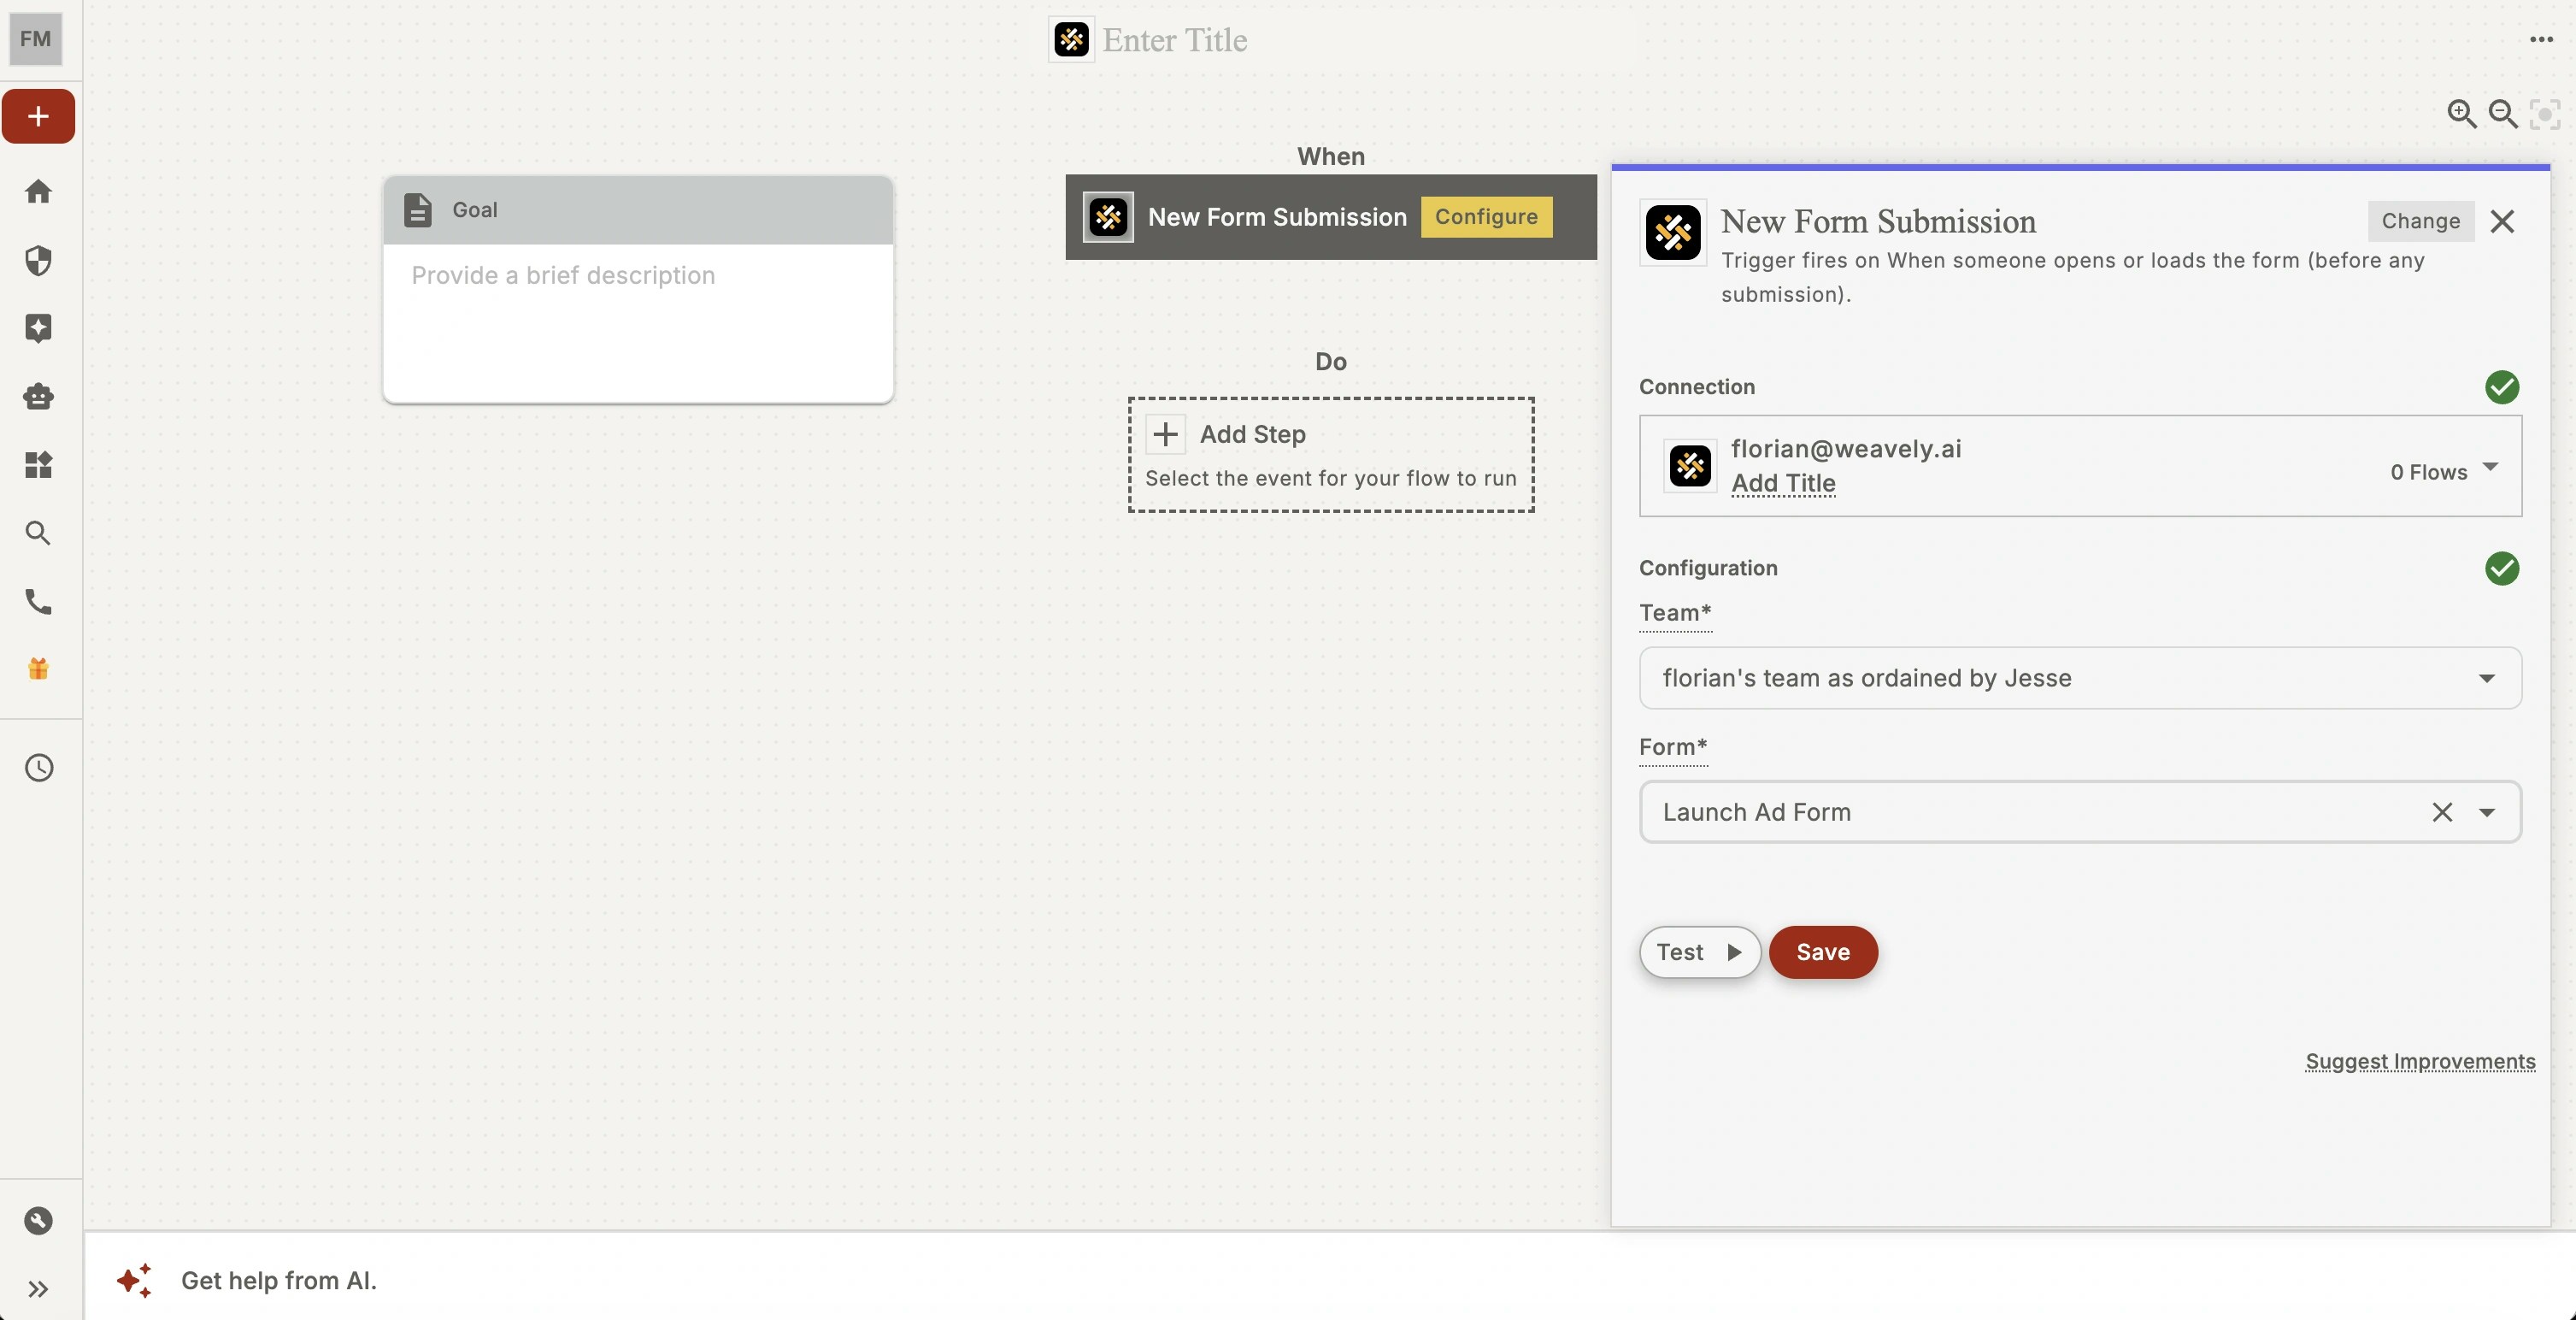
Setup the Weavely Connection in viaSocket
When you open a Weavely trigger for the first time you’ll first be prompted to connect your Weavely account. This is where your personal token from step 1 will come into play. Copy and paste the token into the field marked “API key” by viaSocket.