If you’ve built more than a handful of forms in Weavely, scrolling through them every time you need one gets old fast. Workspaces let you group related forms together, think folders for your forms, so your dashboard stays clean and you can move between projects, clients, or campaigns in a single click.
This guide walks through everything you need to know.
What is a workspace?
A workspace is a container that holds a set of forms. You can have as many workspaces as you like — for example, one per client, one per campaign, or one per use case (lead gen, events, feedback). Every form lives inside exactly one workspace at a time, and you can move forms between workspaces whenever you want.
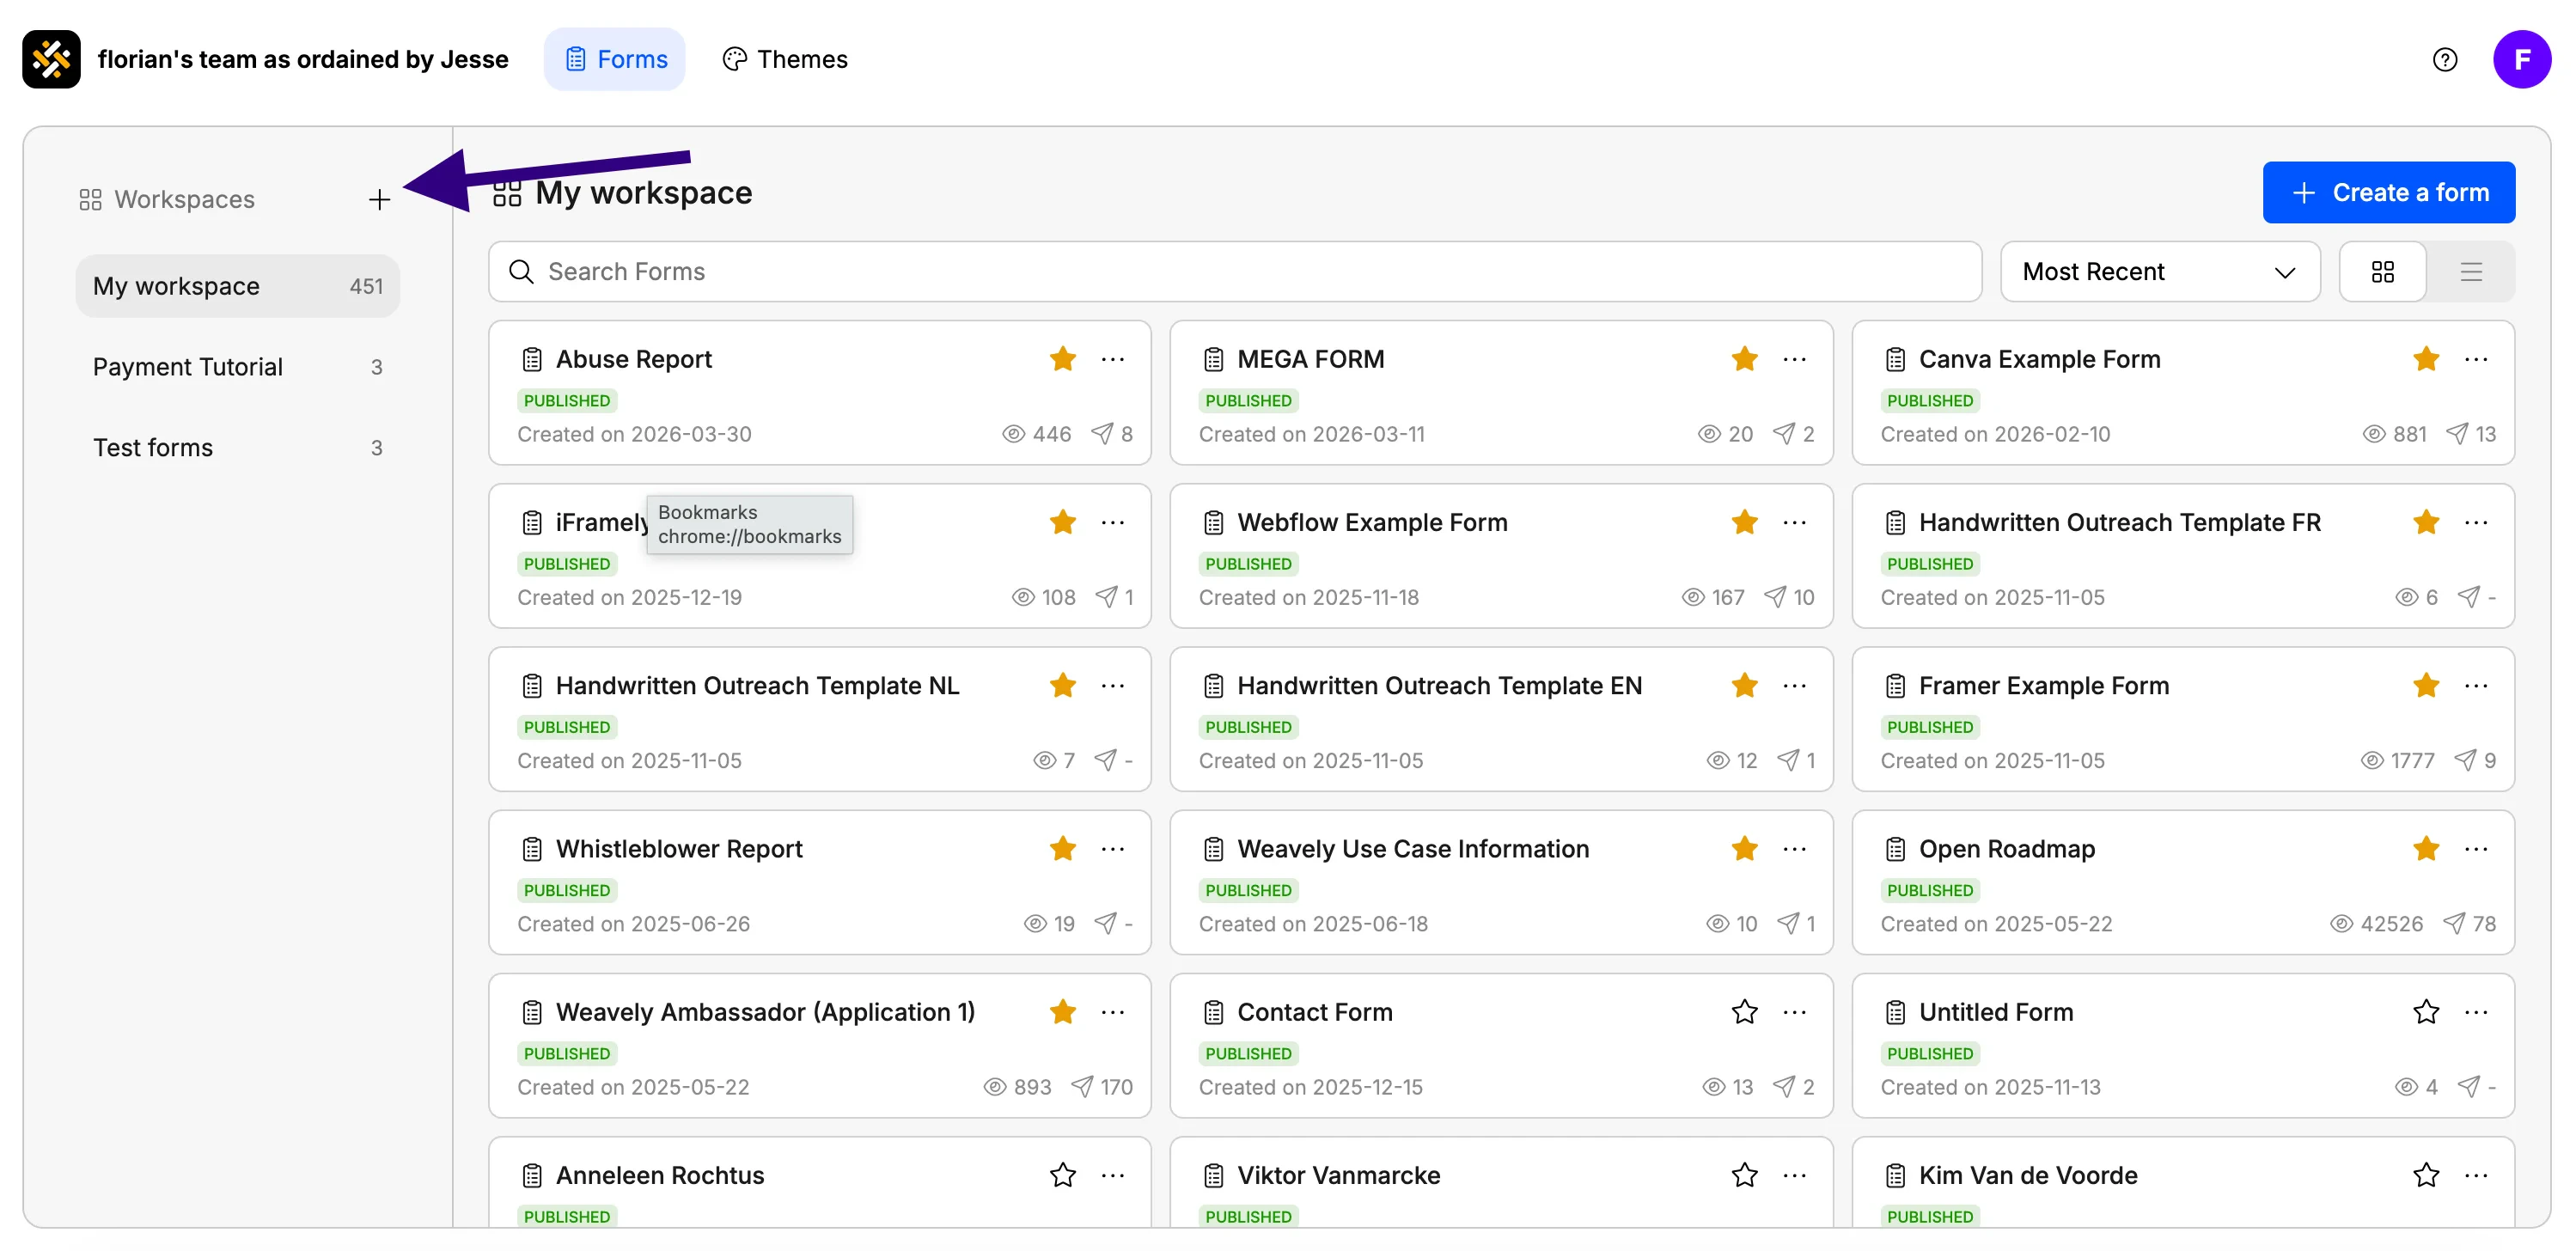
You’ll find the workspaces menu on the left side of your Weavely dashboard.
Create a new workspace
Open your dashboard
Sign in to Weavely. The workspaces menu sits on the left side of the dashboard.
Click '+'
The button is at the top of the workspaces menu.
Name your workspace
Give it a descriptive name. You can rename it later if needed.
Confirm
Click Create. The new workspace appears in the left menu and opens automatically.
Open the workspace where the form currently lives
For example, your default workspace.
Click and hold any form card
Grab the card you want to move.
Drop it onto the target workspace
Drop it on the workspace name in the left menu. The form moves immediately.
Rename a workspace
If you made a typo or your project’s scope changed, renaming takes two clicks:
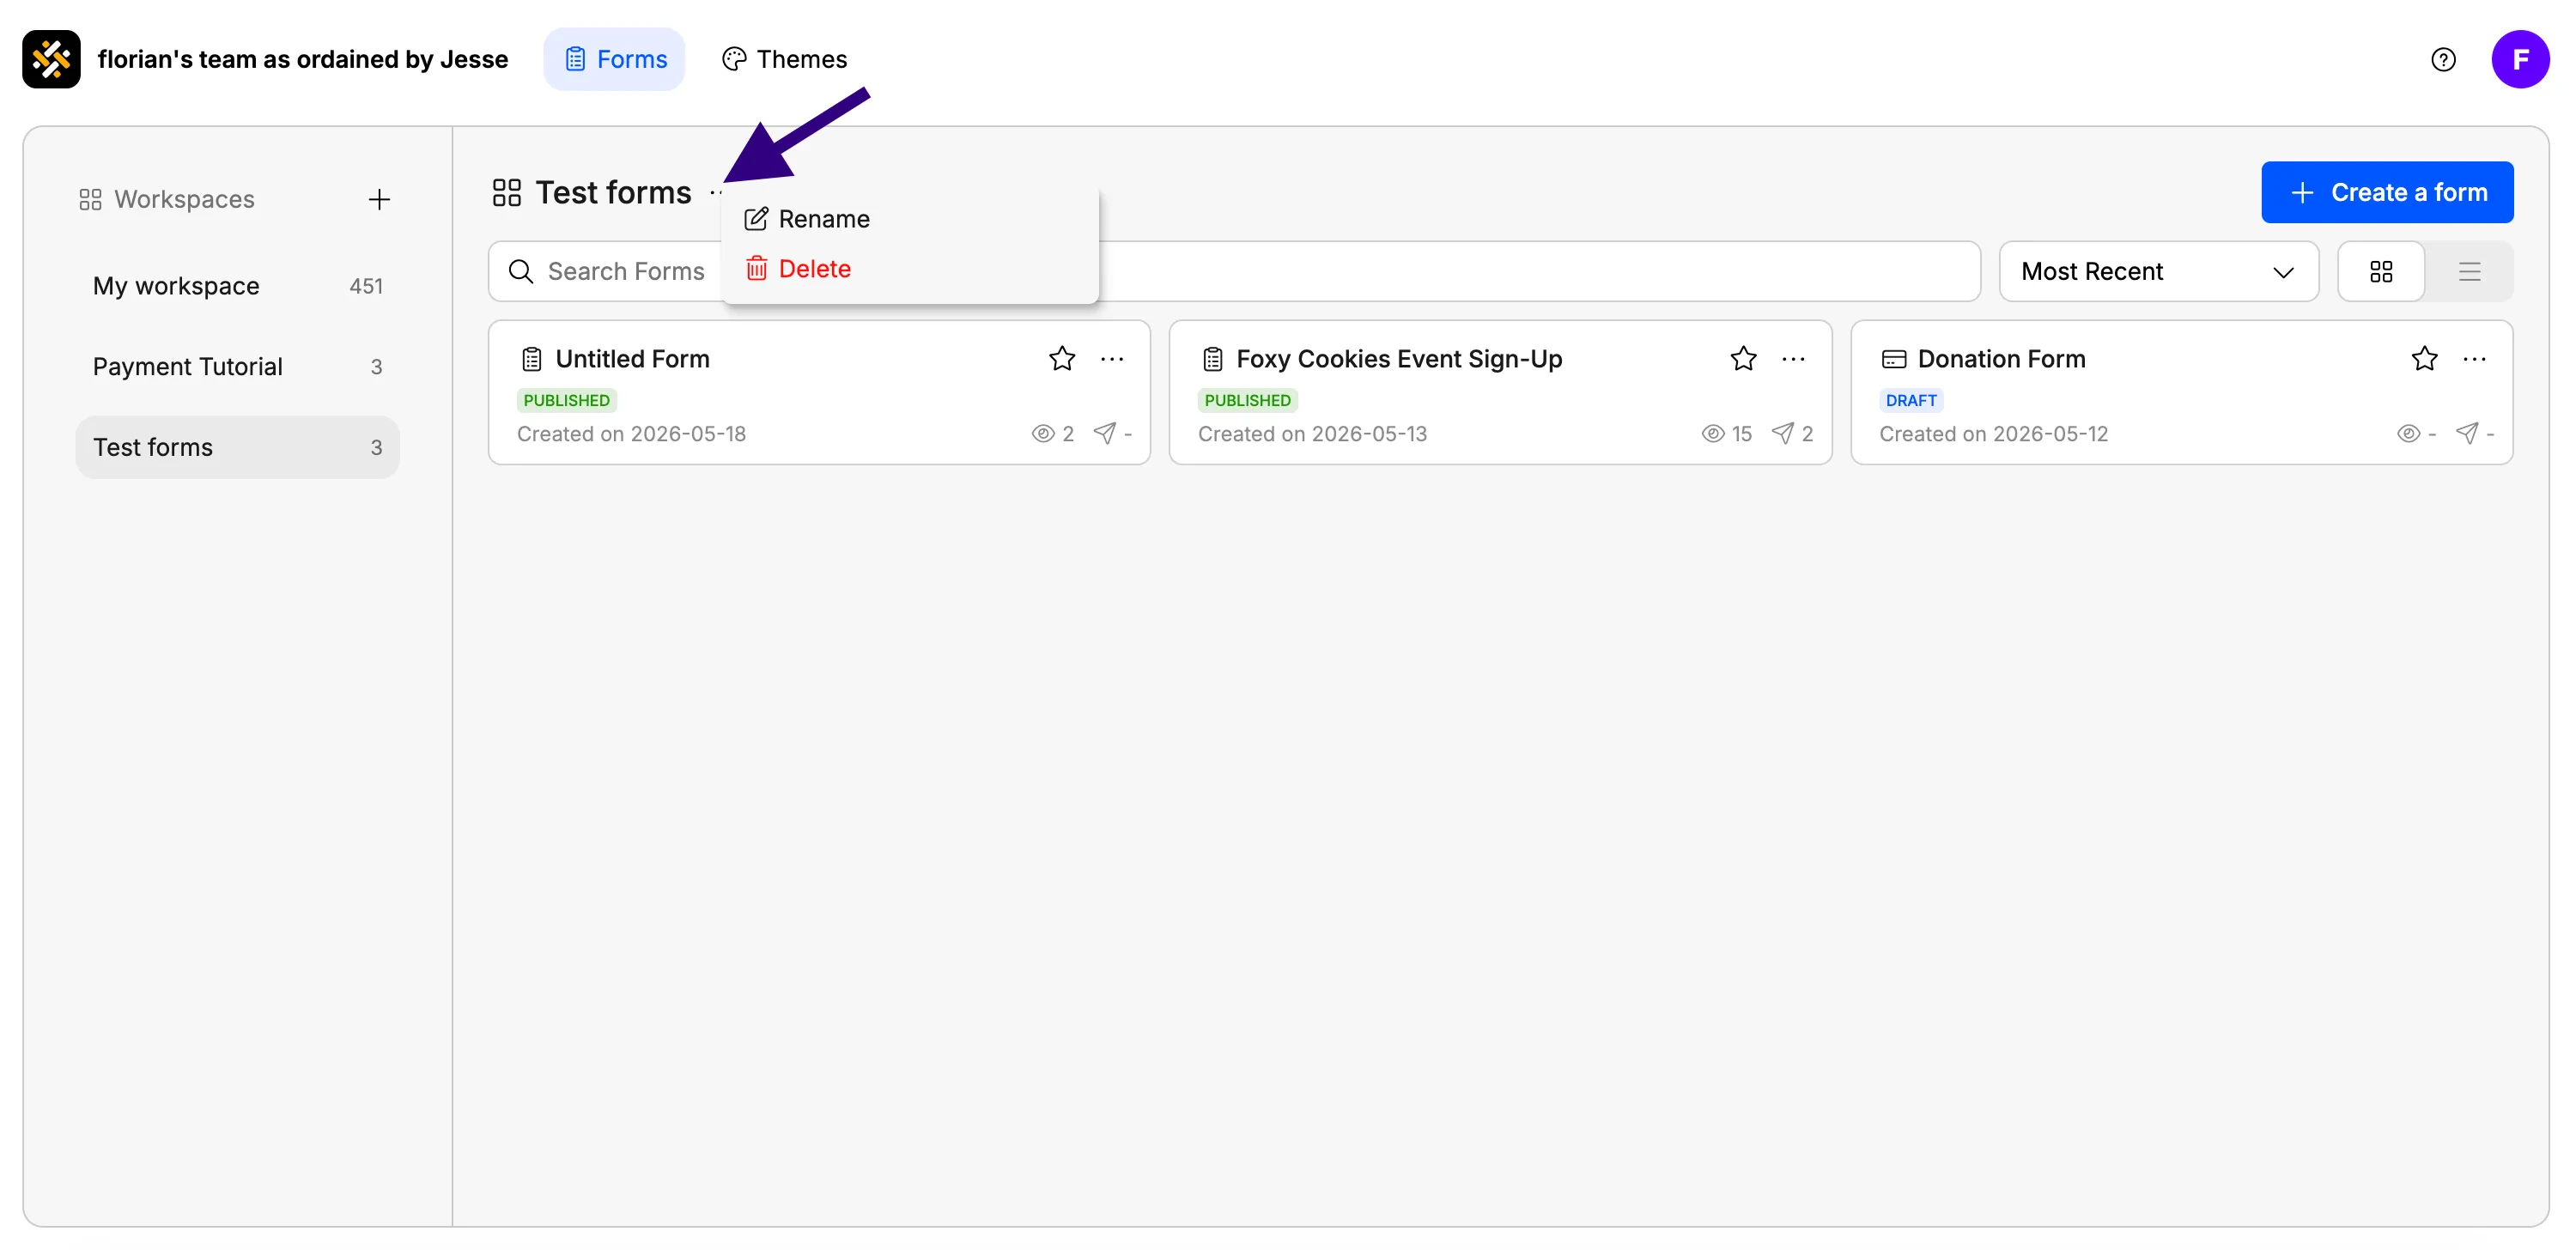
Open the workspace
Click the workspace name in the left menu.
Open the three-dot menu
It sits at the top of the workspace view.
Select 'Rename'
Type the new name and confirm.
Delete a workspace
Deleting a workspace also deletes every form inside it. This action is permanent and cannot be undone. Move any forms you want to keep into another workspace before deleting.
Open the workspace you want to remove
Open the three-dot menu at the top
Select 'Delete'
Read the confirmation pop-up carefully, it lists what will be removed.
Confirm
Once confirmed, the workspace and all the forms it contains are gone.
Tips for staying organized
- One workspace per client or project. This is the most common setup for agencies and freelancers.
- Use clear names. “Acme — onboarding” reads better than “Workspace 3” when you have a dozen of them.
- Reorganize as you go. Workspaces aren’t permanent. Move forms around whenever your work shifts.
- Review quarterly. A quick check of which workspaces are still active keeps your dashboard fast and easy to scan.