This article distills the key moves from our “Quick Guide” video into a written walkthrough.
Follow along once and you’ll be spinning up branded, multi-page forms on autopilot.
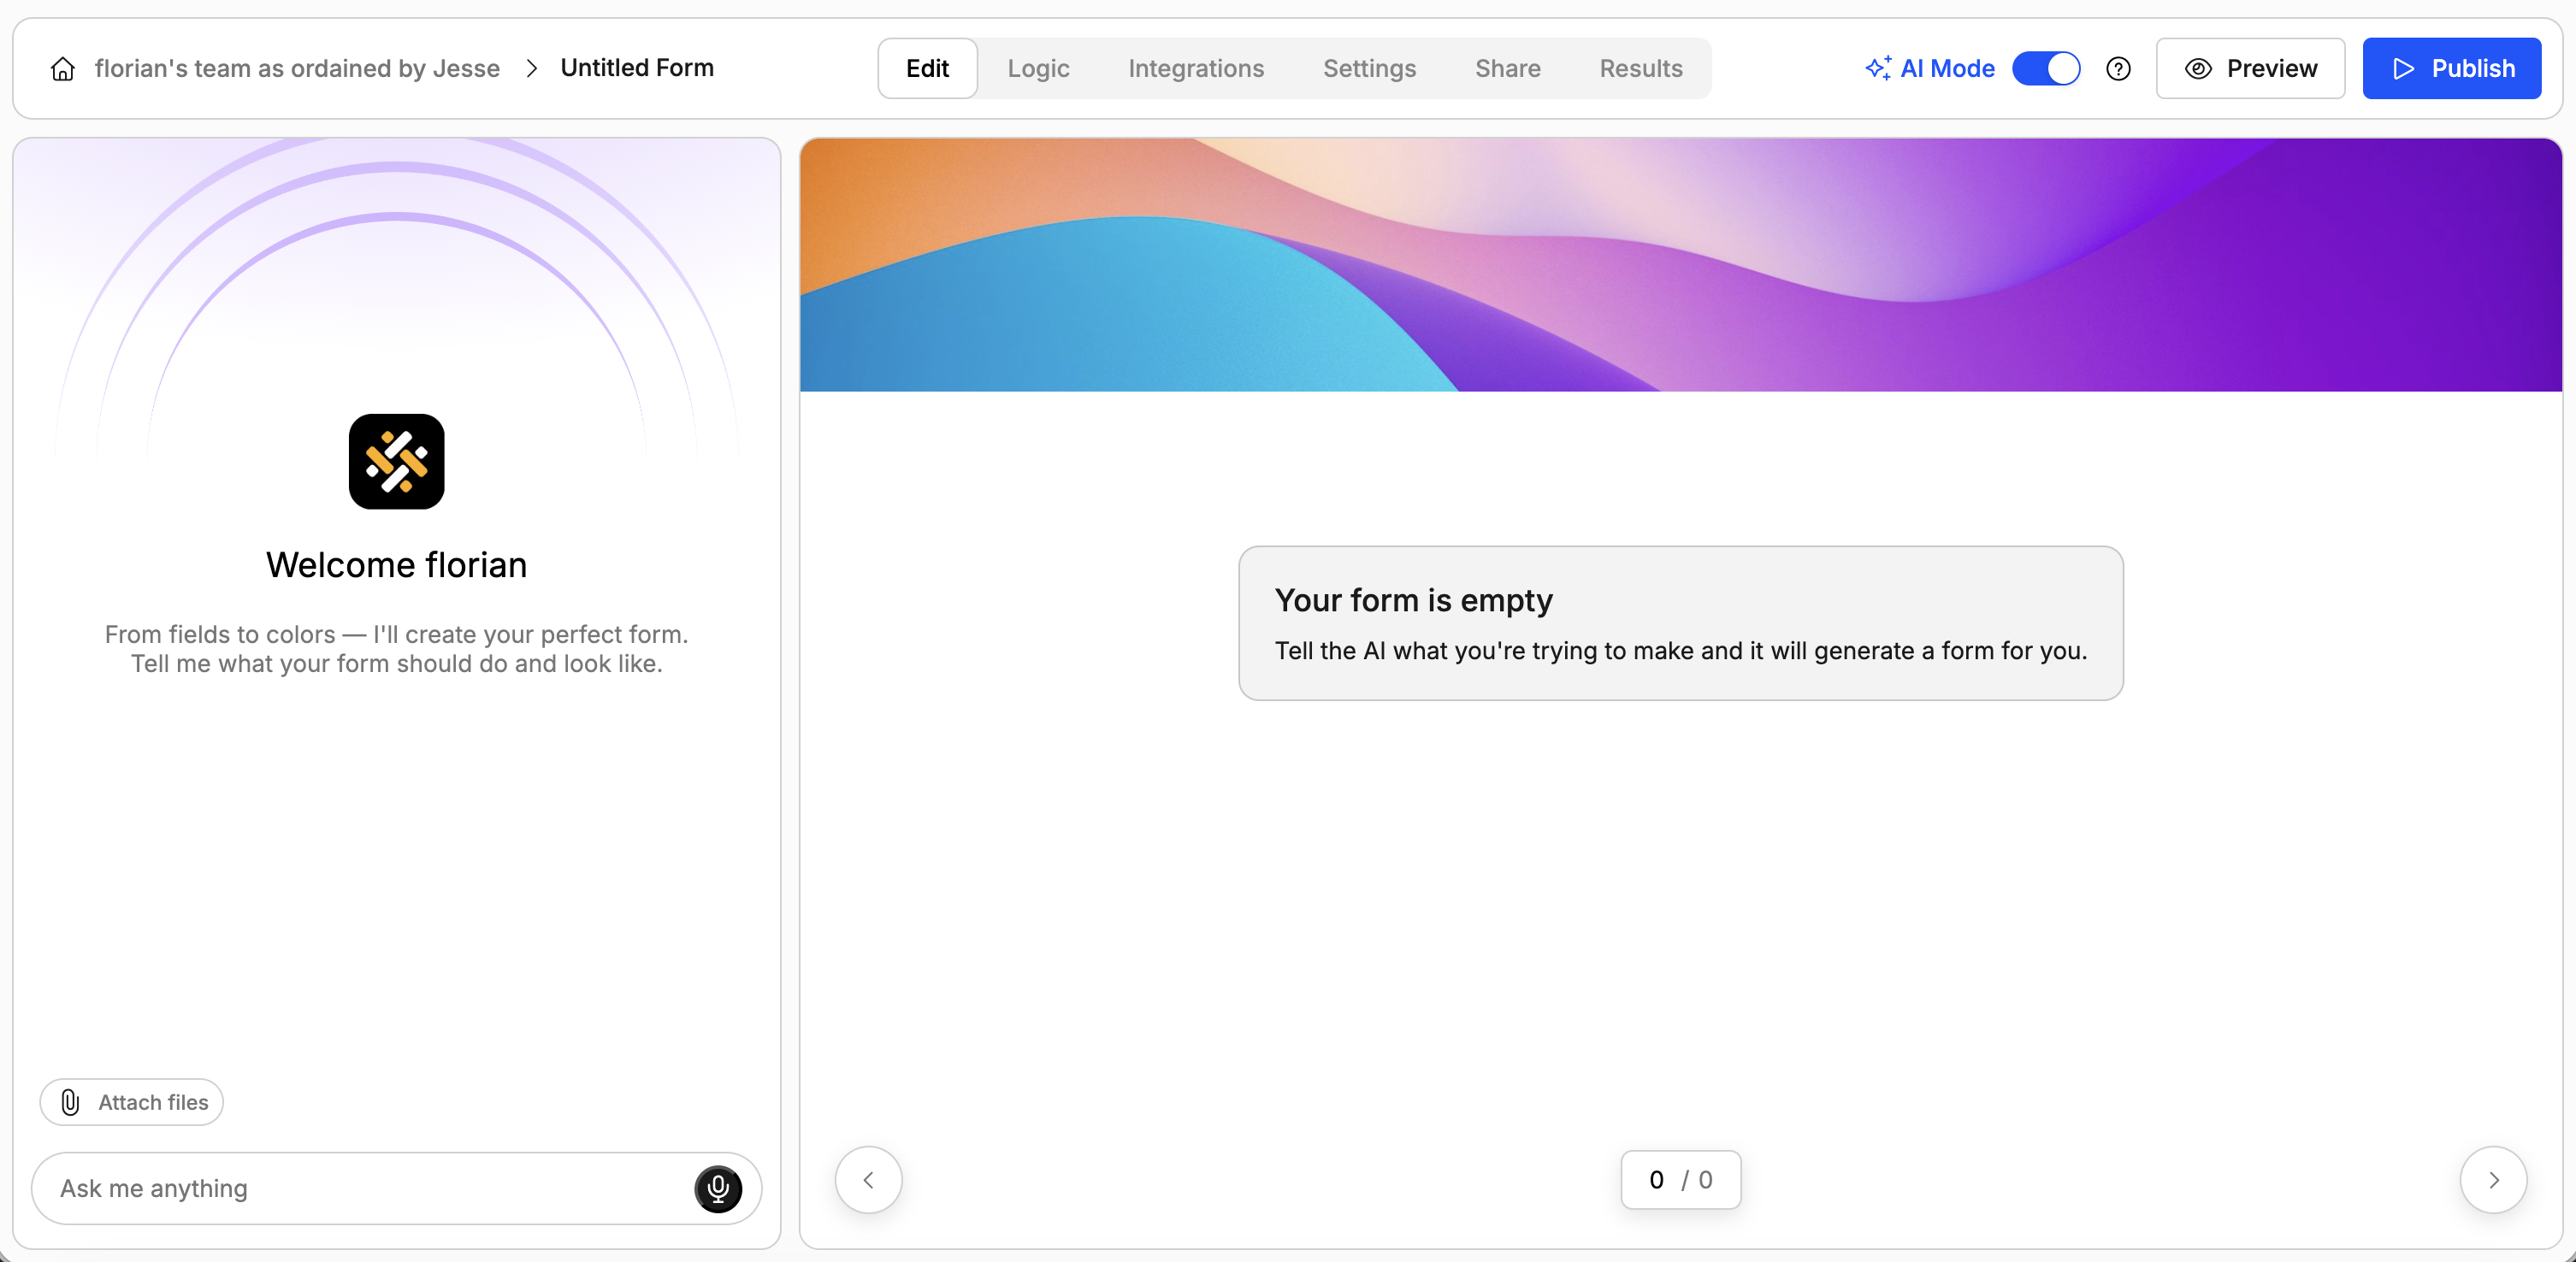
Step 1: Prompt to Generate a Form
You generate forms in Weavely by leaving a prompt which specifies what your form is about. Optionally you can also speak to our AI by holding the microphone button in the bottom right corner of the prompt area.Besides giving our AI the context it needs in text format you can also upload .pdf, .png or .jpg files with additional information. Here are some examples you can get started with:
- A document with draft questions
- A pitch deck of your product
-
A document containing customer information
Step 2: Tweak your Form's Content
You can continue tweaking your form by chatting to our AI. More precisely, you can:
- Change existing questions
- Add new questions and pages
- Reorder elements (questions, pages)
- Add conditional logic rules (e.g. hide/show form elements)
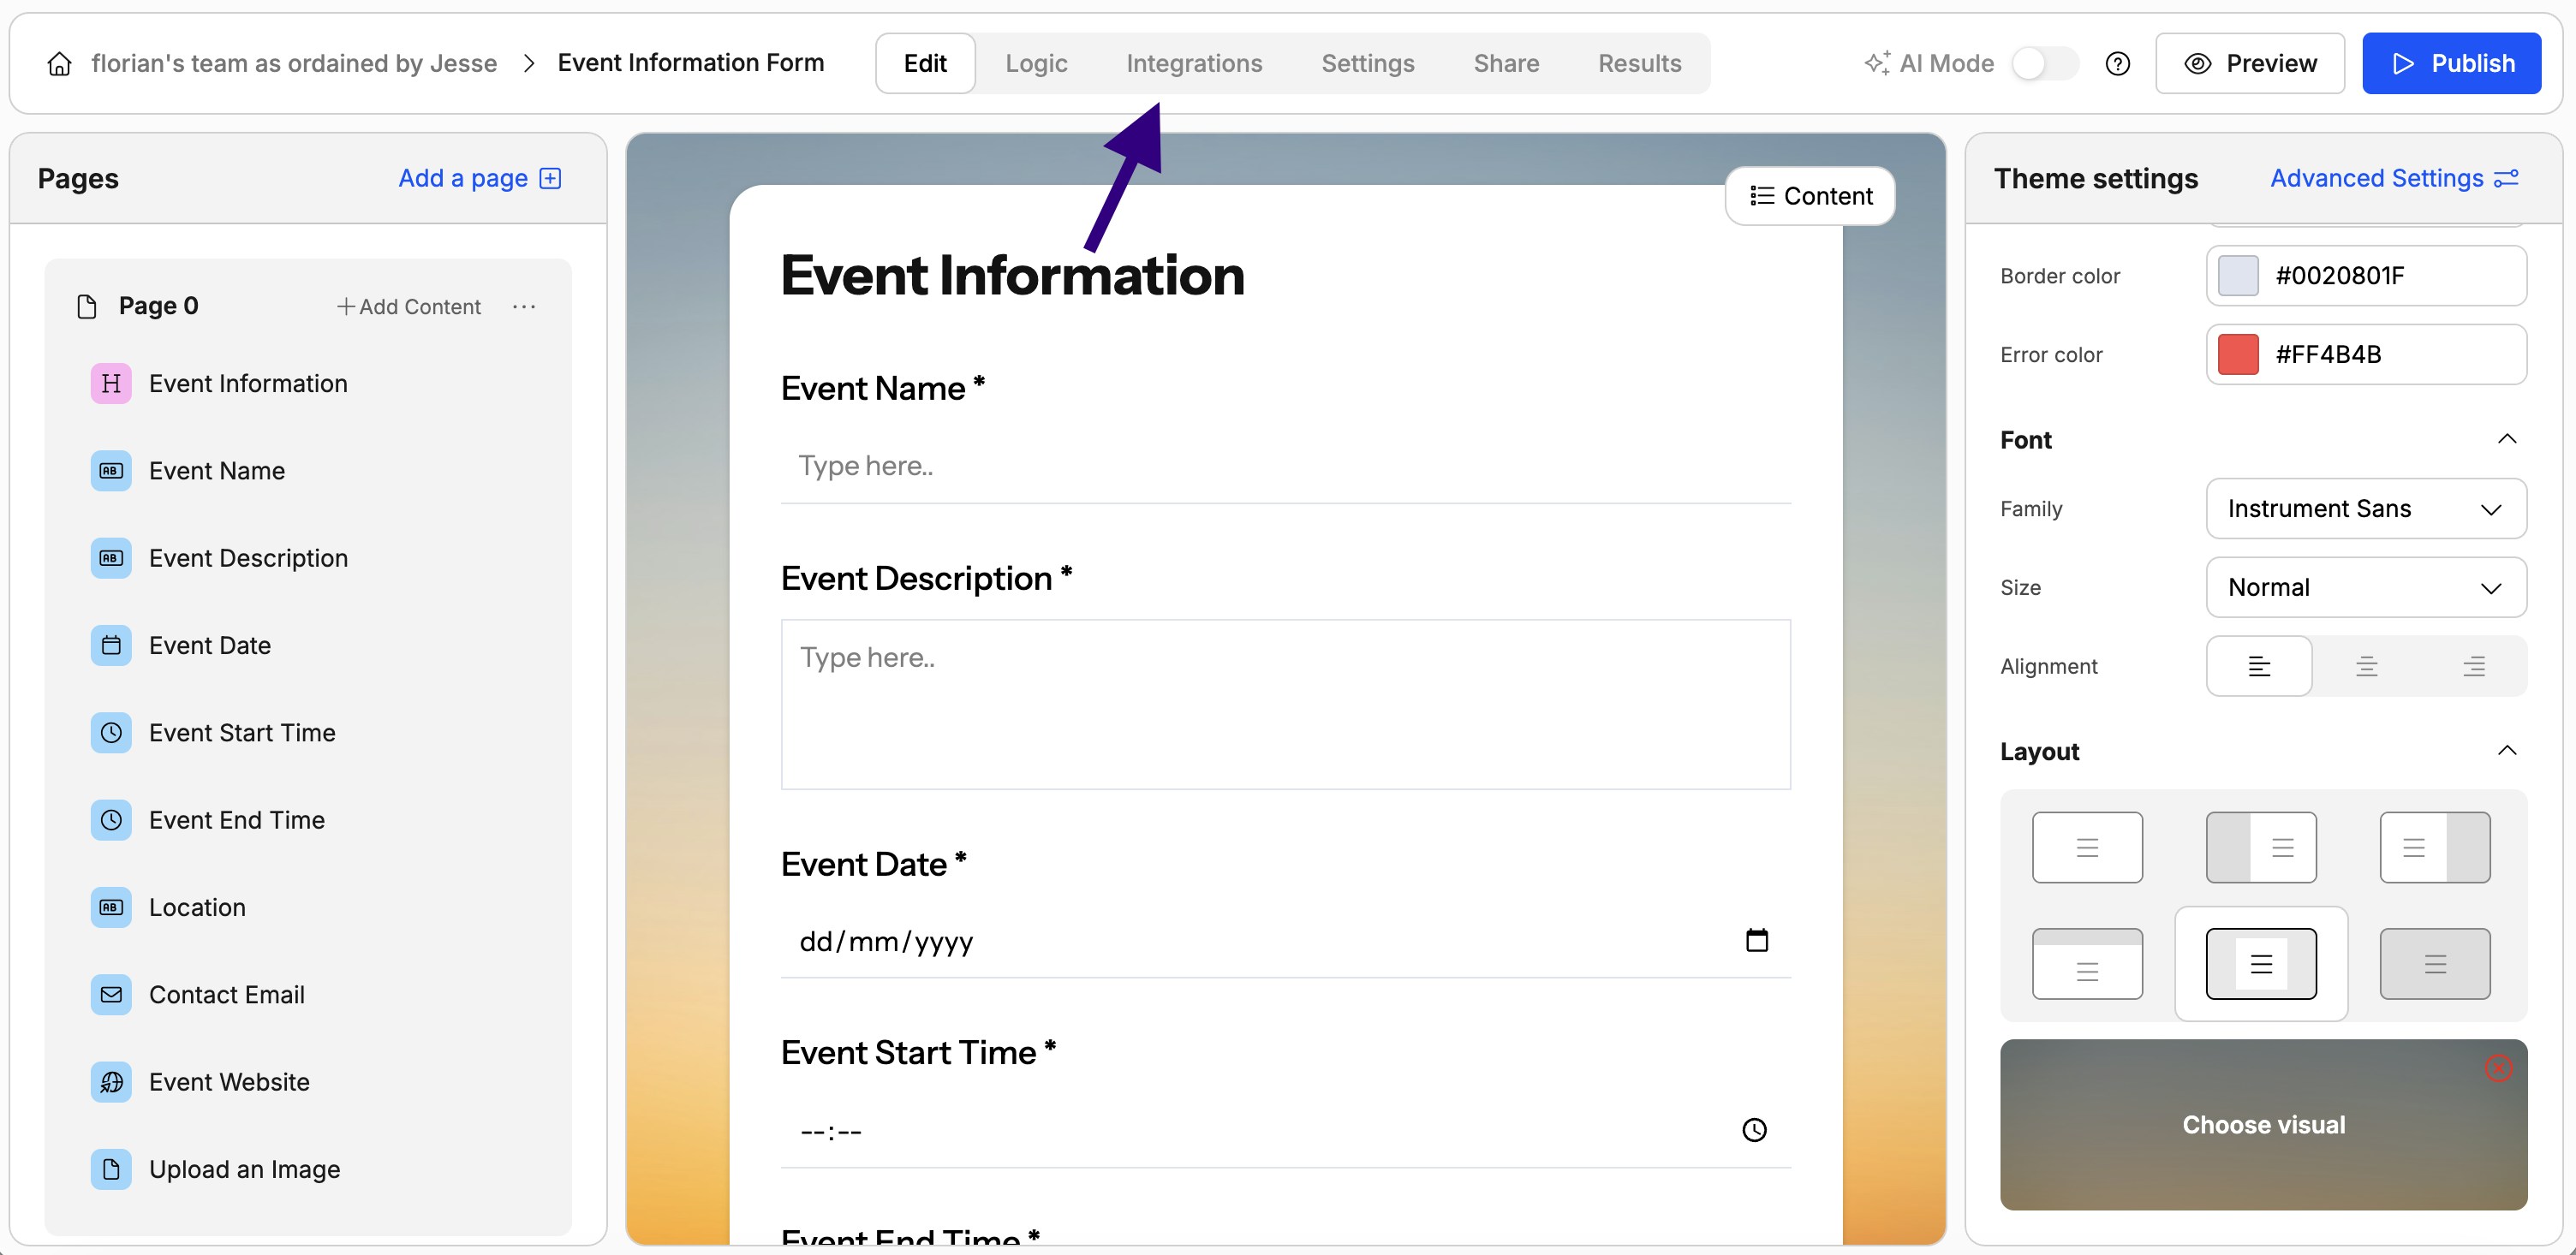
Step 3: Change your Form's Design
You can specify the desired style with a prompt or by uploading a screenshot. In the latter case our AI will match the color styles and font (if detected).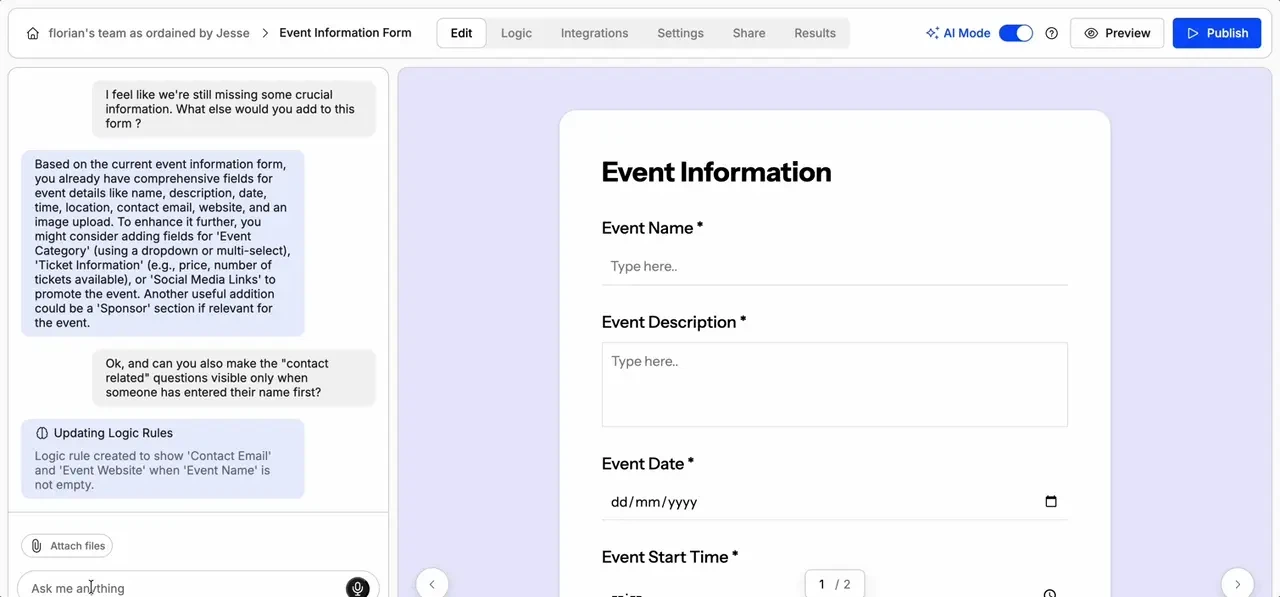
Step 4: Setup Integrations
Integrations are currently only available outside of AI mode. You won’t be able to ask AI to set up an integration for you (yet).
Step 5: Publish and Embed
Publishing is currently only available outside of AI mode. You won’t be able to ask AI to publish your form for you.
Step 6: Analyze Results
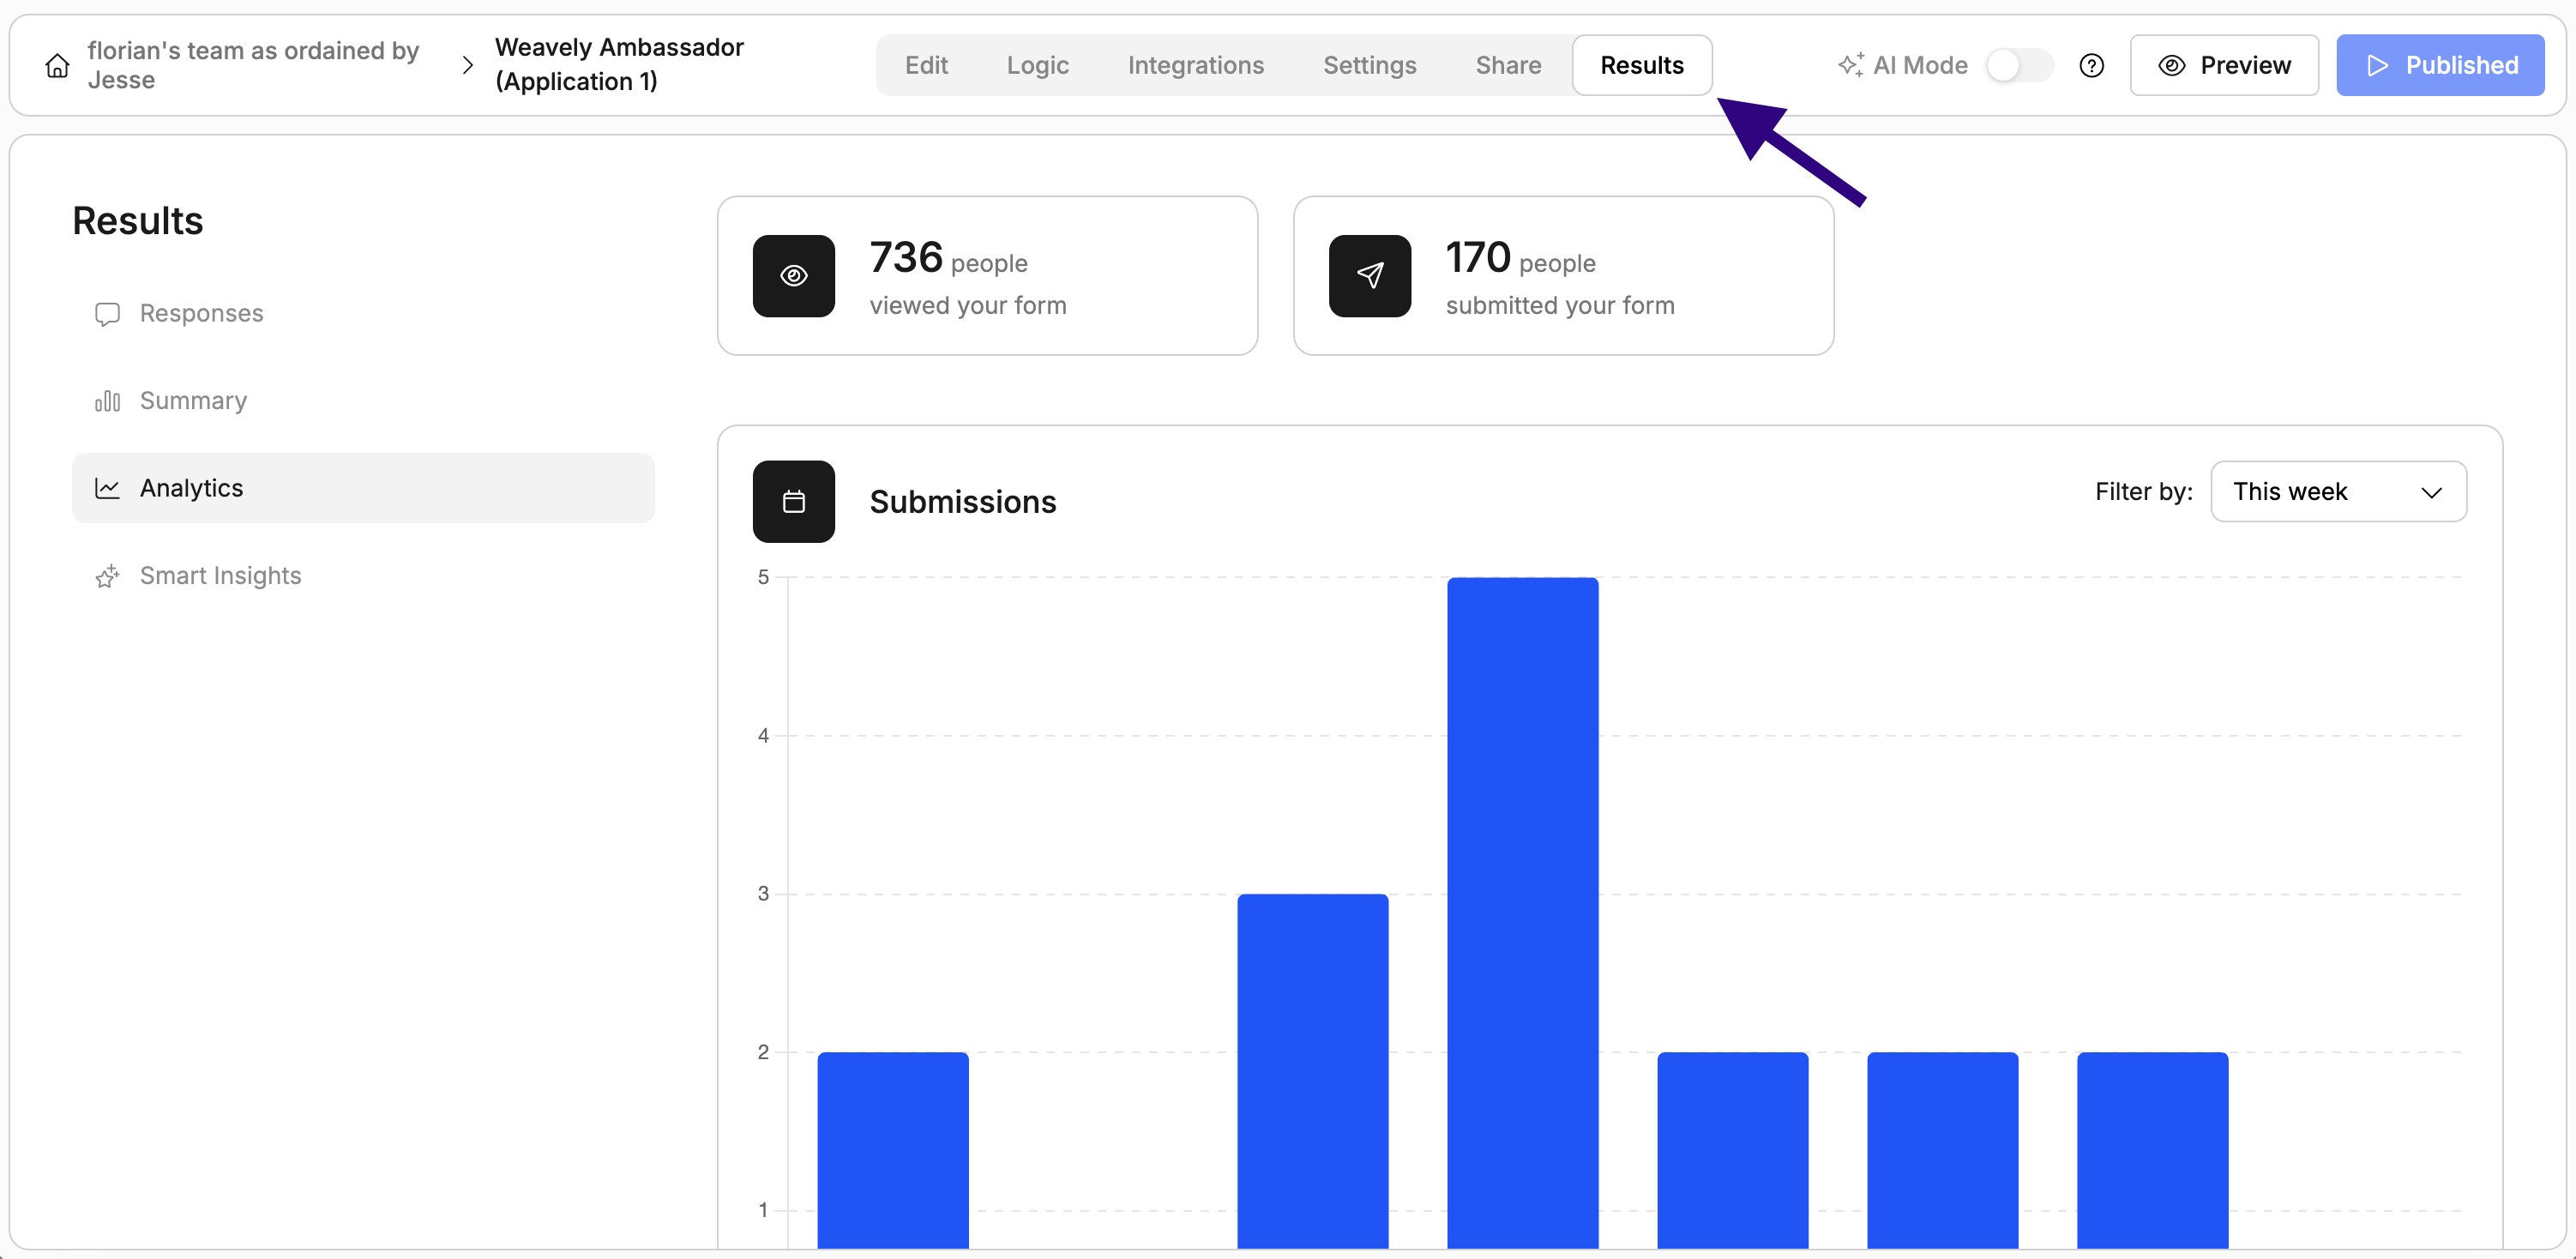
- A general overview of the individual responses received by your form.
- A summary, for each form element, of the responses received. Depending on the element’s type this will be a different visual (e.g. a pie-chart for multiple-choice questions).
- Analytics about your form’s performance in general (i.e. amount of views on your form, and total responses received).
- Smart insights, which use AI to generate reports tailored to your report and which you can tweak through prompting as well.