Step 1: Open the Integrations Tab
With the editor open, navigate to the Integrations tab and select the Airtable integration as shown below.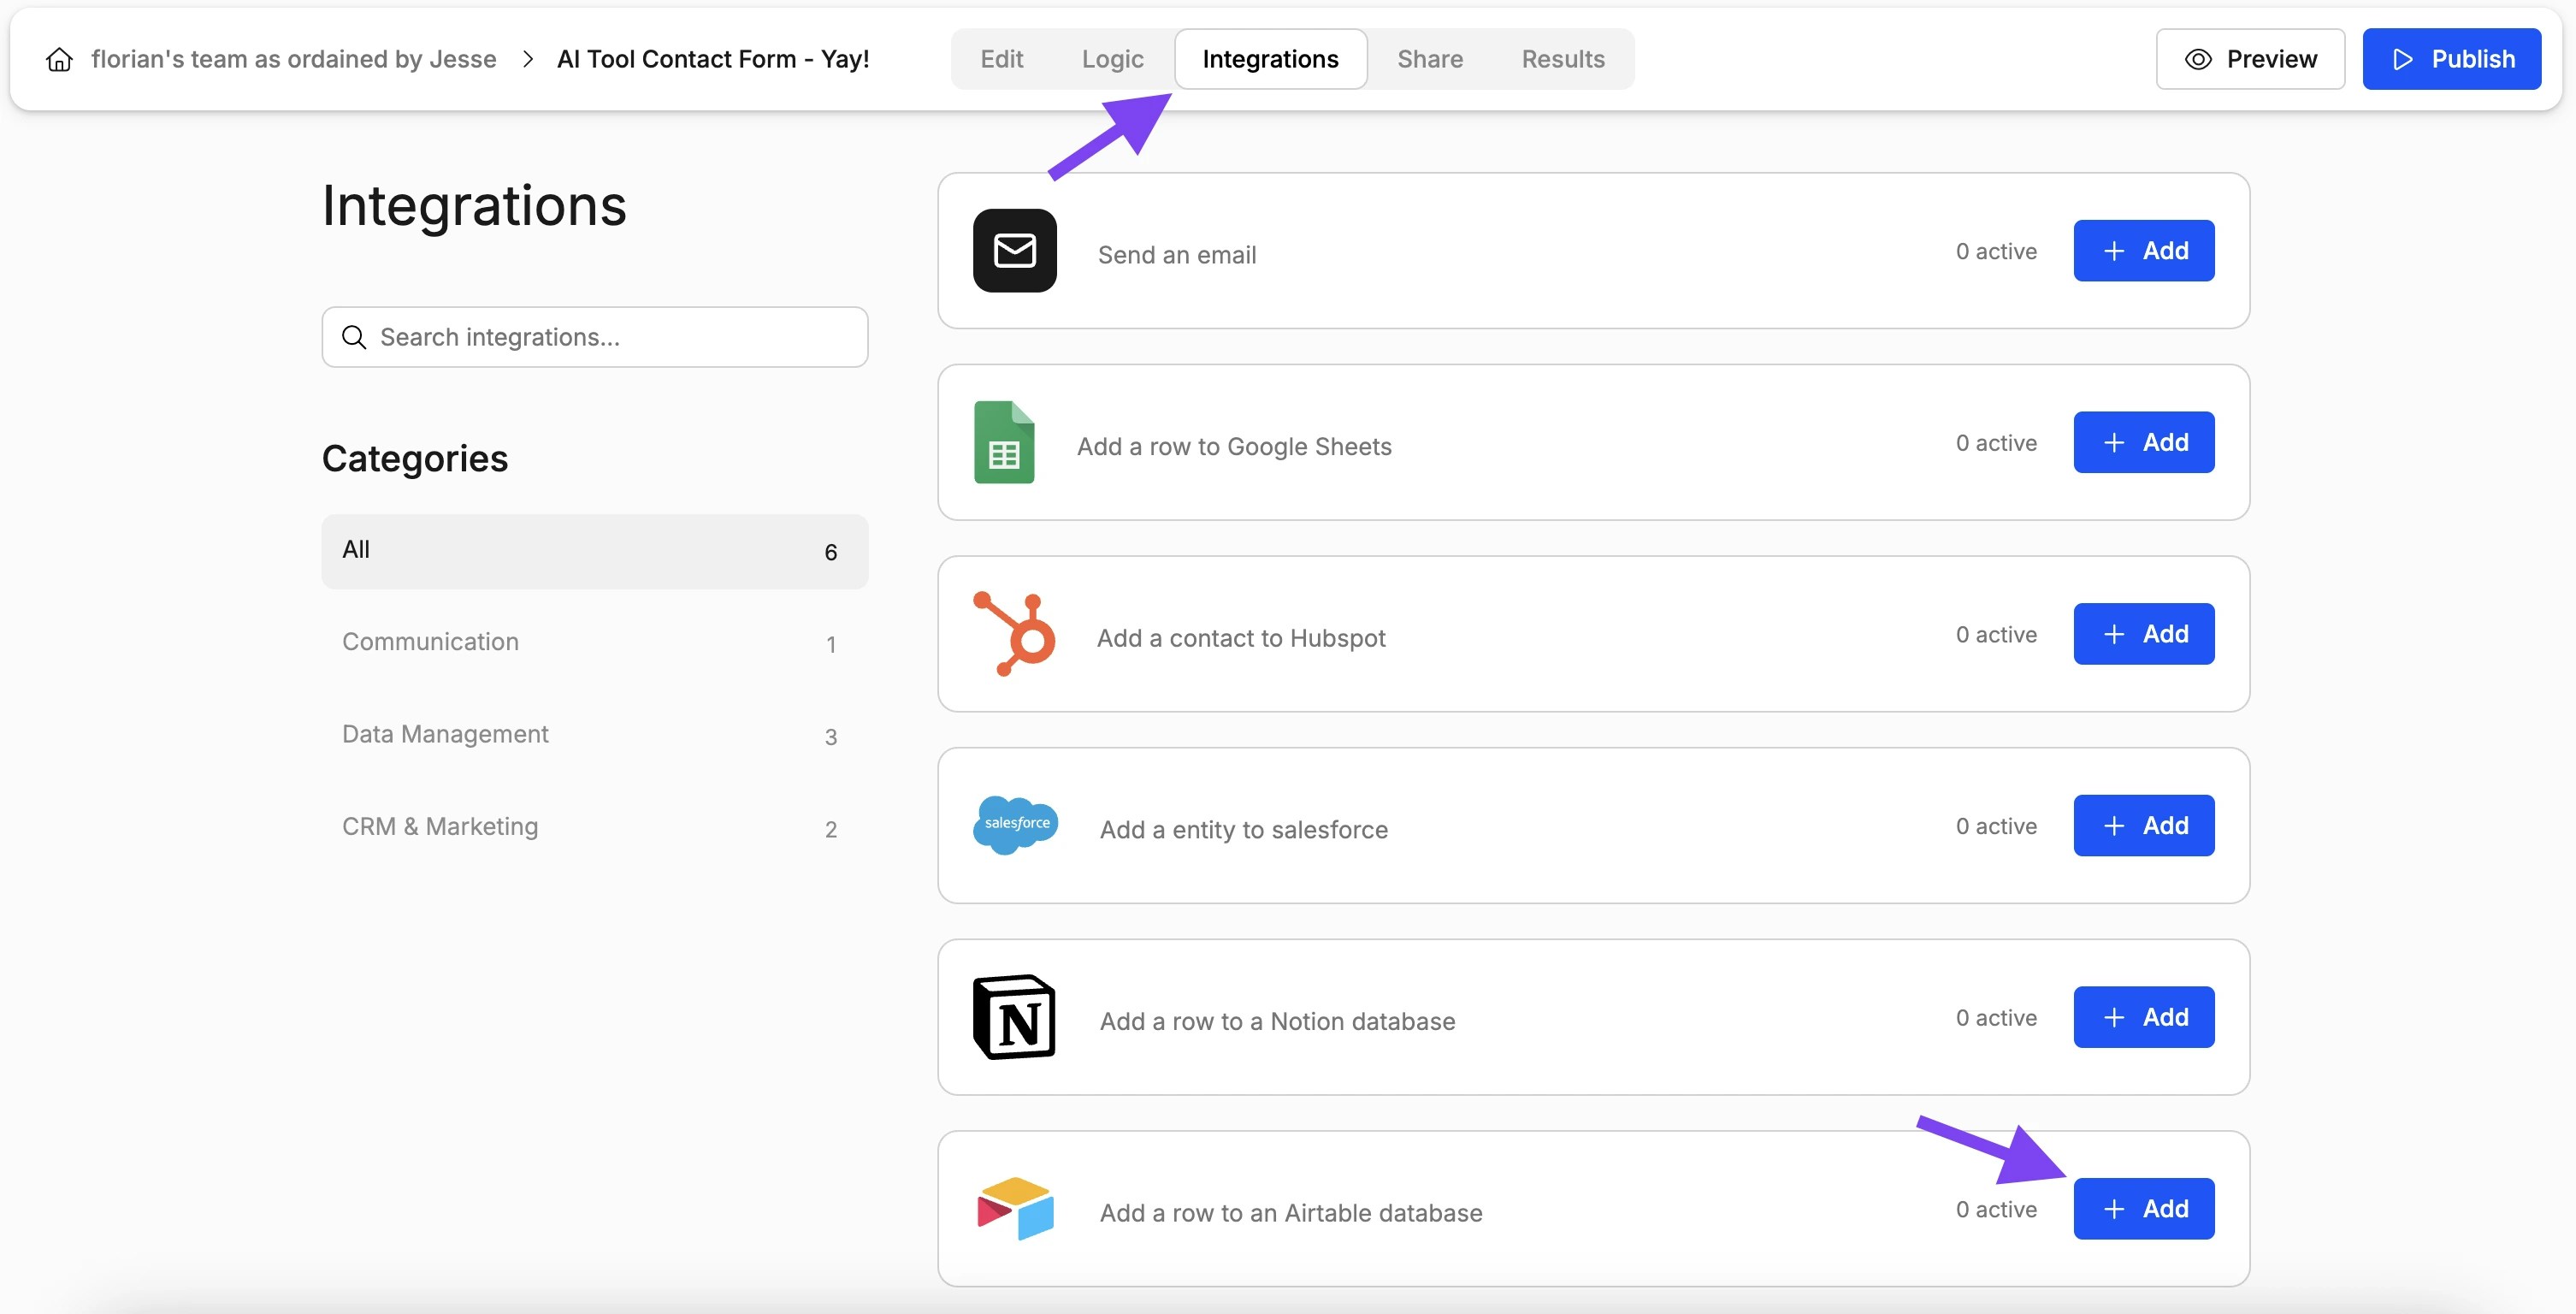
Step 2: Link Your Airtable Account
Is this the first time you set up a Airtable integration? Then Weavely will first guide you through the steps to connect your Airtable account to Weavely. Just press “Connect to Airtable” to get started.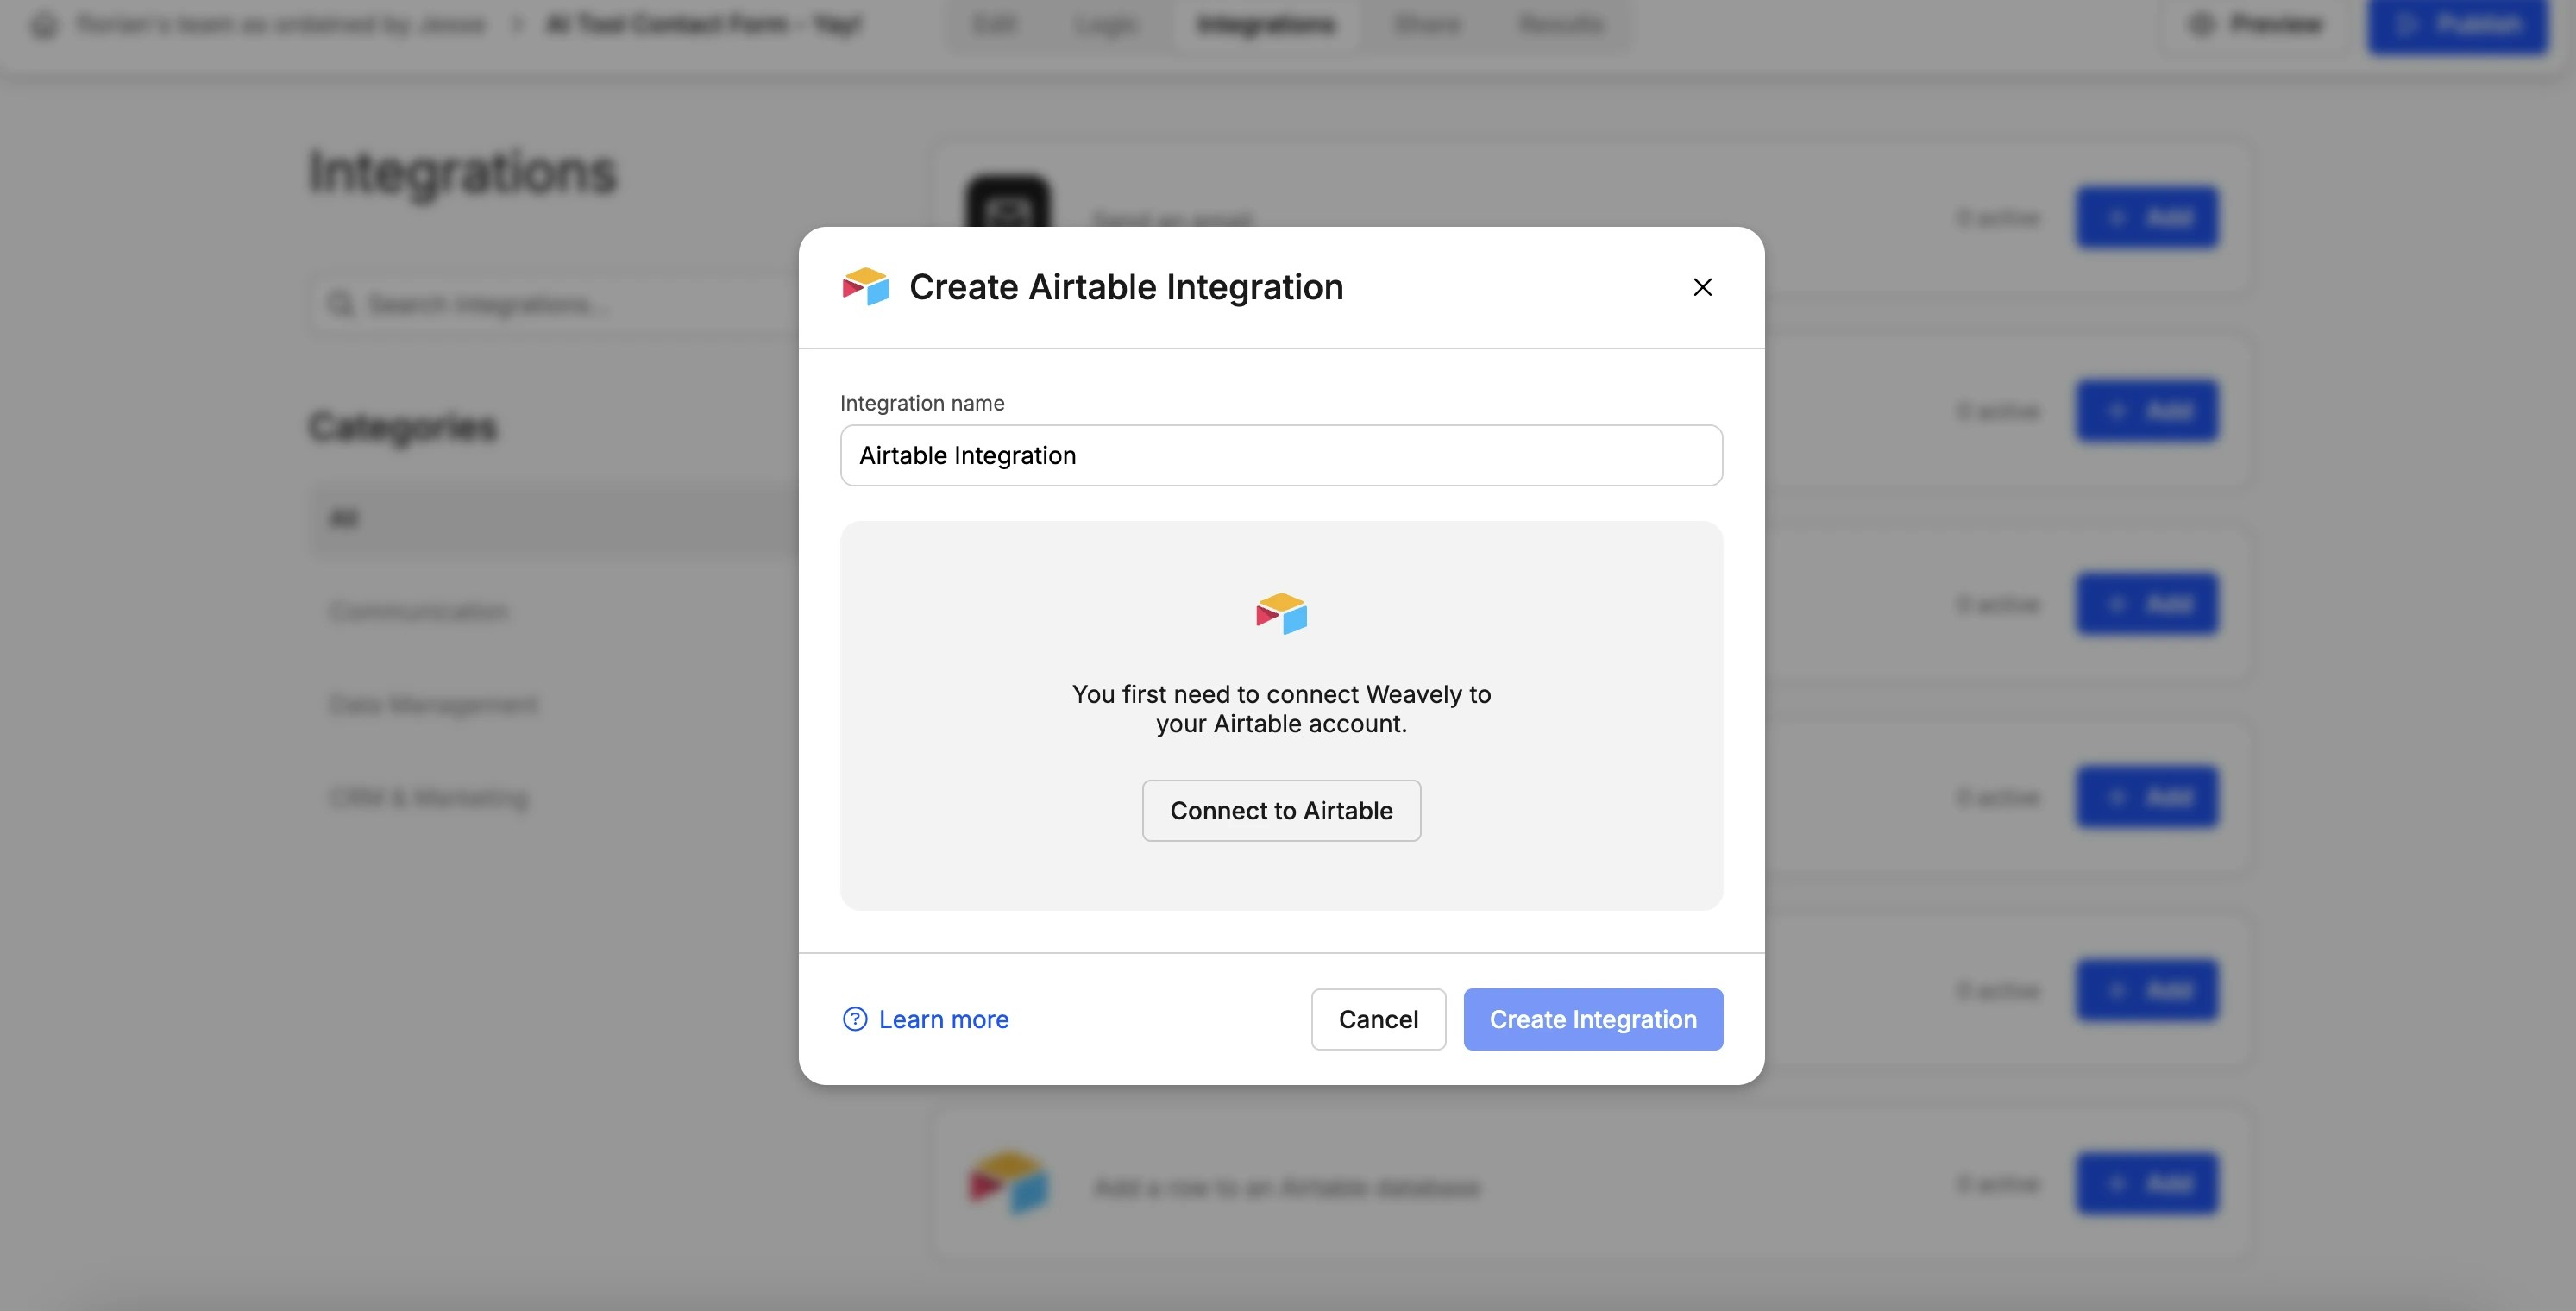
Step 3: Map Form Fields to Table Columns
Once you’ve connected your Airtable account you’ll be able to set up the integration for your form. In a first step you’ll need to select the base and the table in which you want to collect submissions. In a second step you can specify how fields of your form correspond to table columns. The gif below showcases both these steps.
Changing Your Airtable Account or Resetting Your Connection
If you ever need to reset your connection with Airtable, for instance to switch to a different account or reauthorize access, you can do so from your Weavely dashboard. Go to Settings → Connected Accounts and click the red “Disconnect” button next to Airtable. You can then reconnect with the correct account.